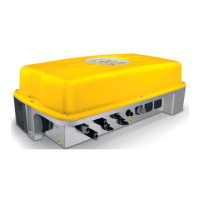
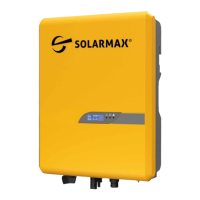
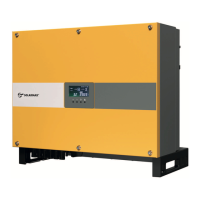
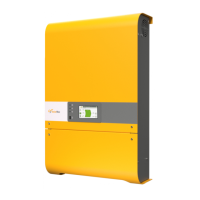
4.4 Scope of delivery
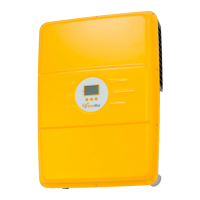
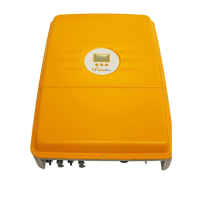
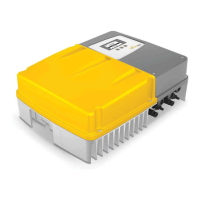
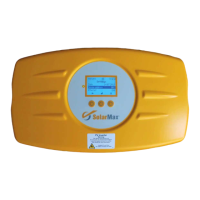
n Inverter
n AC connector
n Installation plate for wall installation
n Instruction manual and quick guide
n Accessory kit (installation material for wall installation and earth connection)
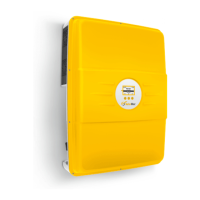
4.5 Installation
The inverter can be installed easily using the included installation plate and installation
material on a level installation base. You will nd more information about how to properly
install the inverter in the quick guide included in the delivery.
1. Drill four holes, Ø 8mm in diameter and with a depth of 60mm (drill hole pattern shown
in the gure of the installation plate).
2. Insert the dowels.
3. Attach the installation plate using the four 6 x 50 screws and washers.
4. Mount the inverter carefully from above into the holder.
NOTE
As soon as the inverter is completely mounted, you can secure it additionally with the
included splint or a padlock (not included in the delivery).