Studio One Tutorial
64
SSL UF8 User Guide
Studio One with UF8 - Tutorial
The following tutorial guides you through configuring and using the default Studio One profile on LAYER 1 of UF8. If you wish to
configure Studio One on a different layer, please refer to the DAW Communication section of this User Guide to ensure your DAW
is configured for the correct SSL V-MIDI ports.
SSL 360° Setup
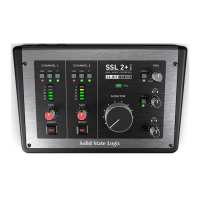
1. Open the SSL 360° application on your Mac or Windows computer and on the HOME page check that any UF8s you have
connected are present - outline images of each UF8 appear on screen.
2. If you have multiple UF8s connected, click down on the outline image of each unit to check that the UF8s are arranged in the
correct order. If units need to be re-ordered then click and drag to re-arrange.
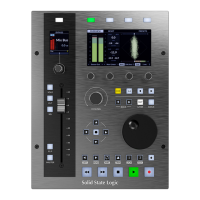
3. Go to the UF8 page and set Layer 1 to Studio One using the drop-down list.
Studio One Setup
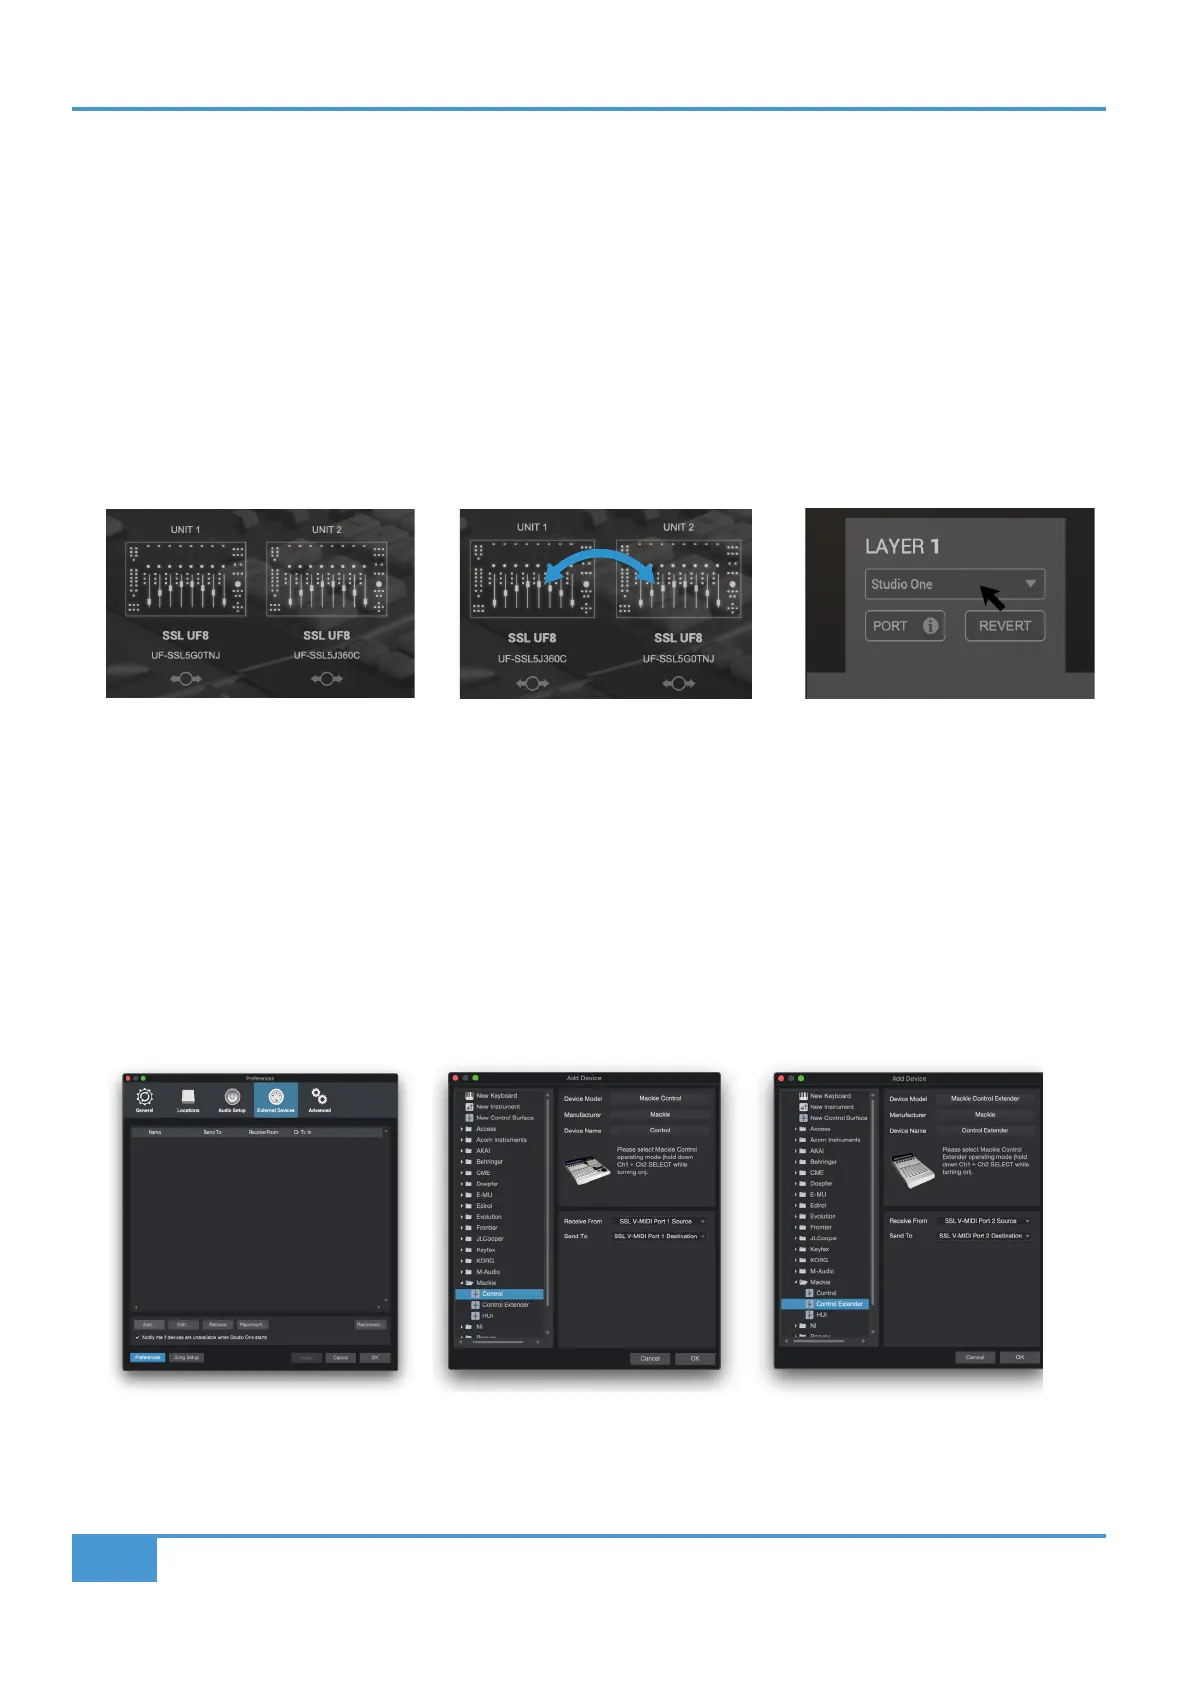
4. Open Studio One. Go to Preferences > External Devices and click on the Add... button.
5. In the Add Device window, select Mackie Control and set Receive From to SSL V-MIDI Port 1 Source and set Send To to
SSL V-MIDI Port 1 Destination. Click OK.
6. If you have multiple UF8s, go back to the Add Device window and select Mackie Control Extender for subsequent UF8s,
incrementing the SSL V-MIDI Port each time - e.g. the second UF8 would be set to SSL V-MIDI Port 2 for Receive From and
Send To.
STEP 1 : Open SSL 360° application.
Connected UF8s appear on-screen.
STEP 2 : Click and drag to re-order
units if necessary.
STEP 3 : Select the default Studio
One DAW profile from the UF8 page.
STEP 4 : Go the Preferences menu
and click on the External Devices
tab.
STEP 5 : Add a Mackie Control and
configure for SSL V-MIDI Port 1 on
Receive From and Send To.
STEP 6 : If you have multiple UF8s,
add Mackie Control Extender units
and increment SSL V-MIDI Port
number each time.