87
Copyright © 2016 Somfy SAS. All rights reserved.
Pictures are for illustration purposes only
CONTENTS
WELCOME 2
1. SAFETY 3
2. NINA IO TIMER REMOTE CONTROL 5
3. USING NINA TIMER IO 16
Control a device 17
My function 18
Natural Control function 22
Launch a scenario 26
Alarm function 27
Timer function 29
Create typical days 34
Programme the week 50
View programmed actions 53
4. CUSTOMIZING NINA TIMER IO 60
Customize devices 60
Customize groups 64
Customize scenarios 70
Define timer settings 75
Customize the remote control 80
5. ADVANCED SETTINGS 86
6. TROUBLESHOOTING 98
7. ABOUT NINA TIMER IO 99
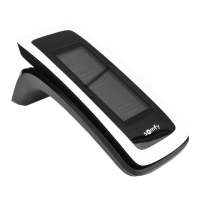
First installation of Nina Timer io
The installation of Nina Timer io remote control is guided by the product itself. From the start, Nina io
displays step by step the different key stages to follow to perform the first installation:
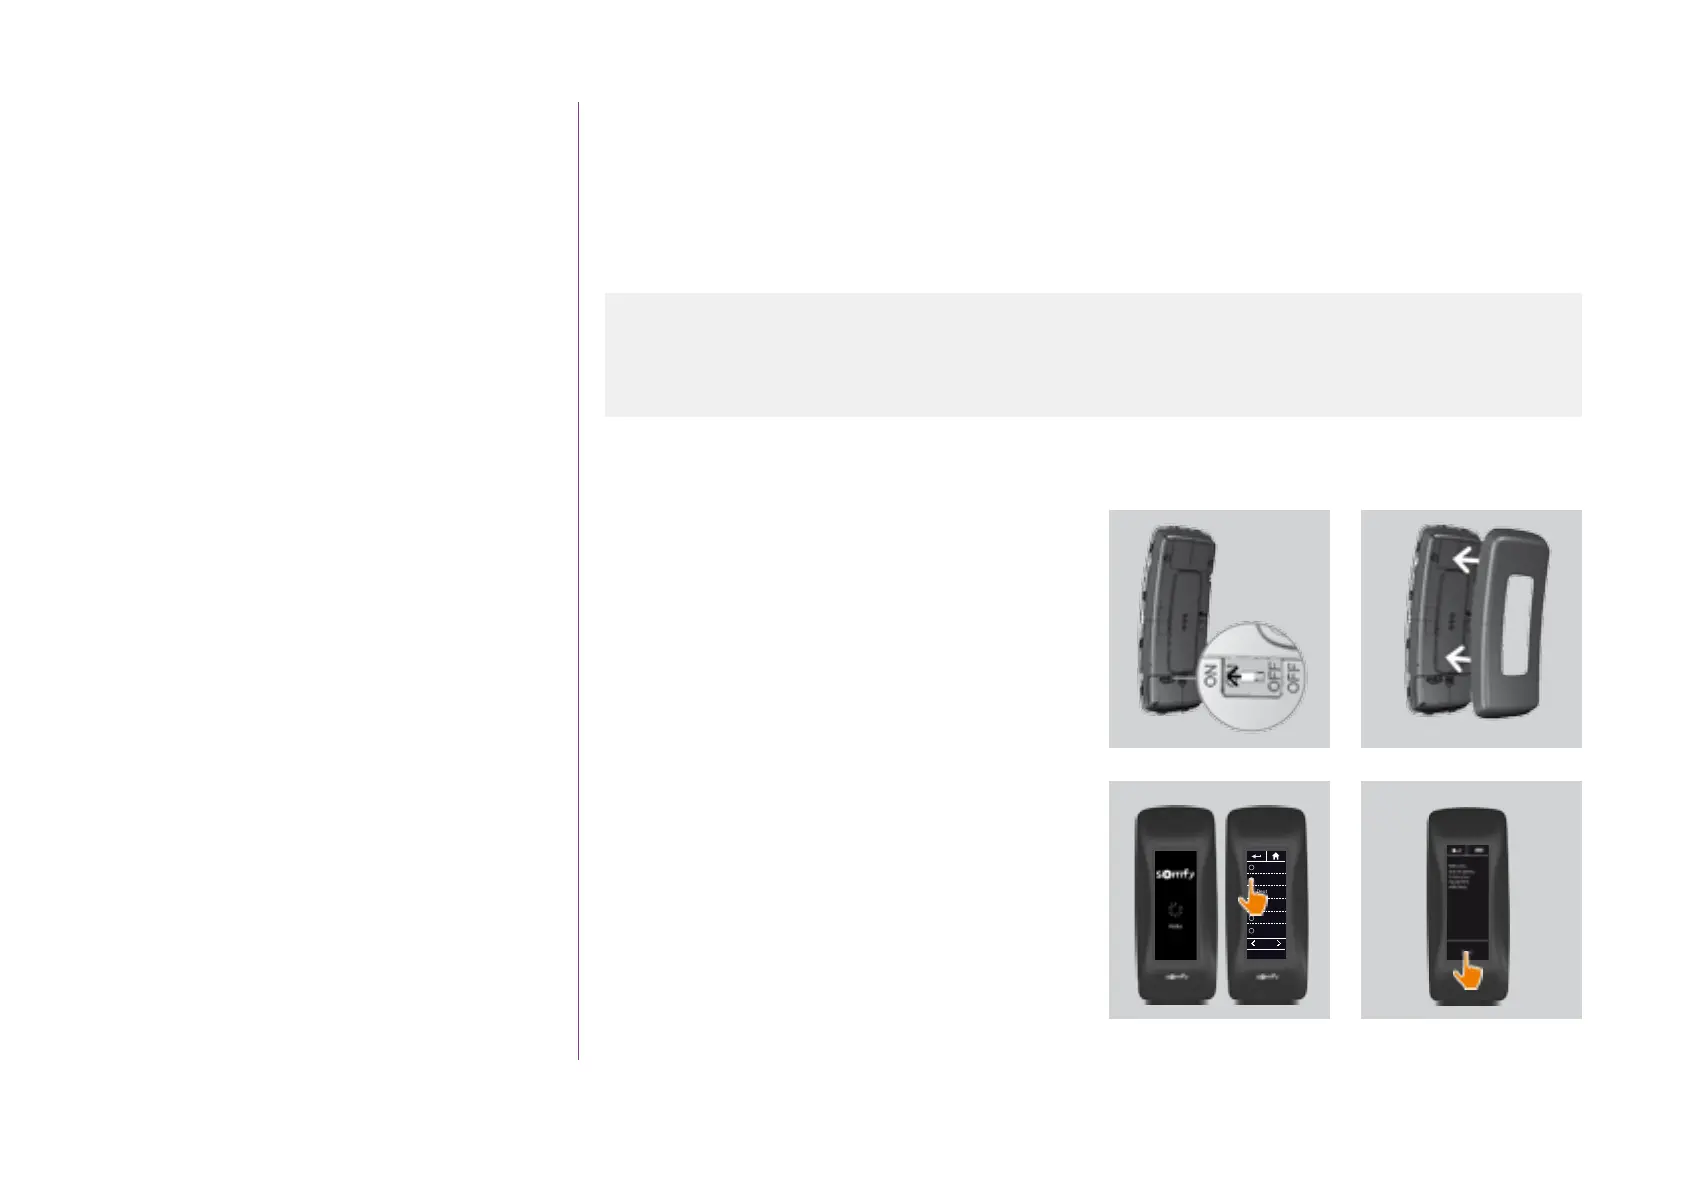
Start Nina Timer io
1. Switch the button at the back of the remote
control to ON to turn on Nina Timer io.
2. Place the removable case at the back of the
remote control.
3. Wait for the end of the welcome animation
for a few seconds and choose a language by
clicking on the corresponding box.
4. Click on Start to start pairing the devices.
> Nina Timer io is ready for pairing.
Start Nina Timer io 87
Pair devices 88
Place devices in groups/rooms 90
Finish the installation 91
Deutsch
Français
Dutch
Italiano
Español
English
1/2
OK
1
2
3
4
 Loading...