91
Copyright © 2016 Somfy SAS. All rights reserved.
Pictures are for illustration purposes only
CONTENTS
WELCOME 2
1. SAFETY 3
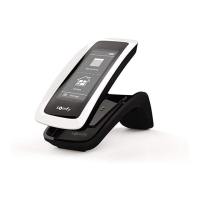
2. NINA IO TIMER REMOTE CONTROL 5
3. USING NINA TIMER IO 16
Control a device 17
My function 18
Natural Control function 22
Launch a scenario 26
Alarm function 27
Timer function 29
Create typical days 34
Programme the week 50
View programmed actions 53
4. CUSTOMIZING NINA TIMER IO 60
Customize devices 60
Customize groups 64
Customize scenarios 70
Define timer settings 75
Customize the remote control 80
5. ADVANCED SETTINGS 86
6. TROUBLESHOOTING 98
7. ABOUT NINA TIMER IO 99
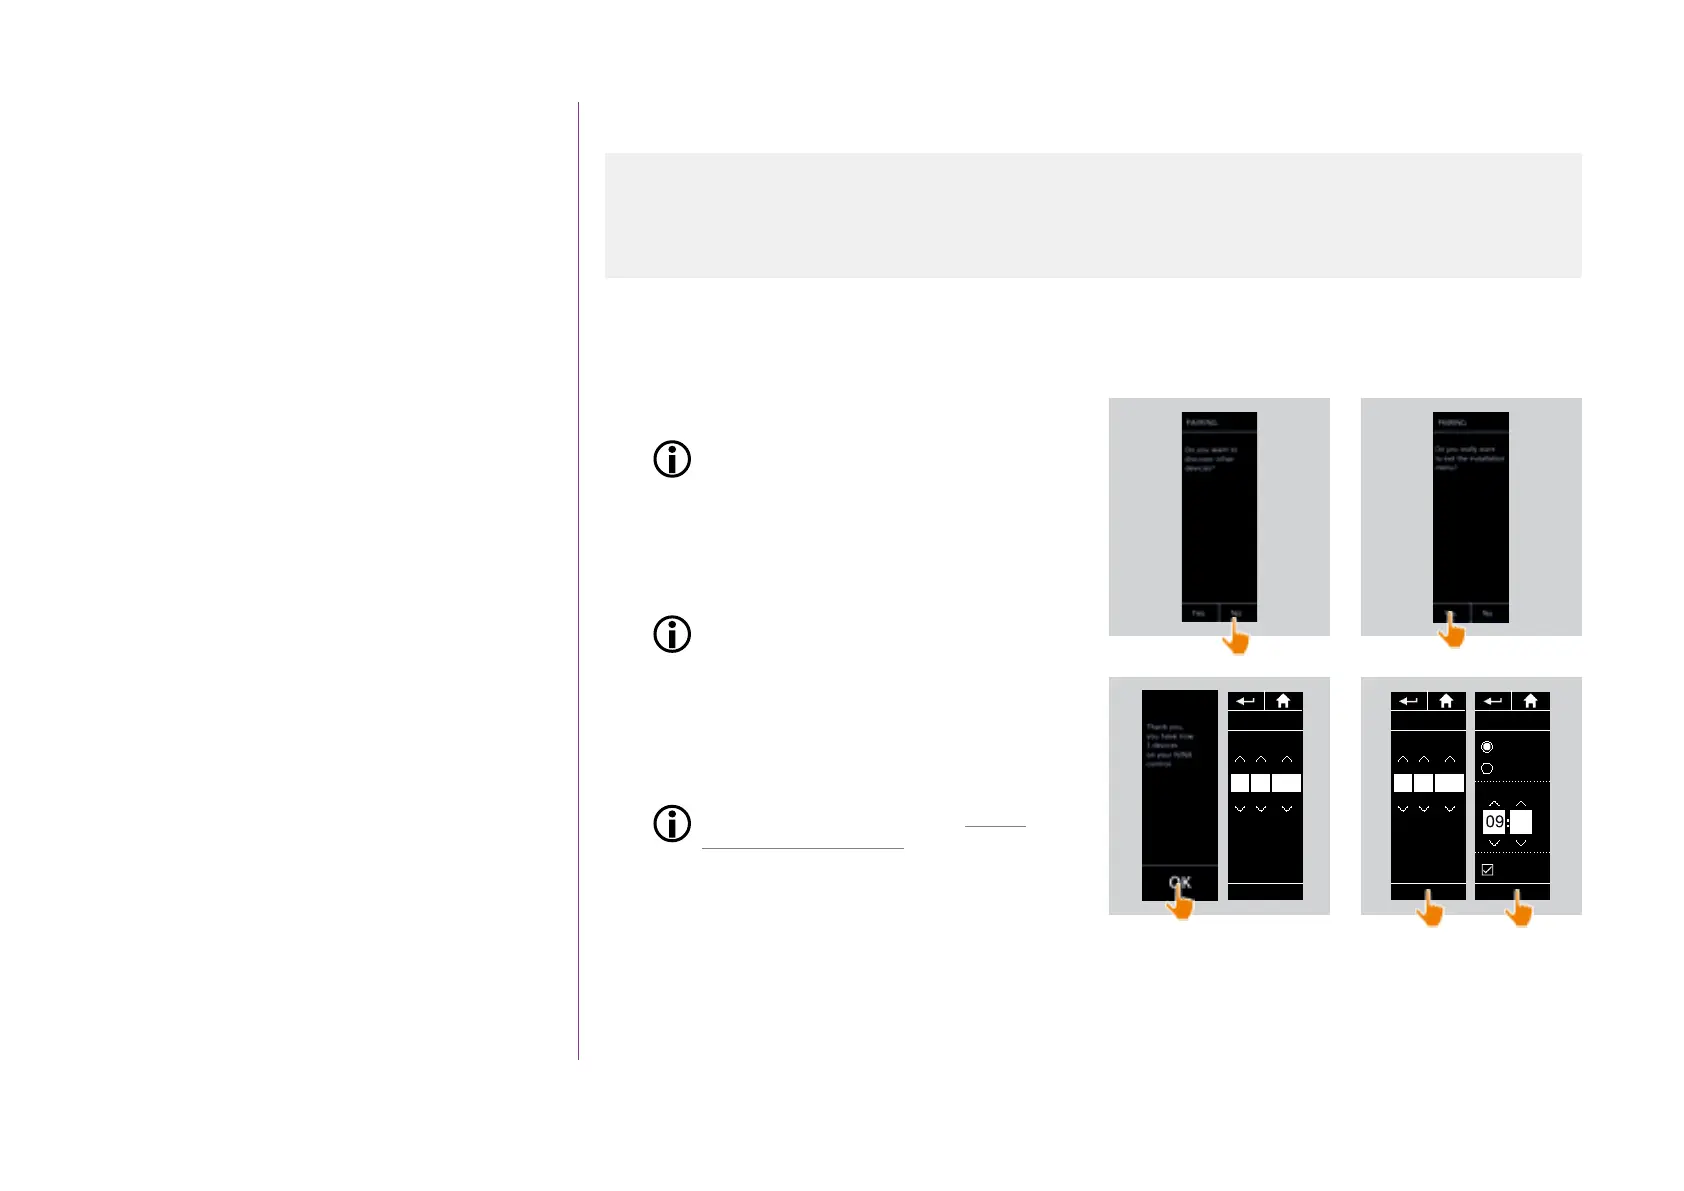
First installation of Nina Timer io
Finish the installation (1/2)
1. Click on No to exit the installation menu.
Click on Yes to return to the pairing page.
2. Confirm this choice by clicking on Yes.
> The number of devices associated with
Nina Timer io is displayed.
Click on No to return to the pairing page.
3. Click on OK to continue the installation
process.
4. The date setting screen is displayed.
To define these settings, see Define
timer settings, page 75.
5. Set the date and click on OK. Set the time and
click on OK.
...
Time format
Time adjustment
Winter time
Auto adjust
OK
am
0 - 12 h
0 - 24 h
10
1
2
3
4
Date adjustment
D
OK
23 02 2016
M Y
Date adjustment
D
OK
19 12 2016
M Y
Start Nina Timer io 87
Pair devices 88
Place devices in groups/rooms 90
Finish the installation 91
 Loading...