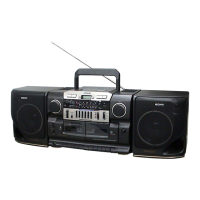
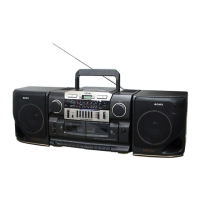
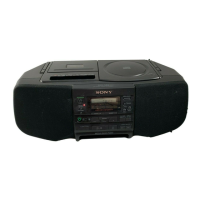
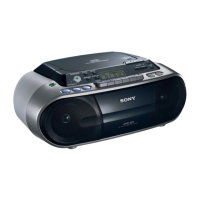
CFD-CD777SMK2
5
8
GB
Playing a tape
For hookup instructions, see pages 19 — 20.
1 Set FUNCTION to TAPE¥CD/
RADIO OFF.
2 Press xZ to open tape compartment
and insert a recorded tape. Use TYPE
I (normal) tape only. Close the
compartment.
3 Press PLAY N.
The player starts playing.
With the side you want
to play facing you
32132
Basic Operations
9
GB
Use these buttons for additional operations
To Do this
adjust the volume Turn VOLUME.
stop playback Press xZ.
fast-forward or rewind the tape Press m or M.
pause playback Press X.
Press the button again to
resume play after pause.
play the opposite side of Press down DIRECTION
the tape (deck A only) once.
DIRECTION
h H
(reverse/
forward) indicators show the
tape direction of deck A.
eject the cassette Press xZ.
To select the direction of the tape (deck A
only)
To play Set DIR MODE to
both sides of the tape
repeatedly
both sides of the tape
from the front side to
reverse side only*
* If play begins from the reverse side, the tape stops at the end of
that side.
DIRECTION
h H
DIR MODE
Level meter
VOLUME
xZ
X
m, M
m, M
X
xZ
Note
During playback, do not
press M, m or N on
the other deck as this causes
excessive wow and flutter.
Tips
¥During operation, the level
meter shows the frequency
level of the sound.
Adjusting the volume will
not affect the level meter.
¥ To play tapes in both decks
successively, press N on
deck B and then press
PLAY and X on deck A as
the same time. When the
tape ends on deck B, the
playback starts
automatically on deck A.
10
GB
Recording on a tape
1 Press xZ to open the tape
compartment on deck B and insert a
blank tape. Use TYPE I (normal)
tape only. Close the compartment.
2 Select the program source you want
to record.
To record from the CD player, set
FUNCTION to CD and insert a CD.
To record from the radio, set
FUNCTION to RADIO, and tune in
the station you want using BAND
and TUNING.
To record from the built-in
microphone (MIC), set FUNCTION
to TAPE¥CD/RADIO OFF.
With the side you want to
record on facing you
Display
312
MIC
Basic Operations
11
GB
3 Start recording.
Press z on deck B (N is depressed
automatically).
Use these buttons for additional operations
Notes
¥ During recording, do not
press M, m or PLAY
on deck A as this causes
excessive wow and flutter.
¥While recording from the
built-in microphone (MIC),
no sound comes from the
speakers or the headphones.
¥When you connect the
microphone to the MIX
MIC jack, you cannot
record from the built-in
microphone.
Tips
¥ Adjusting the volume or
selecting the audio
emphasis will not
affect the recording
level.
¥ If the MW program makes
a whistling sound after
you’ve pressed z in step 3,
set the ISS¥FM MODE
(Interference Suppress
Switch) at the rear to the
position that most decreases
the noise.
¥ For the best results, use the
AC power as a power
source.
¥ To erase a recording,
proceed as follows:
1 Insert the tape into deck
B.
2 Disconnect the audio
source if connected to the
TV/LINE IN jack at the
rear.
3 Set FUNCTION to TV/
LINE IN.
4 Press z on deck B.
xZ
X
n
To Press
stop recording xZ on deck B
pause recording X on deck B
Press the button again to resume
recording.
Deck B
xZ X