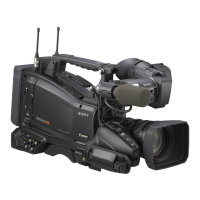
Setting the Area of Use
41
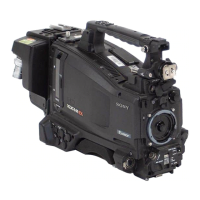
Chapter 2 Preparations
When using the camcorder for the first
time
The area of use is not factory preset. Before using
the camcorder, you need to set this item. (You
cannot use the camcorder without setting this
item.)
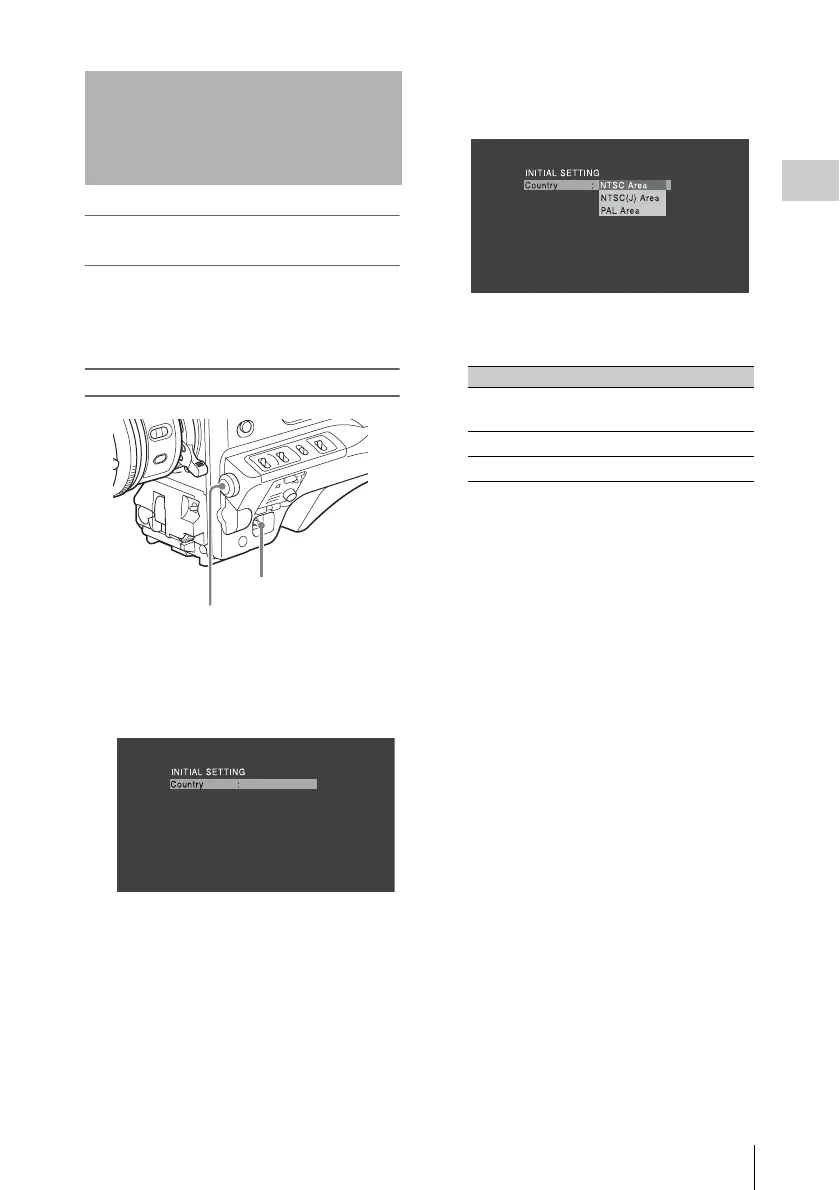
To set the area of use
1 Set the POWER switch to the ON
position.
The screen for setting the area of use appears
in the viewfinder.
2 Press the MENU knob.
The settings for selectable areas of use are
displayed.
3 Turn the MENU knob to select the
desired area of use.
a) The composite signal output from this camcorder
is an NTSC signal with a black setup (7.5 IRE).
The system frequency is 59.94i.
b) The composite signal output from this camcorder
is an NTSC signal with no black setup. The
system frequency is 59.94i.
c) The composite signal output from this camcorder
is a PAL signal. The system frequency is 50i.
4 Set the following items.
•Time Zone
• Date/Time
See “Basic Setup Menu Operations” (page 97).
5 Turn the MENU knob to select
“Finish”, then press the MENU knob.
The camcorder is now ready for use.
Setting the Area of Use
MENU knob
POWER switch
Setting Area of use
NTSC Area NTSC area (for areas other
than Japan)
a)
NTSC(J) Area
NTSC area (Japan)
b)
PAL Area
PAL area
c)