5-5
1) NVRAM Option is adjusted at production line basically.
2) In case Micom (IC601) and NVRAM (IC605 ; EEPROM) is replaced, be sure to set the corresponding option number of the reqaired
model. (If the option is not set, the unit is not operated.)
5-3 HEAD SWITCHING POINT ADJUSTMENT
1) Playback the alignment tape.
2) Press the “TEST” button on Main PCB/Function PCB to set the adjustment mode. (See Fig. 5-2 and 5-3)
3) Press the “SP/LP” button of remote control then adjustment is operated automatically. (See Fig. 5-1)
4) Turn the Power off.
5-4 NVRAM OPTION SETTING
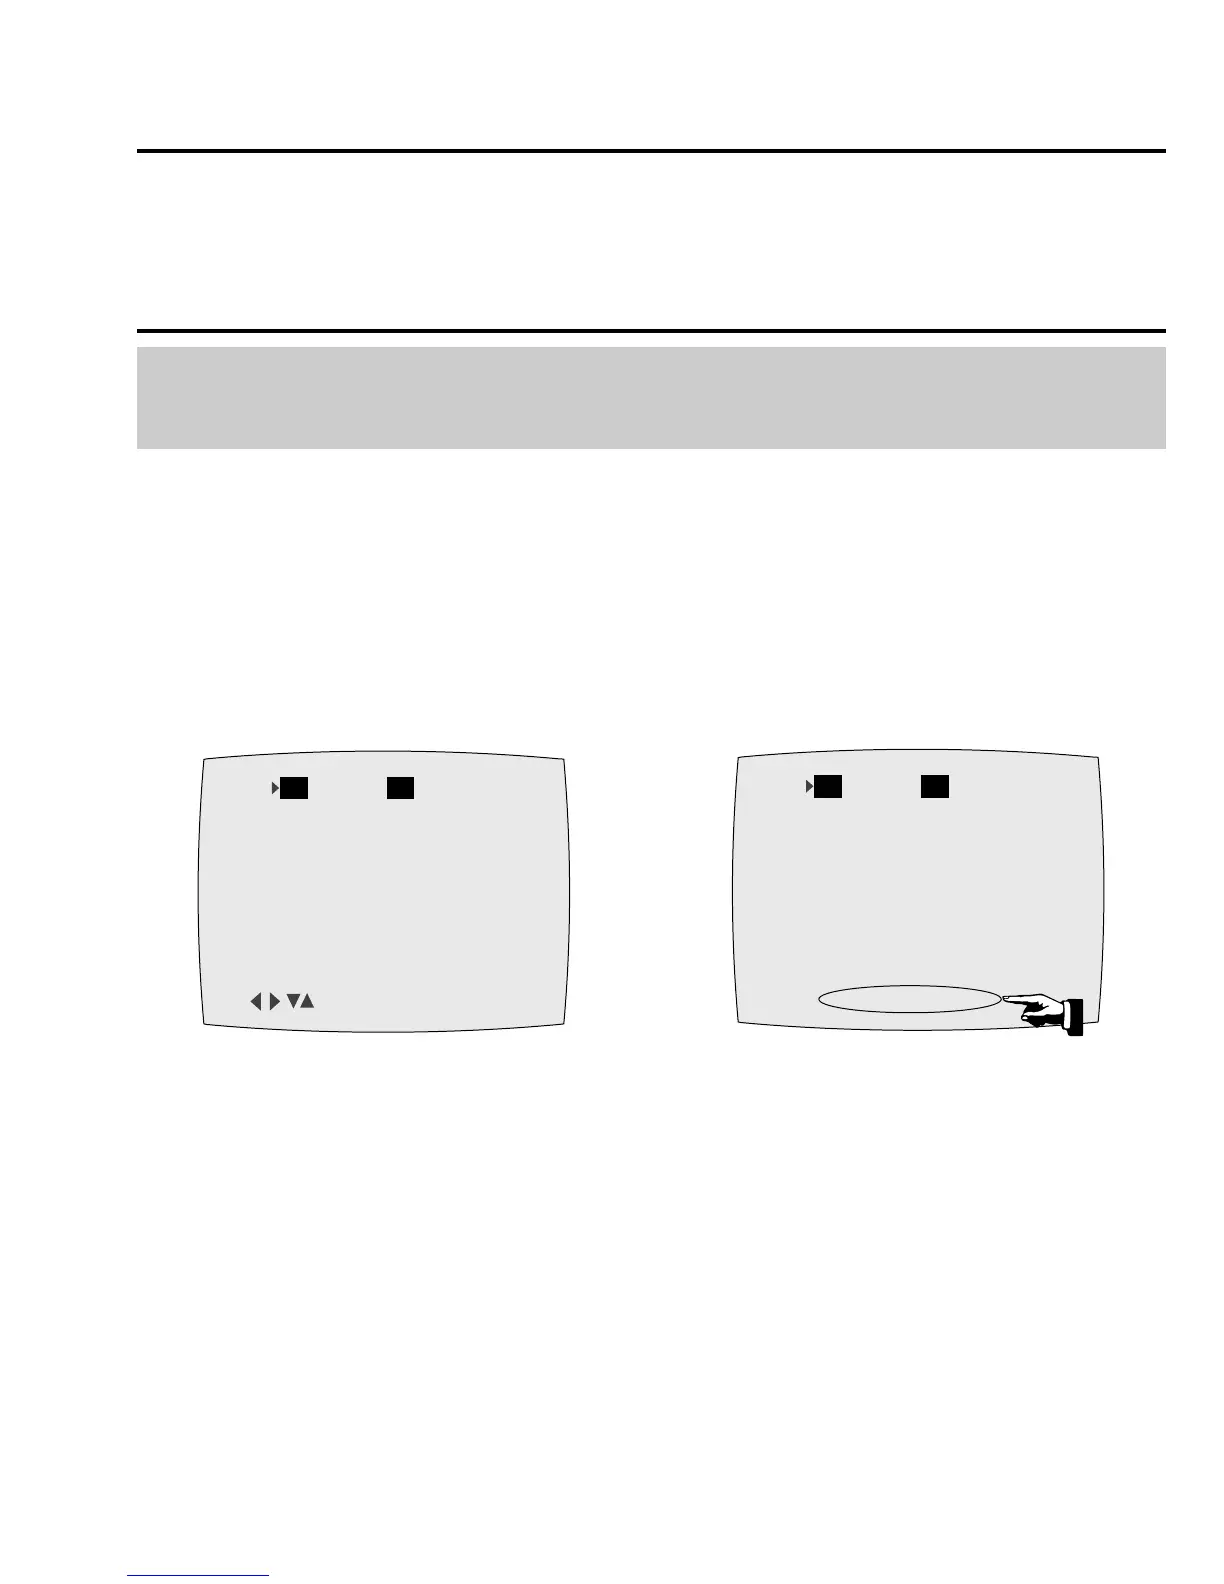
Fig. 5-5 Fig. 5-6
01 02 03 04 05 06 07 08
09 10 11 12 13 14 15 16
17 18 19 20 21 22 23 24
25 26 27 28 29 30 31 32
33 34 35 36 37 38 39 40
41 42 43 44 45 46 47 48
49 50 51 52 53 54 55 56
57 58 59 60 61 62 63 64
65 66 67 68 69 70 71 72
CNG:OK SAVE:MENU
1) Press the “TEST” button on Main PCB/Function PCB to set the adjustment mode. (See Fig. 5-2 and 5-3)
2) Press the “MENU” button on the remote control about 5 seconds then option setting display is appeared.
(See Fig. 5-5 and 5-6)
3) Select the option number (See Table 5-1) of corresponding model with “FF/REW/STOP/PAUSE” button on the remote
control.
4) If selecting the option number is completed, press the “OK (PLAY)” button of remote control.
(If “OK (PLAY)” button is pressed, the selected number is changes reversed color. ; See Fig. 5-5)
5) Press the “MENU” button of remote control again to store the option number.
(“PLEASE WAIT” is displayed for a second as shown Fig. 5-6 and this setting is completed.)
6) Turn the Power off.



 To Next Page