2-4
BVM-A14
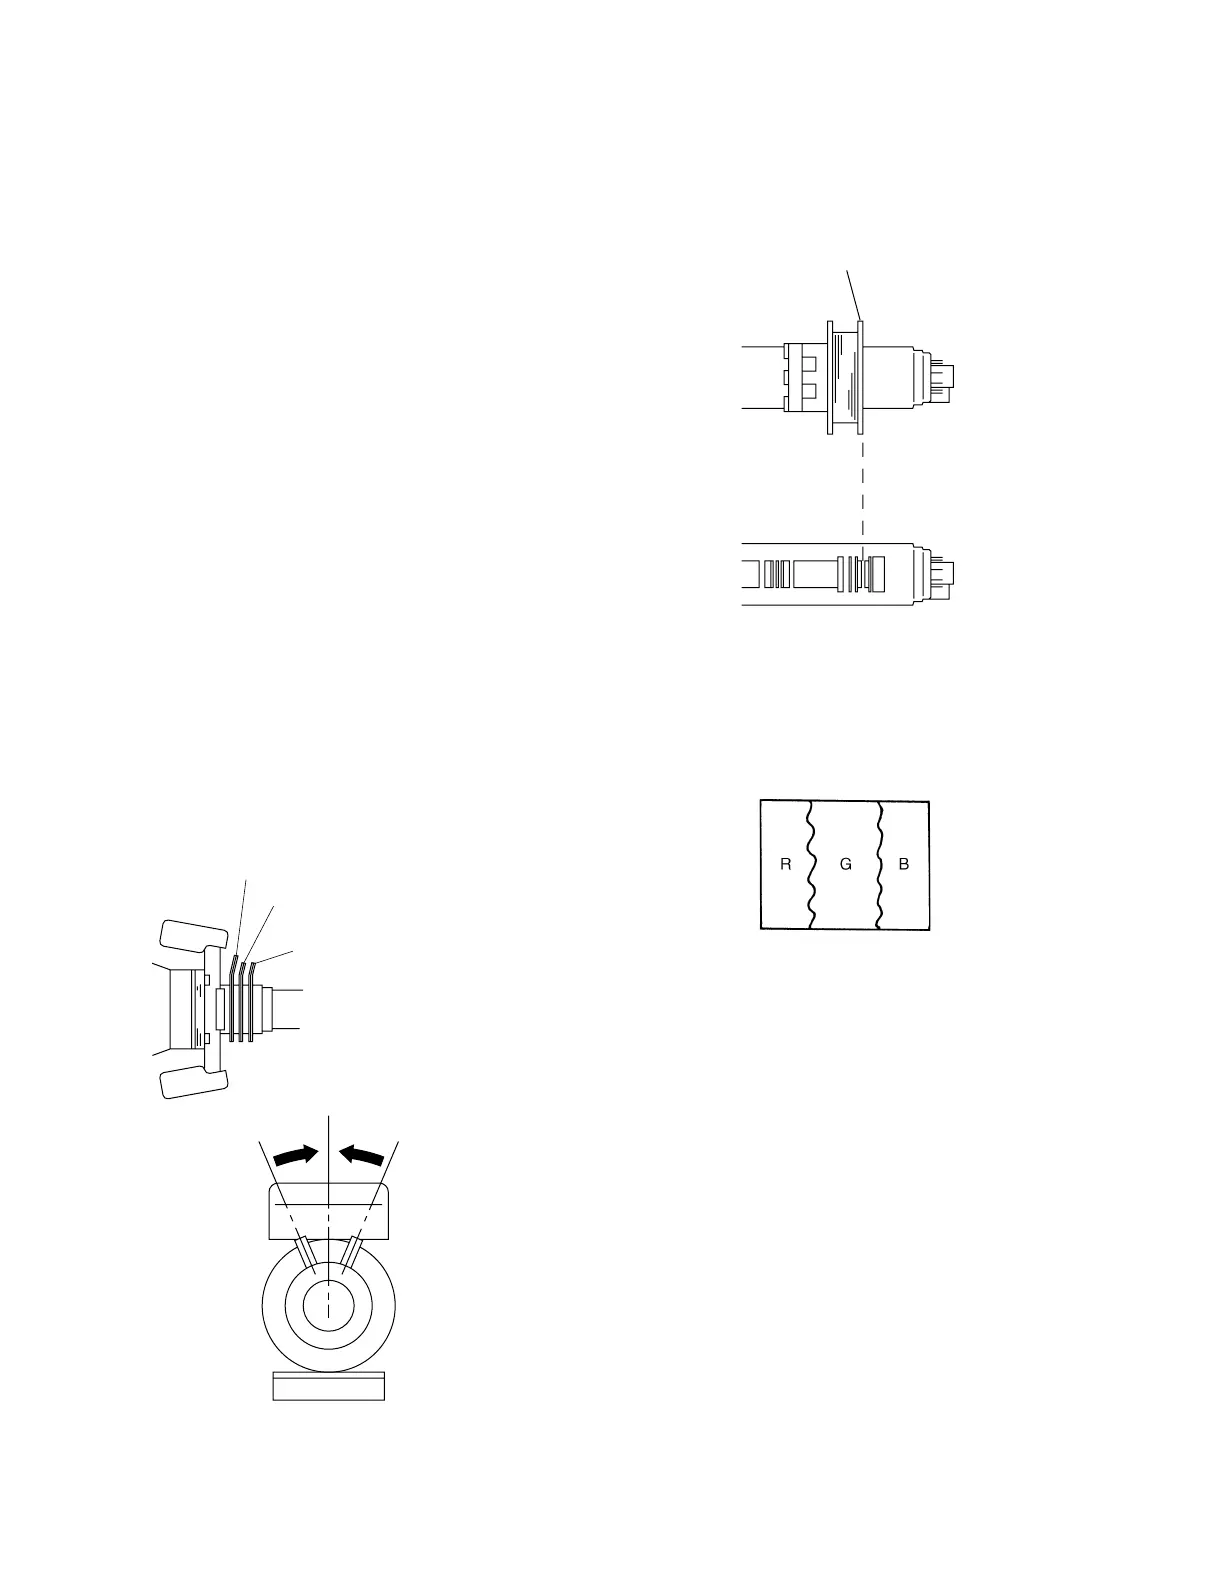
Neck assembly
Fig. 1-3
9. Adjust the screen to green color only. Turn on the R
OFF button and the B OFF button. (LED lights up)
10. Adjust the Purity knob so that green comes to the
center of screen as shown in Fig. 1-4.
Fig. 1-4
7. Push the DY to the front as much as possible.
8. Fix the neck assembly at the position shown in Fig. 1-
3.
Purity
6-pole magnet (HMC, VMC)
4-pole magnet (H_STAT, V_STAT)
[Landing Adjustment]
n
Configure the following settings before adjusting the DY
position:
ROTATION .............................................. 128
LANDING ................................................ 128
These adjustment menus are located in the SYSTEM
CONFIGURATION menu → MAINTENANCE →
DEFLECTION (1/5).
1. Input the MODE9 480/60p (525p) all white signal to
the BKM-68X (analog component input adaptor).
2. Press the BRIGHT button and CONTRAST button to
set both into the PRESET state. [The LED (green) on
the button goes off.]
Press the SHIFT button and the 16 : 9 button to set 4 :
3 mode.
3. Allow the aging of 30 to 60 minutes with luminance of
100 cd/m
2
.
4. Confirm that ROTATION that is located in the
INSTALLATION SETTINGS menu → ALIGN-
MENT (1/3) remains in the center value 128.
5. Direct the CRT screen in the direction of east (or
west). Press the DEGAUSS button.
6. Set the Purity knob in its mechanical center.
. 14-inch
Fig. 1-2