34
The Installation Menu
The Installation Menu
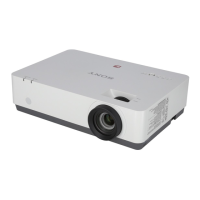
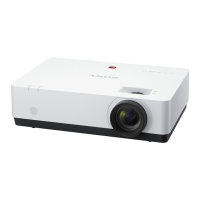
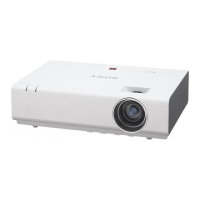
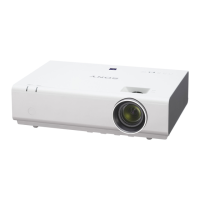
The Installation menu is used for installing the projector.
*1: When “High Altitude Mode” is set to “On,” the speed of the fan increases, and the fan noise
becomes slightly louder.
*2: Since the Keystone adjustment is an electronic correction, the image may be deteriorated.
*3: Since Digital Shrink uses electronic correction, the image may deteriorate.
*4: If you press the ENTER button while adjusting with Digital Shrink, the projector switches to the
shift adjustment.
Items Item descriptions
Image Flip HV/H/V/Off: Flips the projected image horizontally or vertically
according to the installation method.
Installation Attitude Right Side Up/Upside Down/Link to Image Flip: Change the cooling
setting to suit to the installation attitude. When set to “Link to Image Flip,”
the cooling setting changes based on the setting of “Image Flip.”
Continuing to use the wrong setting may affect component reliability.
High Altitude
Mode
*1
On/Off: Set to “On” when using the projector at an altitude of 1,500 m or
higher. Continuing to use the wrong setting may affect component
reliability.
V Keystone
*2
Auto/Manual
*2
: The higher the value, the narrower the top of the
projected image. The lower the value, the narrower the bottom.
Rid. digitale
*3*4
Shrinks or adjusts the size of the projected image (Digital Shrink).
Rid. digitale: Adjusts the size of the projected image. If you set the value
to “0”, the image is set to the original size. The shrinking rate is 100% to
90%.
Shift: Adjusts the position of the projected image. The adjustable range
varies from the shrinking rate.
Notes