12
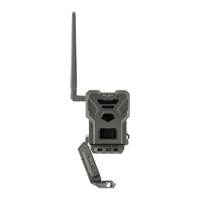
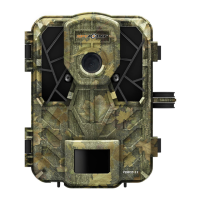
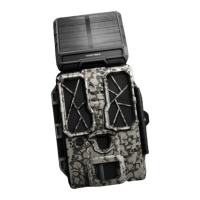
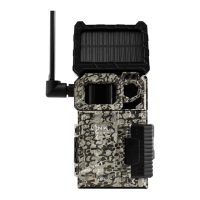
INSTALLING YOUR CAMERA
1. To install the camera, loop the installation strap through the intended slots.
2. Choose a solid tree that does not move in the wind, as movement will cause
false detections.
3. Make sure the area immediately in front of your camera is free of branches
or twigs that could be blown away by the wind.
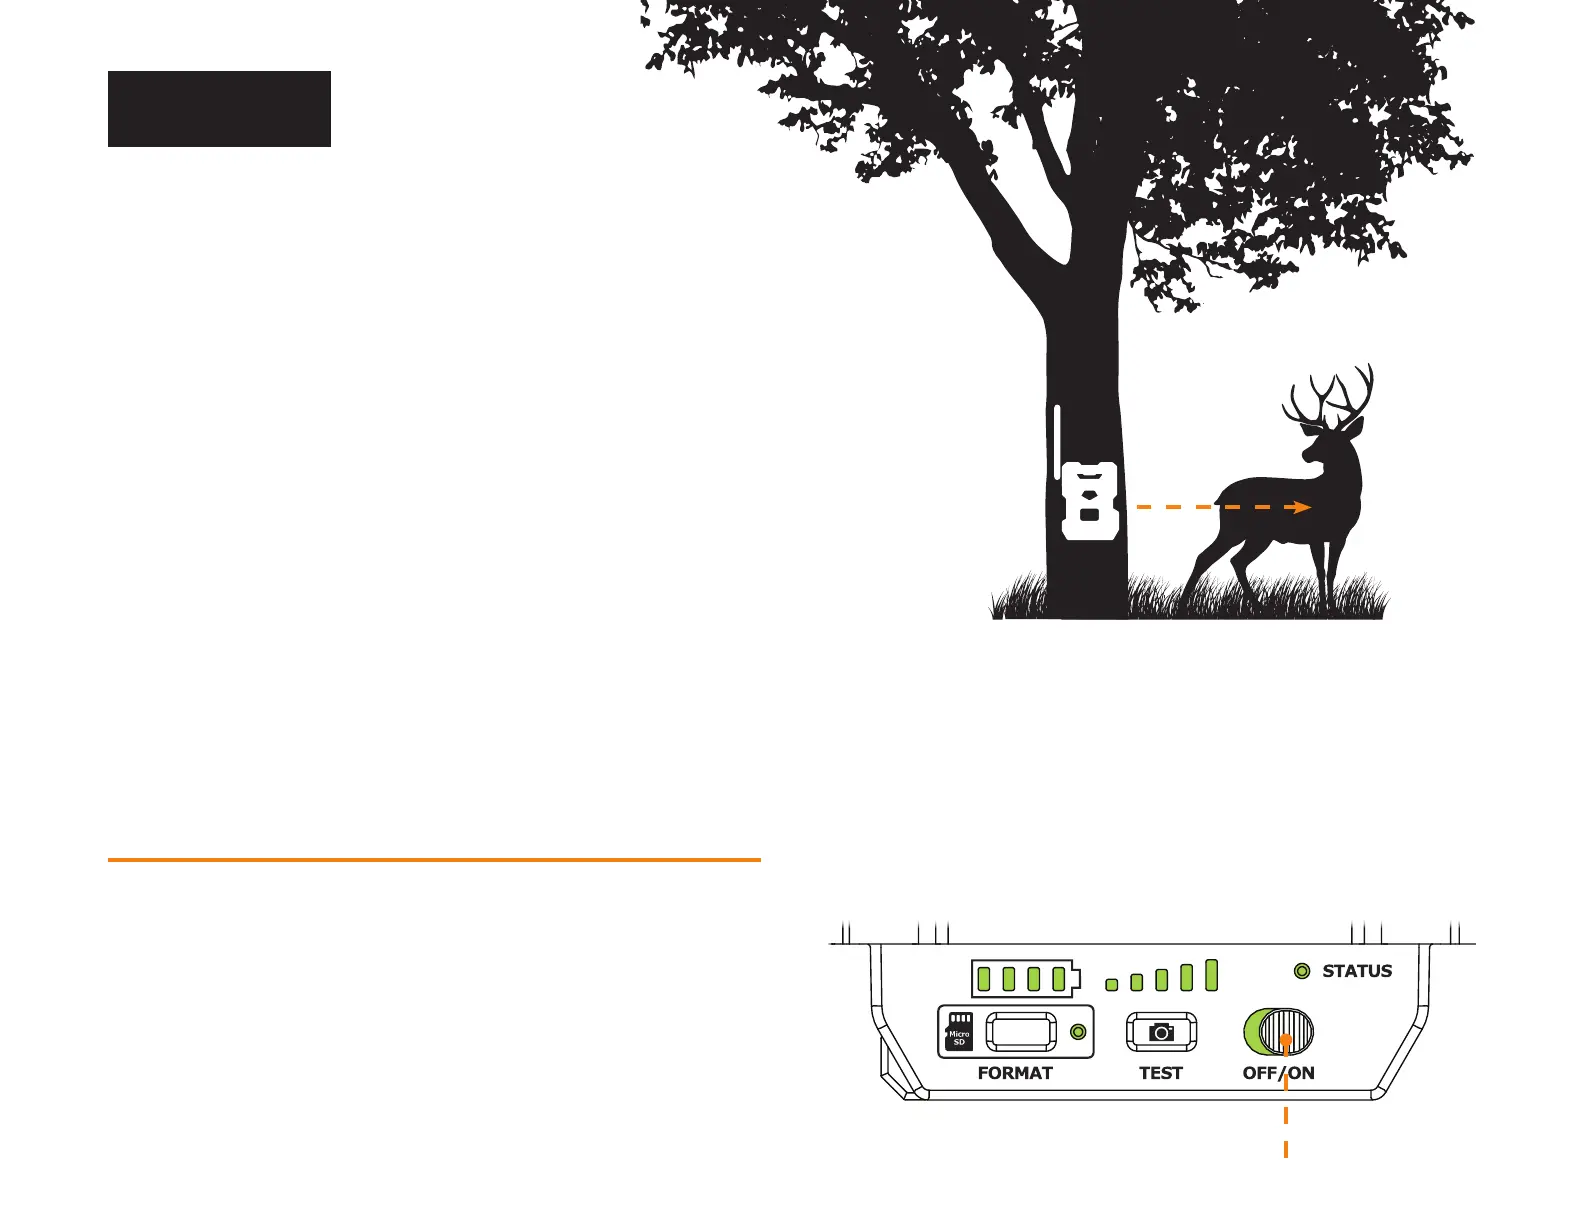
4. The camera should be at the same height of the animal’s mid-body.
5. The targeted animal should be at 25 feet (7.5 meters) away from the camera.
6. To produce brighter photos and videos at night, there should be items
reecting the camera's ash in the background.
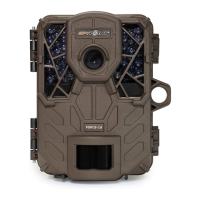
STARTING YOUR CAMERA
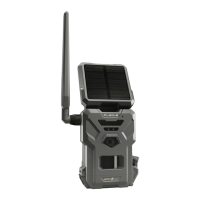
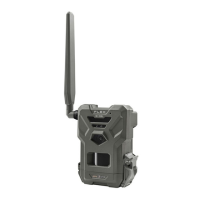
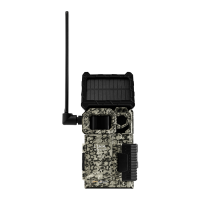
IMPORTANT VERIFICATIONS BEFORE STARTING YOUR CAMERA:
M The antenna is installed (antenna support removed).
M The 8 AA batteries or LIT-22 are inserted in the camera’s battery compartment.
M The microSD card is formatted and inserted in the camera.
M The camera is activated.
M The camera is securely installed.
1. Turn ON the camera.
2. The green STATUS light will ash, the battery level will be displayed.
3. The signal lights will ash together until signal is found. Once signal
is found number of bars will correspond to the signal strength.
4. The microSD light will be ON.
5. The delay light will blink for 10 seconds,
and the STATUS light will turn solid green.
6. All lights will turn OFF and the camera will go into standby
mode – awaiting a trigger.
Installation
25 feet
(7.5 meters)