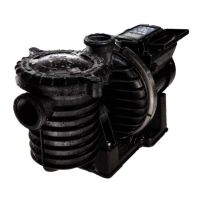
9
If shaft seal is damaged, repair as follows:
Removing Old Seal
1. Disconnect power to pump motor.
2. Drain water to below level of suction and discharge piping and discon-
nect pipes from pump body.
3. Remove nine capscrews, Key No. 10, Page 11, from pump body,
Key No. 8.
4. Remove pump body from seal plate, Key No. 3. Use care to not damage
gasket, Key No. 4, when opening pump body. If damaged, replace.
5. Remove cover from end of motor to expose shaft and electrical
components.
6. Place a 7/16” open end wrench on flats of motor shaft at cover end below
centrifugal switch mechanism. Hold shaft, and when looking at impeller,
turn impeller clockwise and remove from shaft.
7. Unscrew four through-bolts under motor cover to remove seal plate from
motor.
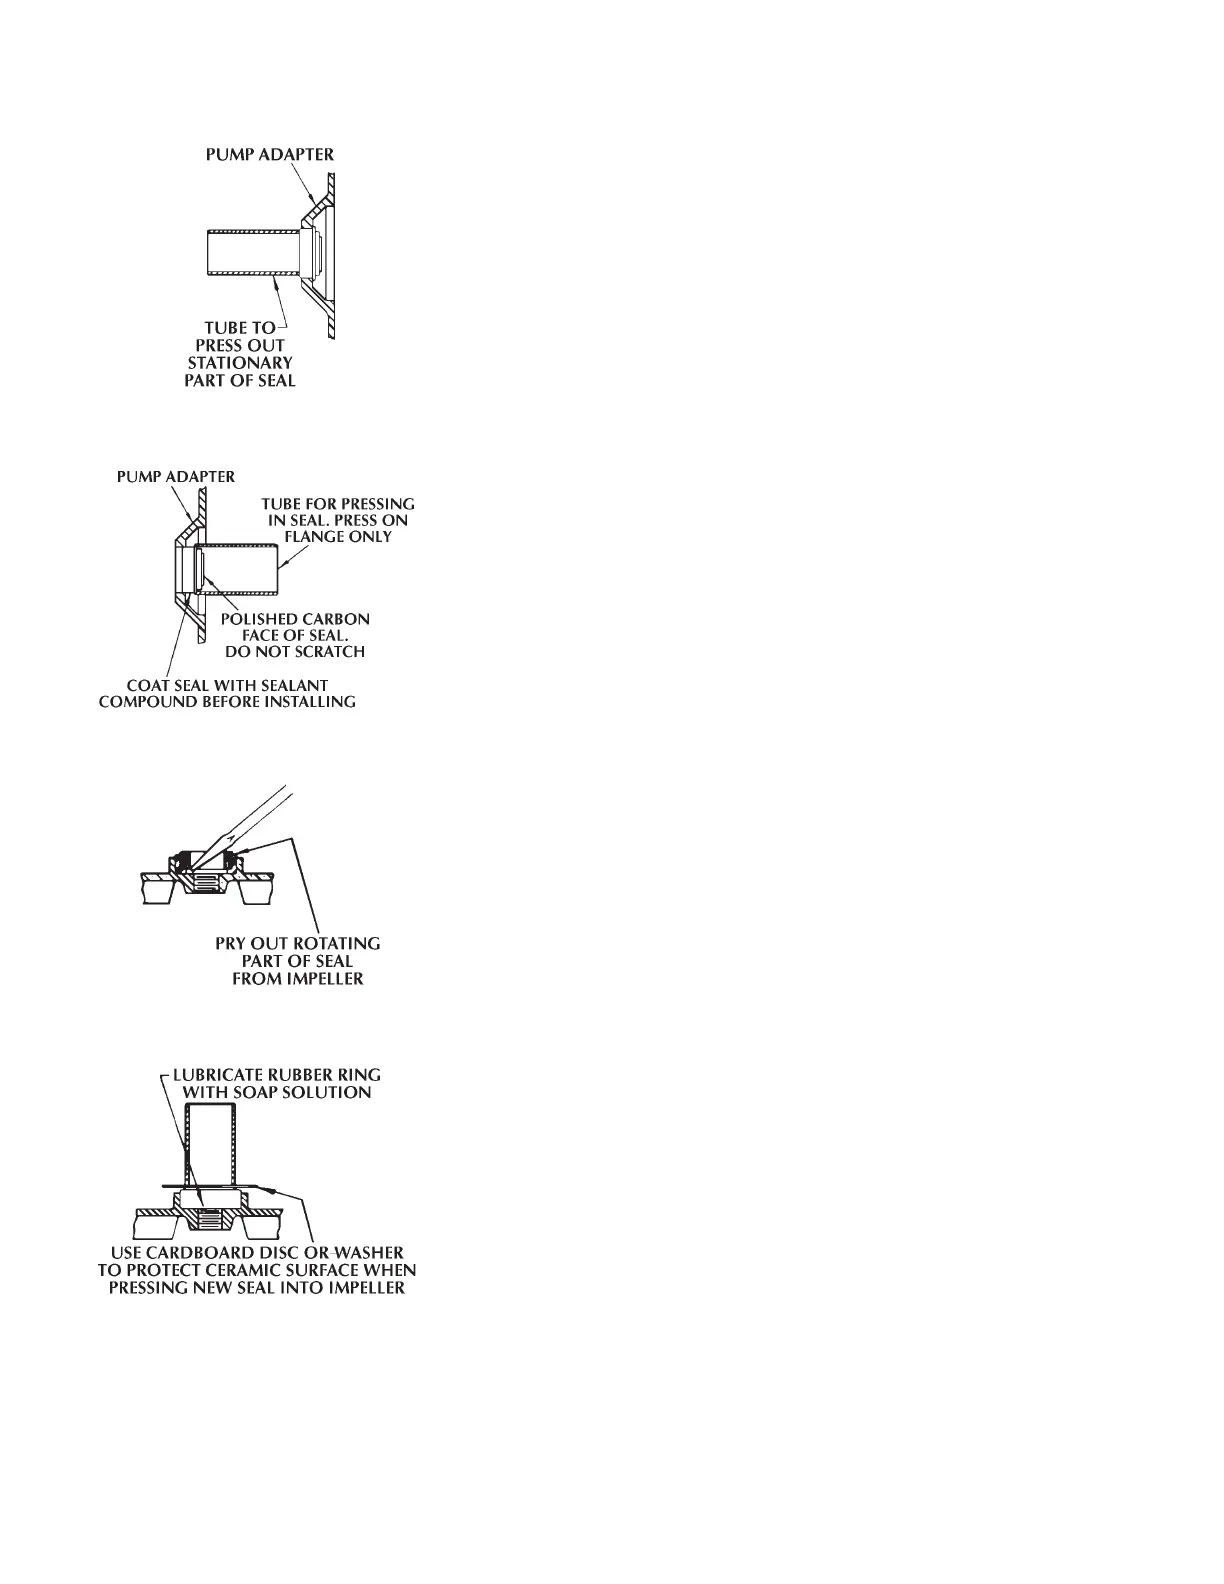
8. Drive stationary part of shaft seal out of seal plate using rigid tubing or
pipe as shown in Figure 4.
9. Clean seal plate cavity and motor shaft.
Installing New Seal
1. Coat seal cup with Sealastic #732 RTV sealant before pressing seal into
seal cavity. Press into place with a tube or pipe of correct diameter to
press on seal cup rim only, as shown in Figure 5.
2. Pry loose the ceramic seal seat in back of impeller, using screwdriver be-
tween seat and cavity in impeller as shown in Figure 6. Clean cavity from
which seat was removed.
3. Lubricate O-Ring on seal seat with liquid soap solution. Press seat into im-
peller cavity with polished face up as shown in Figure 7. Use cardboard
disc or large washer to protect surface of ceramic seat of new seal.
BE SURE you do not scratch or nick seal surface.
4. To Reassemble pump, reverse steps one through seven. See Exploded
View, Page 11.
Figure 4
Figure 5
Figure 6
Figure 7