12
ENGLISH
(Original instructions)
• Charging is complete when the green charging light
remains continuously ON. Battery pack can be left in
charger orremoved.
• Recharge discharged batteries as soon as possible after
use or battery life may be greatly diminished.
For longest battery life, do not discharge batteries fully.
It is recommended that the batteries be recharged after
eachuse.
Charger Diagnostics
This charger is designed to detect certain problems that can
arise with the battery packs or the power source. Problems
are indicated by one LED flashing in differentpatterns.
Bad Battery
The charger can detect a weak or damaged battery. The LED
flashes in the pattern indicated on the label. If you see this bad
battery blink pattern, do not continue to charge the battery.
Return it to a service centre or a collection site forrecycling.
Hot/Cold Pack Delay
When the charger detects a battery that is excessively hot or
excessively cold, it automatically starts a Hot/Cold Pack Delay,
suspending charging until the battery has normalised. After
this happens, the charger automatically switches to the Pack
Charging mode. This feature ensures maximum battery life.
The light flashes in the pattern indicated on thelabel.
Leaving the Battery in the Charger
The charger and battery pack can be left connected with the
LED glowing indefinitely. The charger will keep the battery
pack fresh and fully charged.
This charger features an automatic tune-up mode which
equals or balances the individual cells in the battery pack to
allow it to function at peak capacity.
Battery packs should be tuned up weekly or whenever the
battery no longer delivers the same amount of work. To use
the automatic tune-up mode, place the battery pack in the
charger and leave it for at least 8hours.
ASSEMBLY AND ADJUSTMENTS
WARNING! To reduce the risk of serious personal injury,
turn unit off and remove the battery pack before making
any adjustments or removing/installing attachments or
accessories. An accidental start‑up can causeinjury.
Telescoping Handle (Fig.A, B)
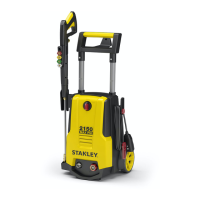
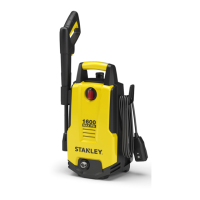
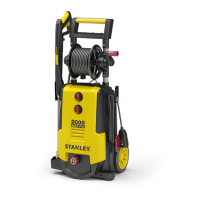
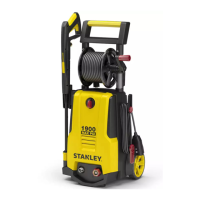
This pressure washer has a convenient, built-in telescoping
handle and transportwheels.
1. To unlock the telescoping handle
16
, press the handle
release button
17
and slide the handle upwards. You will
hear an audible click when it snaps intoposition.
2. To store the telescoping handle
16
, press the handle
release button
17
and slide the telescoping handle down
and into the pressure washer body. You will hear an audible
click when it snaps intoposition.
3. To move the pressure washer, tilt the unit so the transport
wheels
21
are touching the ground and pull the unit by
the telescopinghandle.
Attaching Spray Gun (Fig.C)
1. To connect the spray gun
7
to the spray lance
5
, insert
the end of the spray gun onto the end of the spraylance.
2. Press in and turn the spray gun counterclockwise to lock
it into position.
Attaching High Pressure Hose (Fig.A, D)
CAUTION: NEVER PULL WATER SUPPLY HOSE TO
MOVE pressure washer. This could damage hose and/
or pumpinlet.
This pressure washer has a hook and loop hose storage
strap
27
on the roll cage
15
(Fig. A) of the pressure washer
unit to store the coiled high pressure hose
1
.
NOTE: Uncoil the high pressure hose
1
before installation to
preventkinks.
NOTE: Avoid cross threading when installing the hose. Cross
threading will causeleaks.
1. To connect the high pressure hose
1
to the spray gun
7
,
thread the hose collar
28
onto the inlet coupler
29
.
2. To connect the high pressure hose to the pressure washer
unit
11
, thread the hose collar
28
onto the high pressure
water outlet
19
.
Attaching Garden Hose (Fig.E)
NOTE: Before connecting the garden hose to the pressure
washer unit, run water through the garden hose for thirty
seconds to clear any debris from inside thegardenhose.
1. To connect the garden hose to the pressure washer
unit
11
, screw the transparent inlet filter
24
to the
garden hose water intake
18
.
2. Connect the garden hose to the hose connector
35
by loosening the screw of the garden connector and
attaching the hose onto theconnector.
3. Attach the garden hose mounted onto the connector
to the transparent inlet filter
24
until it "clicks."
Attaching Nozzles (Fig.F, G2)
DANGER: Risk of fluid injection. Do not direct discharge
stream toward persons, unprotected skin, eyes or any
pets or animals. Serious injury willoccur.
WARNING: Flying objects could cause risk of serious
injury. DO NOT attempt to change nozzles while pressure
washer is running. Turn pressure washer unit OFF before
changingnozzles.
1. To connect a nozzle to the spray lance
5
depress the
nozzle button
6
on the spray lance and insert the
appropriatenozzle.
 Loading...
