5
The second chapter main interface
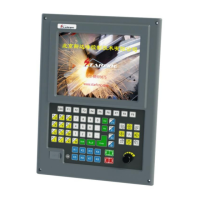
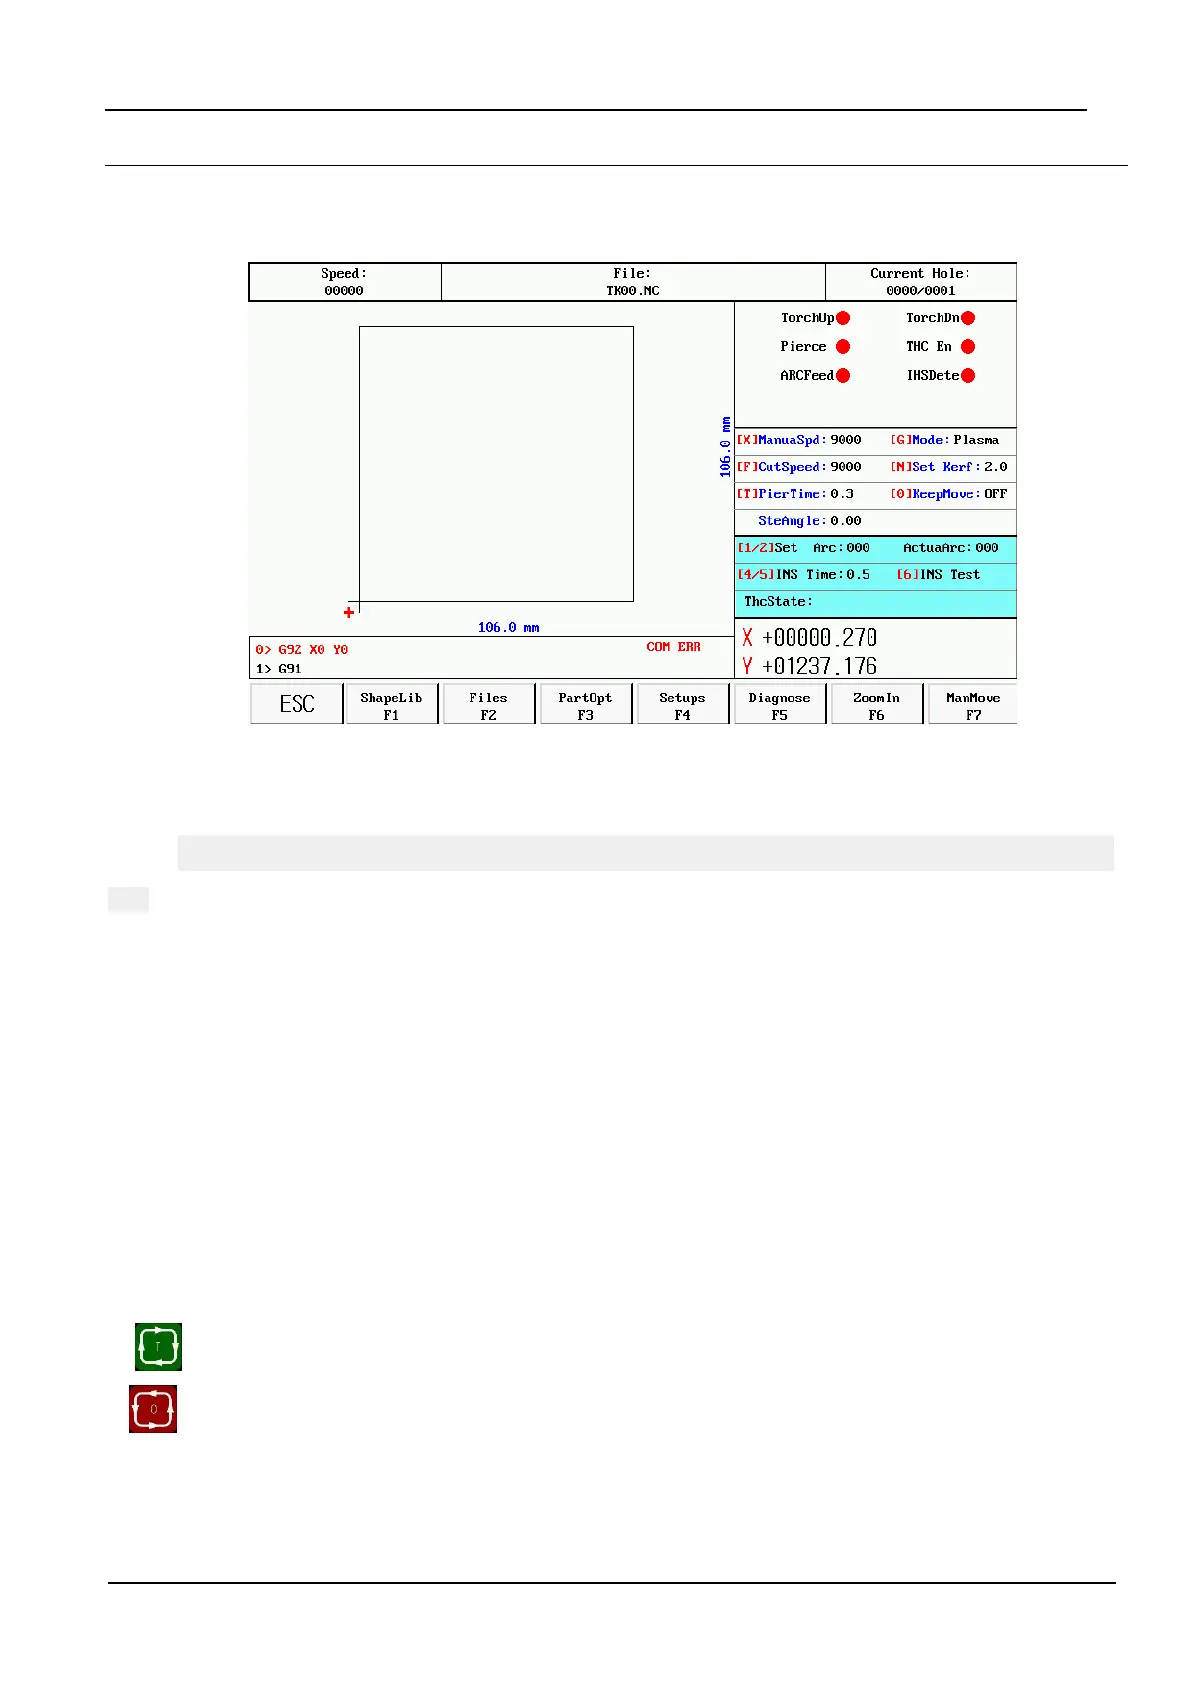
After the system is powered on, interface is shown in figure 1:
figure 1
Under the main interface, press "F1" - "F8" corresponding to the following functions:
[F1]: Gallery, enter can choose commonly used 24 kinds of graphics libraries, most have die size and pore
size.
[F2]
file, enter can choose the native file, U disk file, edit, import and export operation, etc.
Options:
[F3] Option, the machining parts for mirror, rotate, starting point, rotation correction, scaling, parts, etc.
[F4] : parameters. All parameters can be set up in this.
"F5" : diagnosis, input and output diagnosis, system Settings, emptying storage file, reduction, the I/O custom
parameters.
[F6] : graphics zoom, zoom in graphics, view the perforation, as well as cutting information display.
[F7]: manual, manual mobile machine, coordinate system reset, the back, select the breakpoint.
[G] : set the cutting mode, the optional flame, plasma, demonstrates three modes.
[X] : set manual movement speed.
[F] : set up automatic cutting speed.
[T] : set the preheating time delay.
[N] : before the start of the cutting operation, you can set the slot size
. : start the cutting
:Pause or stop cutting
 Loading...