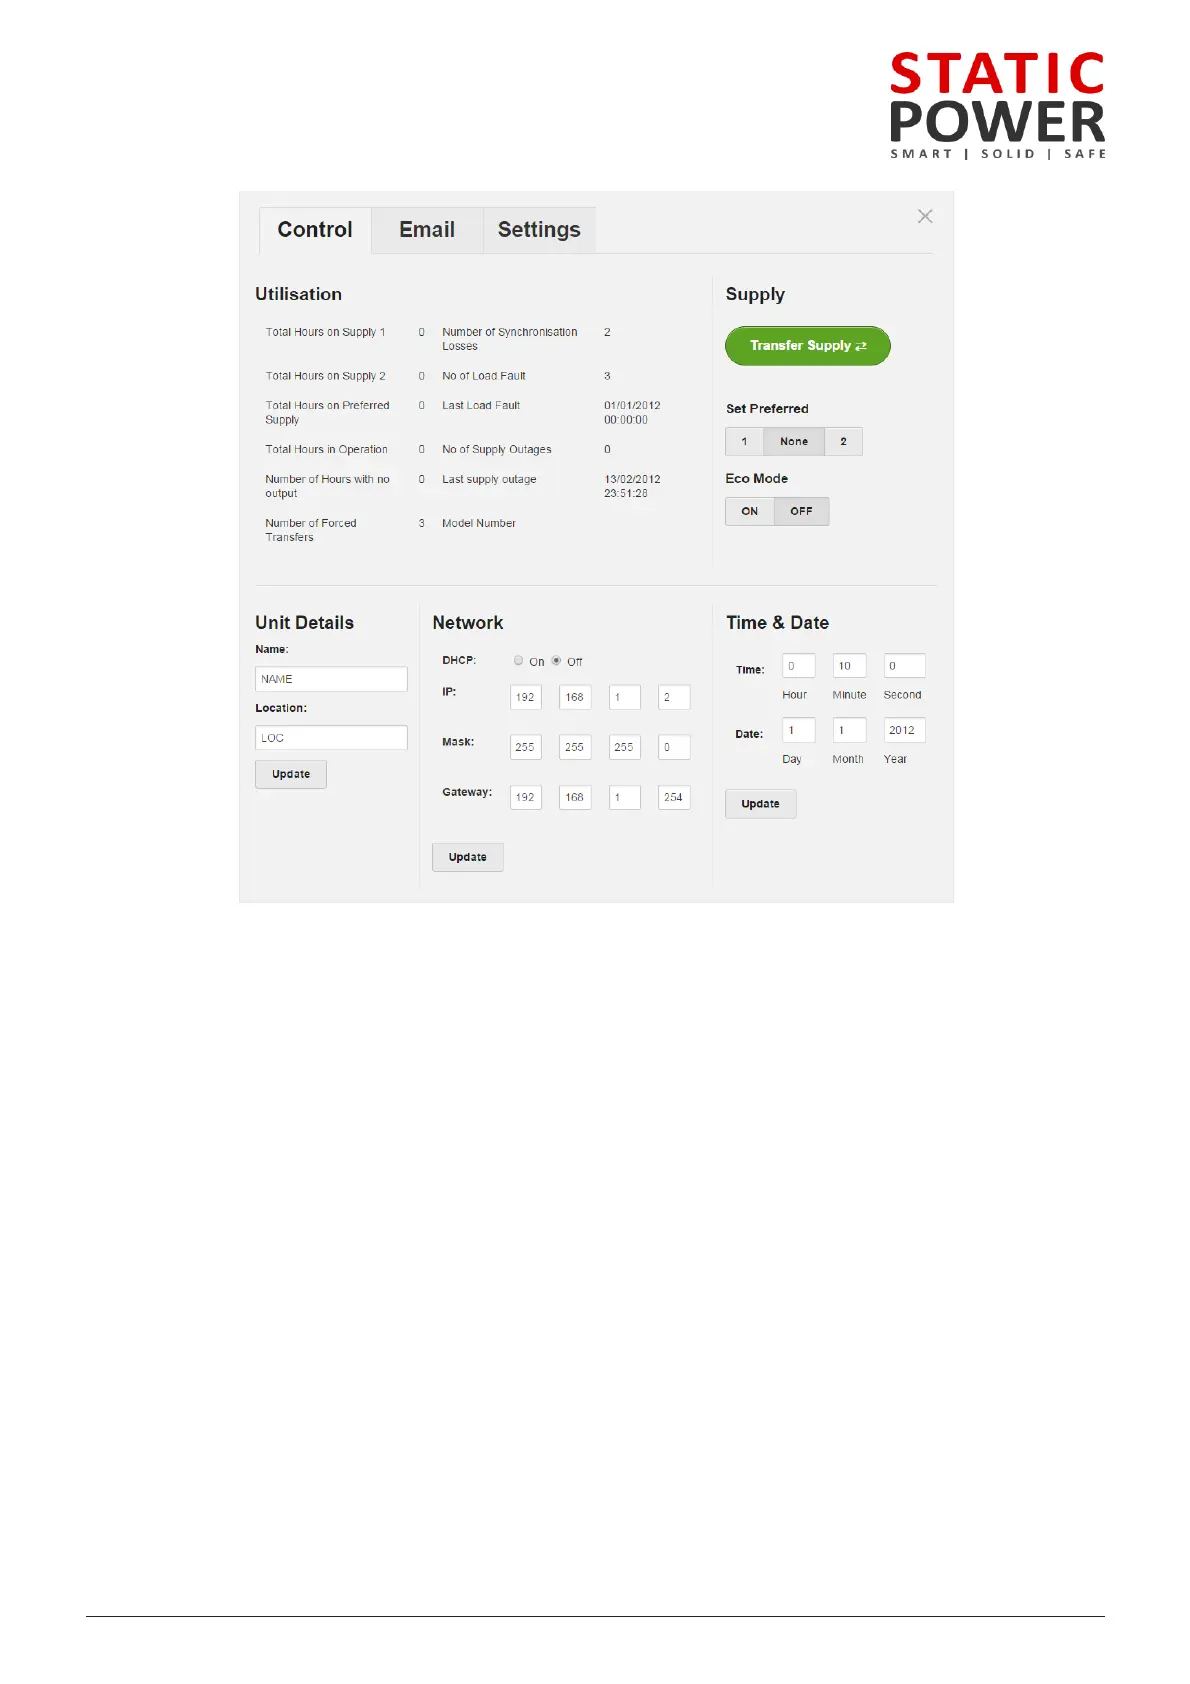
on the “Transfer Supply” will change to the alternate supply after a few seconds refresh the browser
the new status. If that supply is faulty the transfer will not occur.
iSTS will stay connected to the preferred supply until there is a failure. In the case of the supply failing,
will switch to the alternate supply and then switch back to the preferred after the fault has cleared and
AC voltage has returned to normal. When None is selected, the iSTS will not revert back to the
a name for the device under “Name:” and the location it is stored at under “location:” this should be
you can differentiate between different static transfer switches.
the date and time, this should only be required once. We strongly encourage setting the correct time
so that the real time event correlation can be undertaken. After pressing update the details will be
the unit. The real time clock is thereafter backed up by a battery cell
default settings is set to DHCP mode “On”, when this is set to “Off” then the other options become
change. From here you can change the IP, Mask and the Gateway. After pressing update these details will
on the unit.
CONTROL PANEL SCREEN