stewmac.com
22
Raise the grain by damp sanding
Sandpaper cuts away the fuzzy bers of wood grain. Sanding
causes some of these bers to lay down at, even though
they haven’t been removed. When wet nish touches them,
the bers lift up and make your nish feel rough.
Solve this problem by raising the grain with a damp rag.
When you’re done with the 180-grit sanding, wipe the wood
with damp rag (not wet. After the wood dries, you’ll feel the
roughness of the raised grain.
Sand with 220-grit
Now move on to sanding with 220-grit, which cuts away
the bers raised by the damp rag. Completely sand the
body and neck.
Examine your work thoroughly for any scratches that may
have been left by the 180-grit sand paper.
Once you’re satised you’ve removed all the scratches and
everything is smooth, the wood is ready for nish.
However, before nishing, you will need to establish the
bridge location in order to tape o the area where it will
be glued later.
Sand the body and neck
Sand with 180-grit
Sand the body using 180-grit sandpaper and a at sanding
block. Make your sanding strokes with the grain direction,
not sideways across it. You’re looking for and removing any
scratches deeper than the grain itself, and a sideways or
circular motion will create small new scratches.
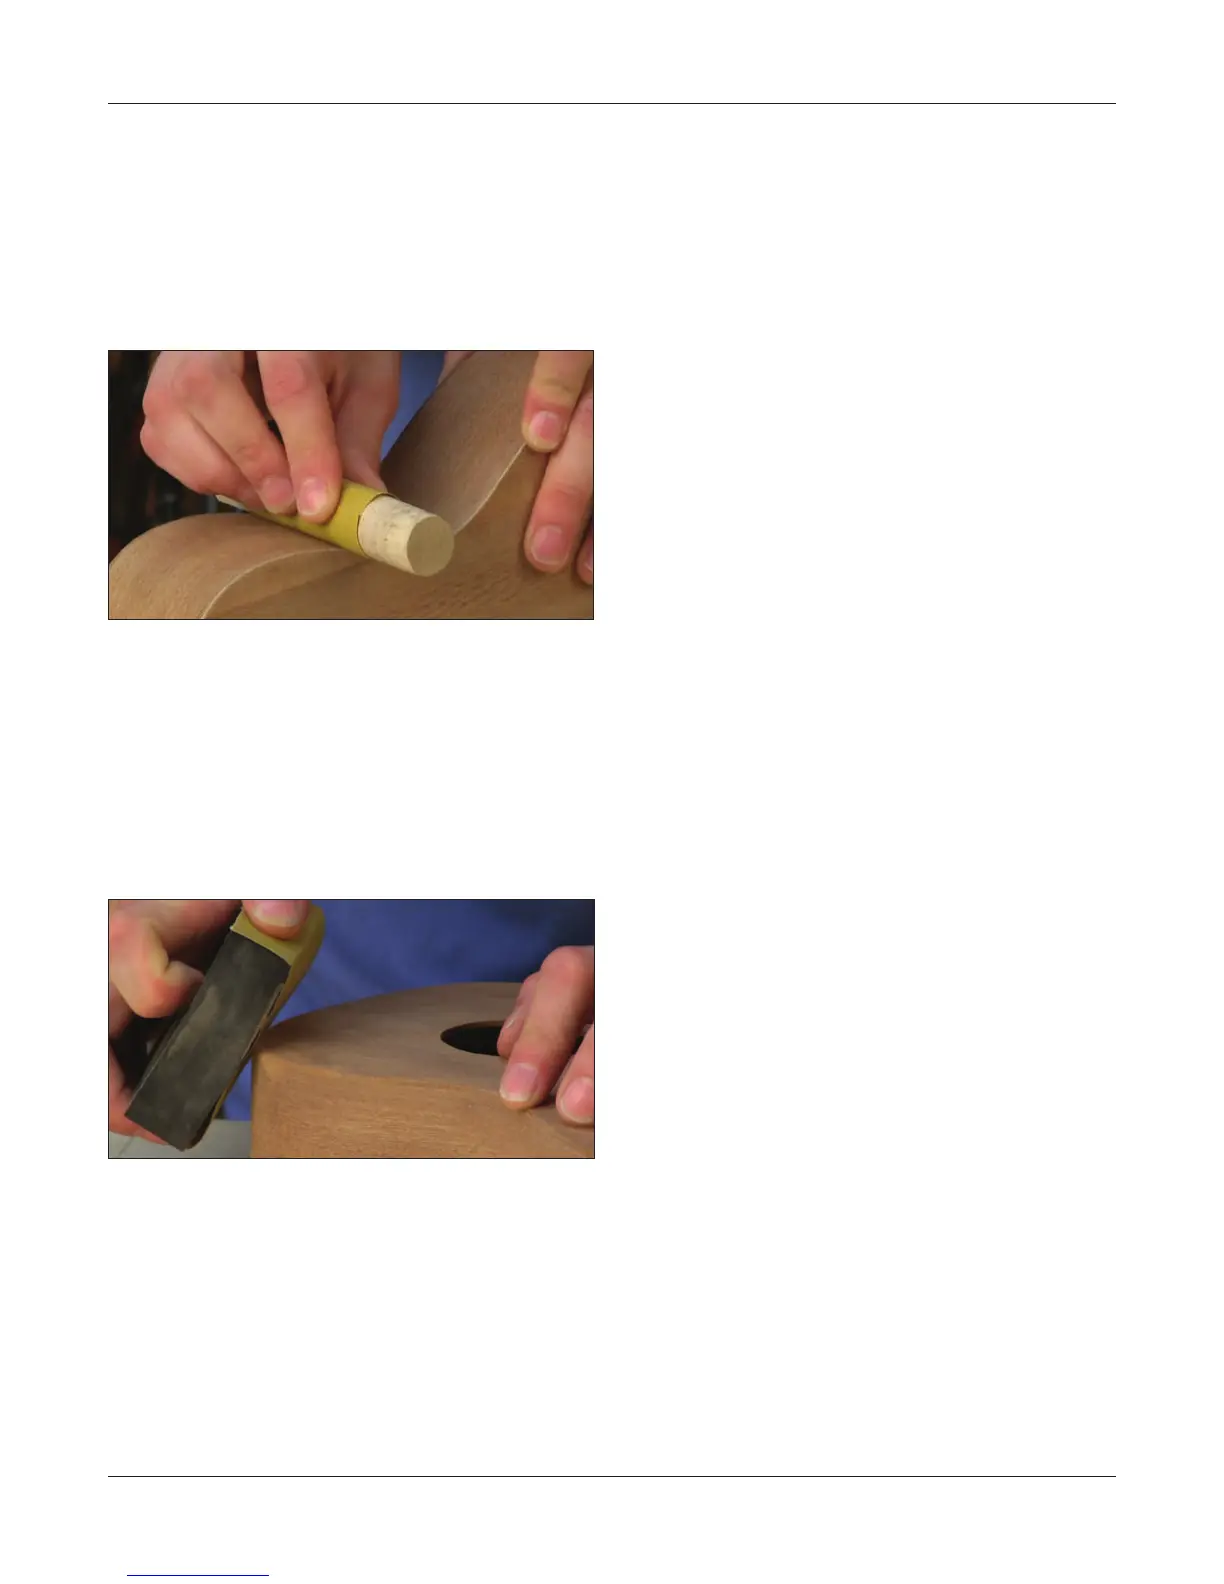
A stout wooden dowel makes a good sanding block for the
inner curves at the waist.
Other than the top edge directly under the ngerboard,
smooth all sharp edges to make them slightly rounded.
When edges are too sharp, it’s easy to accidentally sand the
nish away at those points when you sand between coats.
Knock o all sharp edges so they receive and hold a good
coat of nish.
Carefully examine your work using glancing light to nd
any scratches you missed. Continue with the process until
all deep scratches are removed.