stewmac.com
26
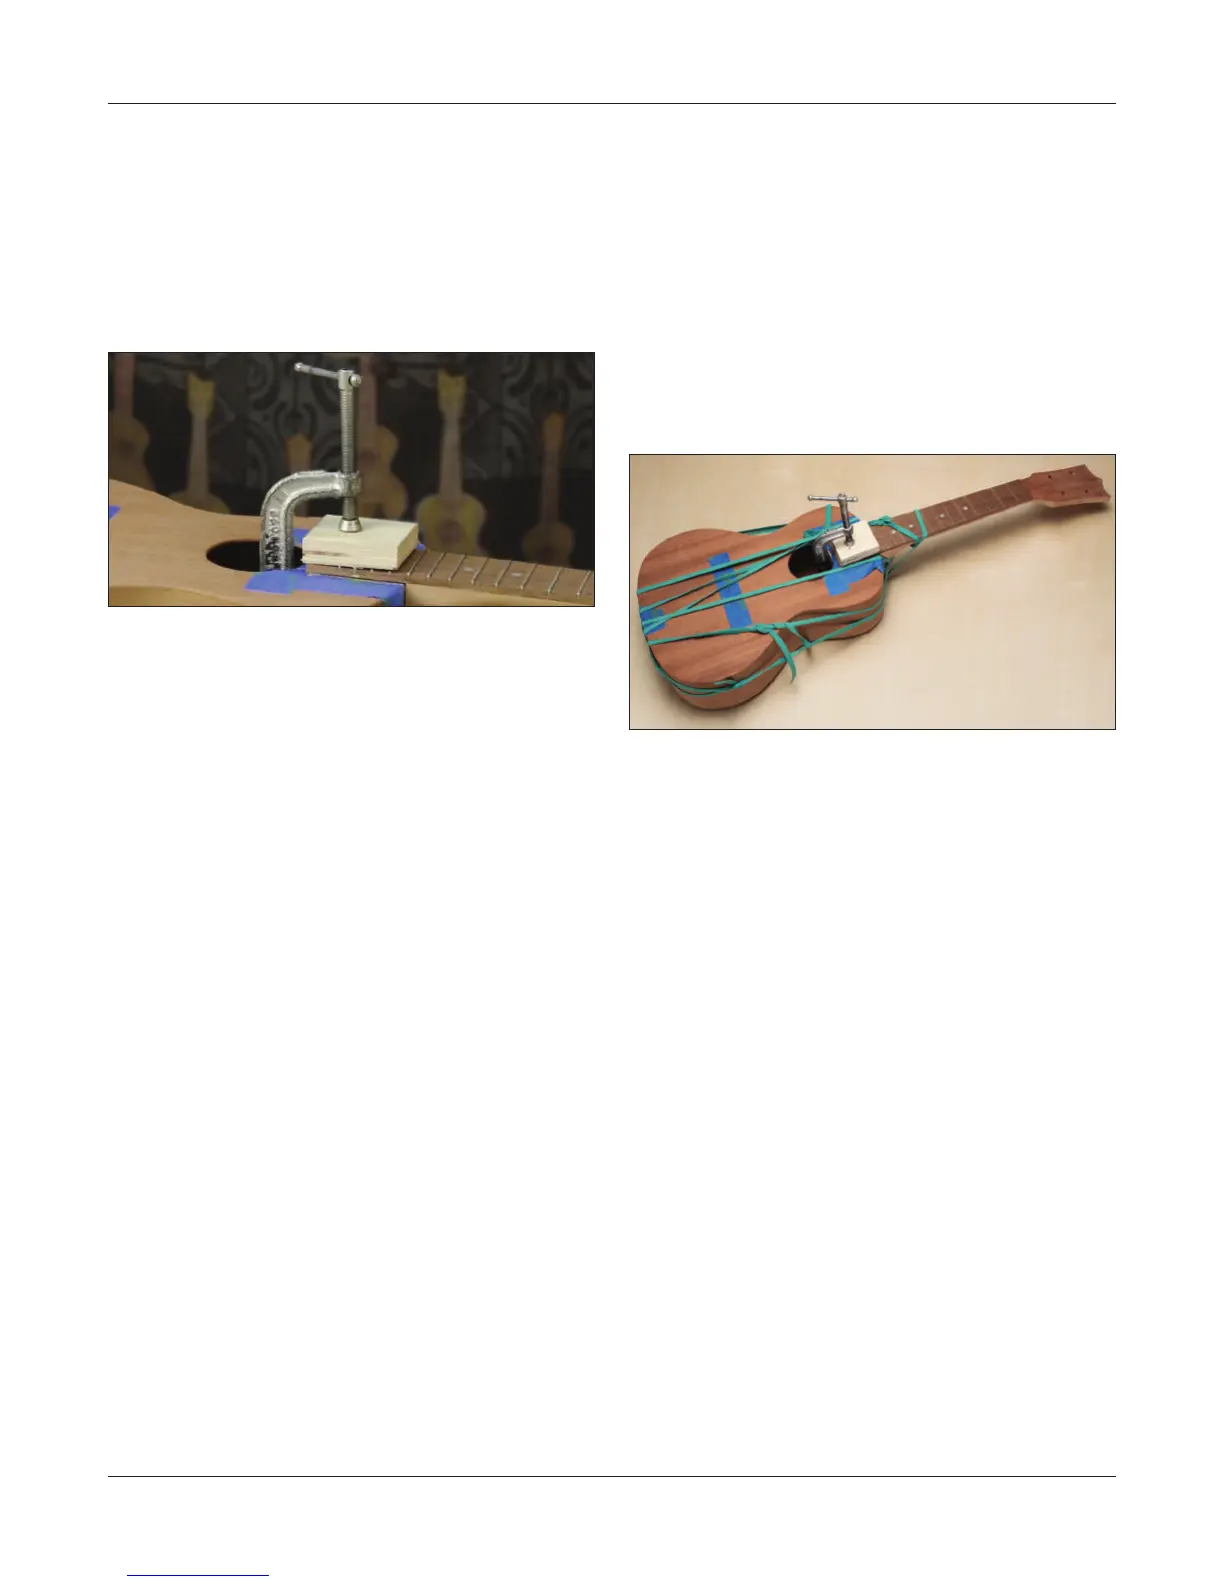
At last, it’s time to put the neck on the body! The neck will
be held in place during gluing with a rubber binding band.
A small clamp will hold the ngerboard extension to the
top. This might be the spring clamp used when test-tting
the neck.
If more pressure is needed on the ngerboard extension, a
C-clamp can be used. Use a piece of scrap wood as a caul to
protect the frets from the clamp.
Inside the body, the clamp foot will land on the top brace.
To best protect the brace from damage, make a caul from a
small piece of scrap wood. This caul elevates the clamping
surface above the brace allowing the clamp to be applied
without interference.
Attach the neck
If you stained your uke, apply masking tape again around
the neck joint surfaces. Apply glue to the neck heel and n-
gerboard extension, and to the matching areas on the body.
Put glue on the dowels and the holes they t into.
Clamp the neck in place, checking to make sure it’s aligned
and centered. Tie the rubber binding band to the neck.
Stretch it down over the tail of the uke and back up around
the heel of the neck, wrapping tightly.
When the neck is bound with rubber bands, clean away any
squeeze out you can reach. Allow to dry overnight (there’s
a lot of glue in that neck joint).