stewmac.com
28
Be careful not to install the bridge backwards! The saddle
goes toward the neck, and the string tie block goes toward
the tail.
Remove the tape from the bridge area and ngerboard. Place
the bridge onto its “footprint” and tape around it to catch
any glue squeeze out.
Reduce the tackiness of masking tape
Masking tape’s adhesive is strong, and contains chemicals
that could react with your new nish—so don’t leave tape on
the nish any longer than you have to. Also, make the tape
less tacky by pressing it onto your clothing before applying it.
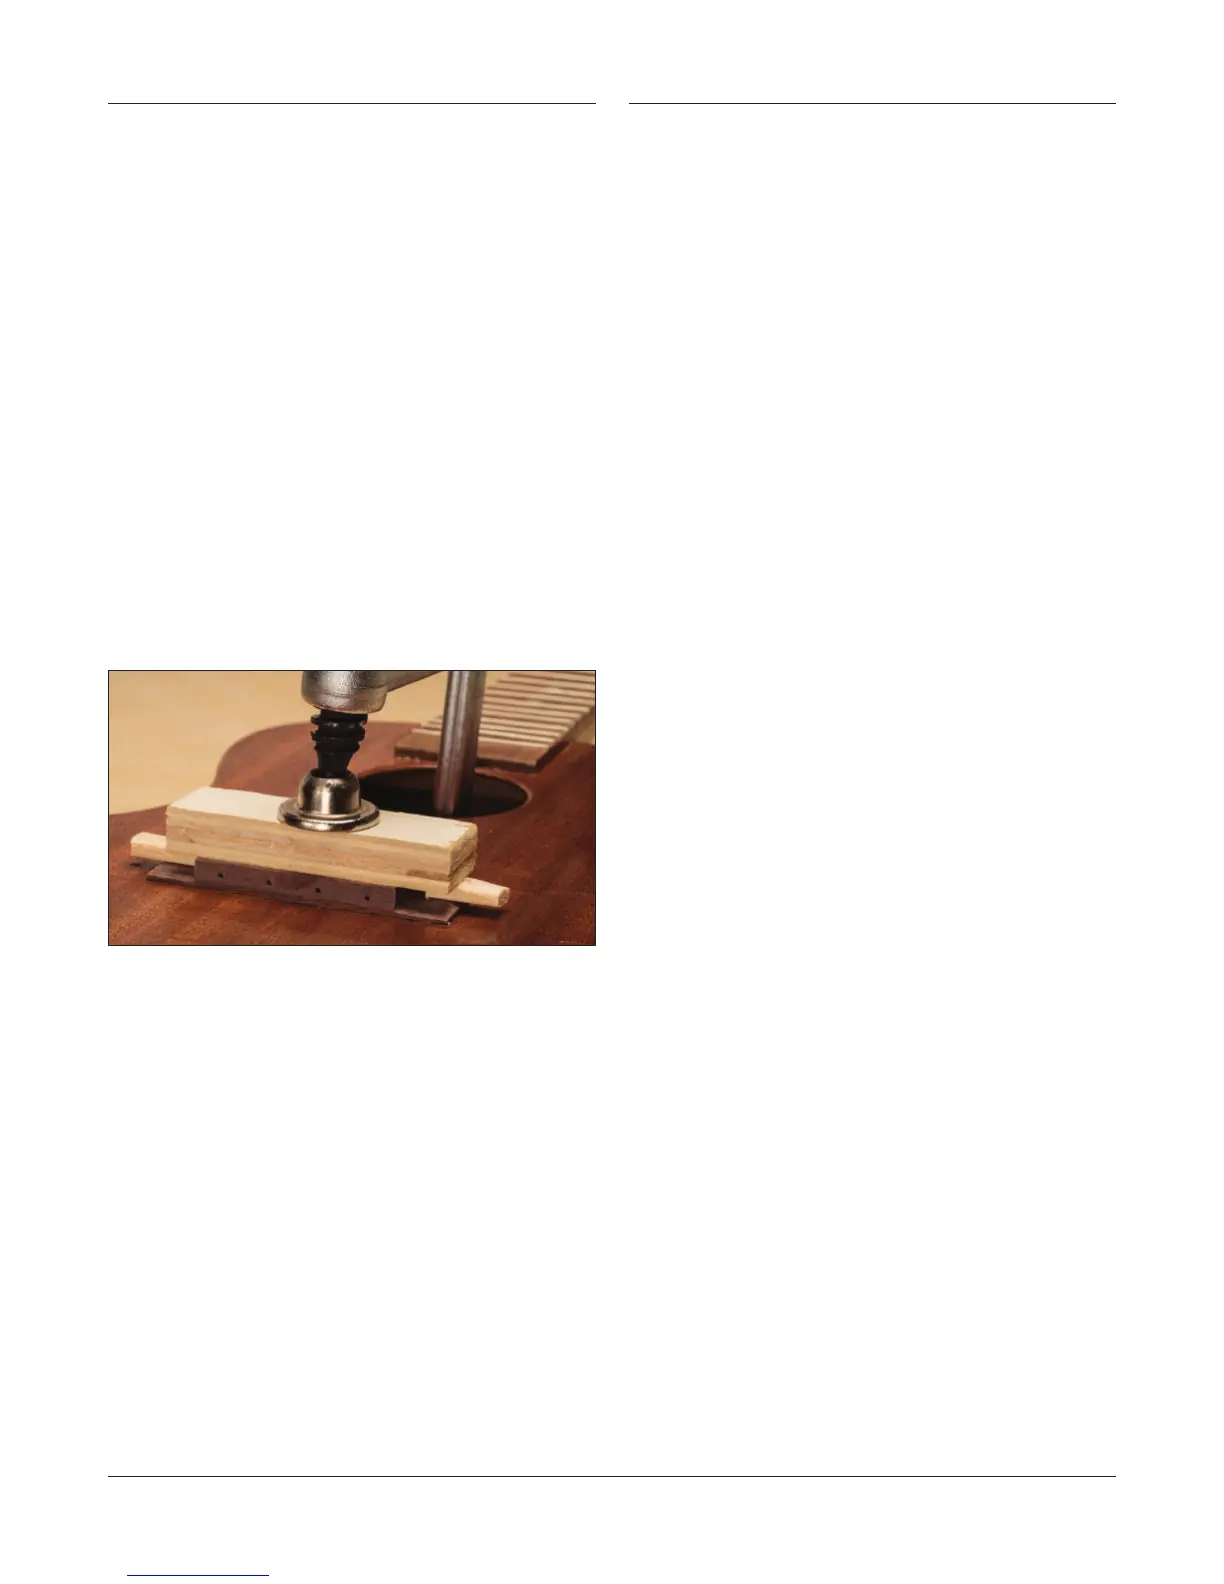
Dry-run your clamping setup
You can glue the bridge with a single clamp. Protect the top
of the bridge with a wooden caul. Apply pressure to the ends
of the bridge with small wooden wedges.
Be sure to NOT place the clamp on top of the center fan
brace over the bridge patch – this could damage the soft
spruce. Instead place the camp just to the right or left of
the fan brace.
Glue and clamp up
Apply the glue and clamp the bridge. Clean away squeeze-
out, and allow it to dry for 45 minutes.
Glue the bridge Install the tuners
Put the tuners in the peghead, and place the washers
over the string posts. Add the hex nuts and make them
nger-tight. Line the tuners up so they stick out at right
angles, not crooked. Use a sharp awl to mark the tuner
mounting holes. Drill the pilot holes and install the screws.
Use a wrench to tighten the hex nuts on the peghead face.