stewmac.com
23
Locate the bridge
The bridge needs to be at the correct distance from the nut
for your uke to play in tune. We’ve made locating the bridge
very simple: you just need one measurement.
Dry-t the neck onto the body using one of the neck joint
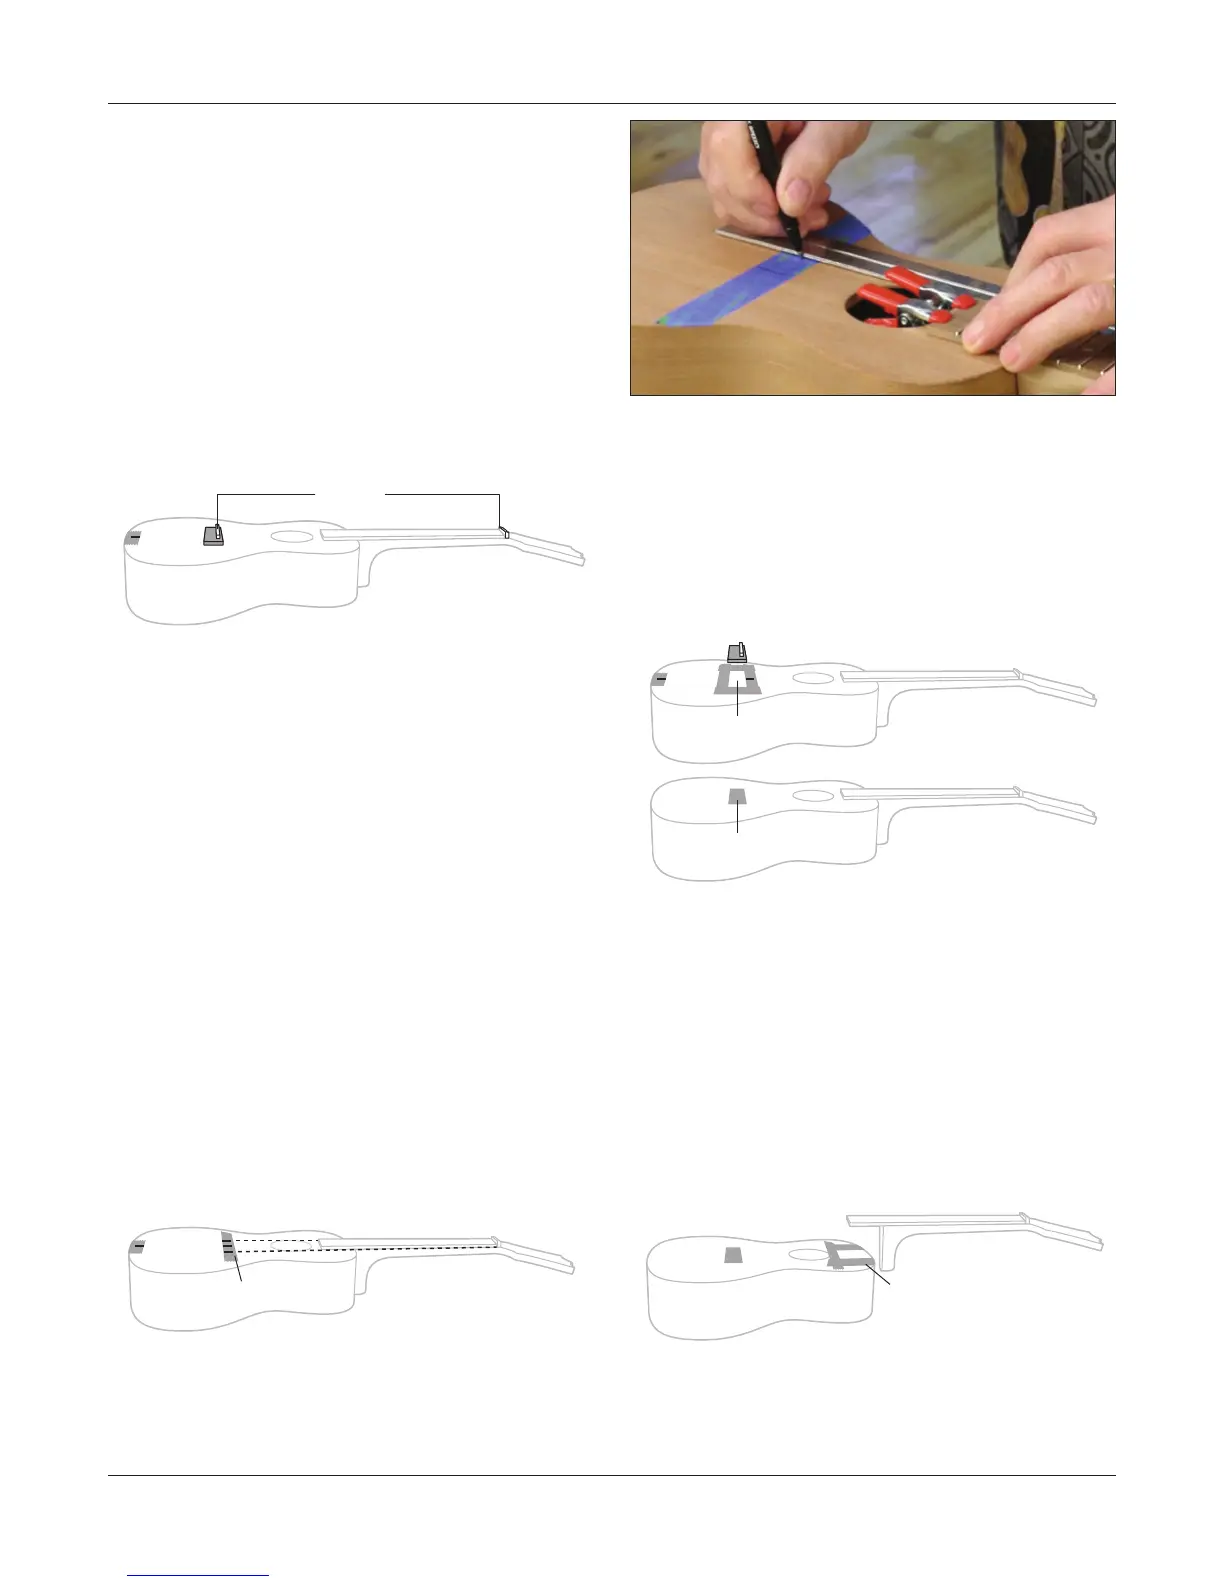
dowels. With a straightedge down the middle of the nger-
board, nd the center point on the tail of the uke. Mark this
on a piece of tape.
Measure carefully along this centerline to locate the bridge.
Start from the end of the ngerboard where it will contact
the nut, and measure 16-31/32".
This is the distance from the nut to the center of the saddle.
This is a critical measurement so take your time and double
and triple check your work. Use a piece of tape to mark this
location on the uke. The tape should be longer than the
width of the bridge. Line up the edge of this tape with the
center of the saddle slot to ensure proper bridge placement.
Draw a pencil line from the center of the saddle slot to the
edge of the bridge on each side to aid in lining up the bridge.
It can be erased later.
Place a piece of tape along the front edge of the bridge while
holding it in the proper location. This will mark the location
of the bridge, the rst piece of tape can be removed. With
your straightedge, mark the centerline on this tape.
Center the neck
Check to see if the neck is centered. Place the straightedge
along both sides of the fretboard and mark the tape at the
bridge location. These two marks should equally straddle the
centerline that you’ve already marked. If they’re o-center,
shift the neck until it’s centered.
Measure from the front of the nut
to the center of the saddle.
Nut
16
31
/
32"
Tape Saddle
Mark fretboard edge lines See if the neck is centered
Small spring clamps through the soundhole can grip the
ngerboard to keep the neck in its corrected position while
you center the neck.
Tape o the bridge area
Pencil a centerline on the front edge of the uke bridge, and
line the bridge up against the tape that marks your measure-
ment. With the bridge centered and square to the centerline,
place masking tape around all four edges.
Remove the bridge, and you’ve a framed the bridge’s “foot-
print” with masking tape. Cut more tape to exactly ll the
inside of this frame. Remove the outer tape. After you’ve
applied the nish, this taped-o bridge area will be left
unnished for good adhesion when you glue the bridge.
Tape o the ngerboard area
Put tape around the fingerboard extension to create a
“frame” around this area also. Before you place tape inside
the frame, consider whether your neck joint needs to be
adjusted.
Bridge surrounded with tape
Taping off the bridge area
to prepare for finishing
Bridge area taped off
Fretboard taped