stewmac.com
8
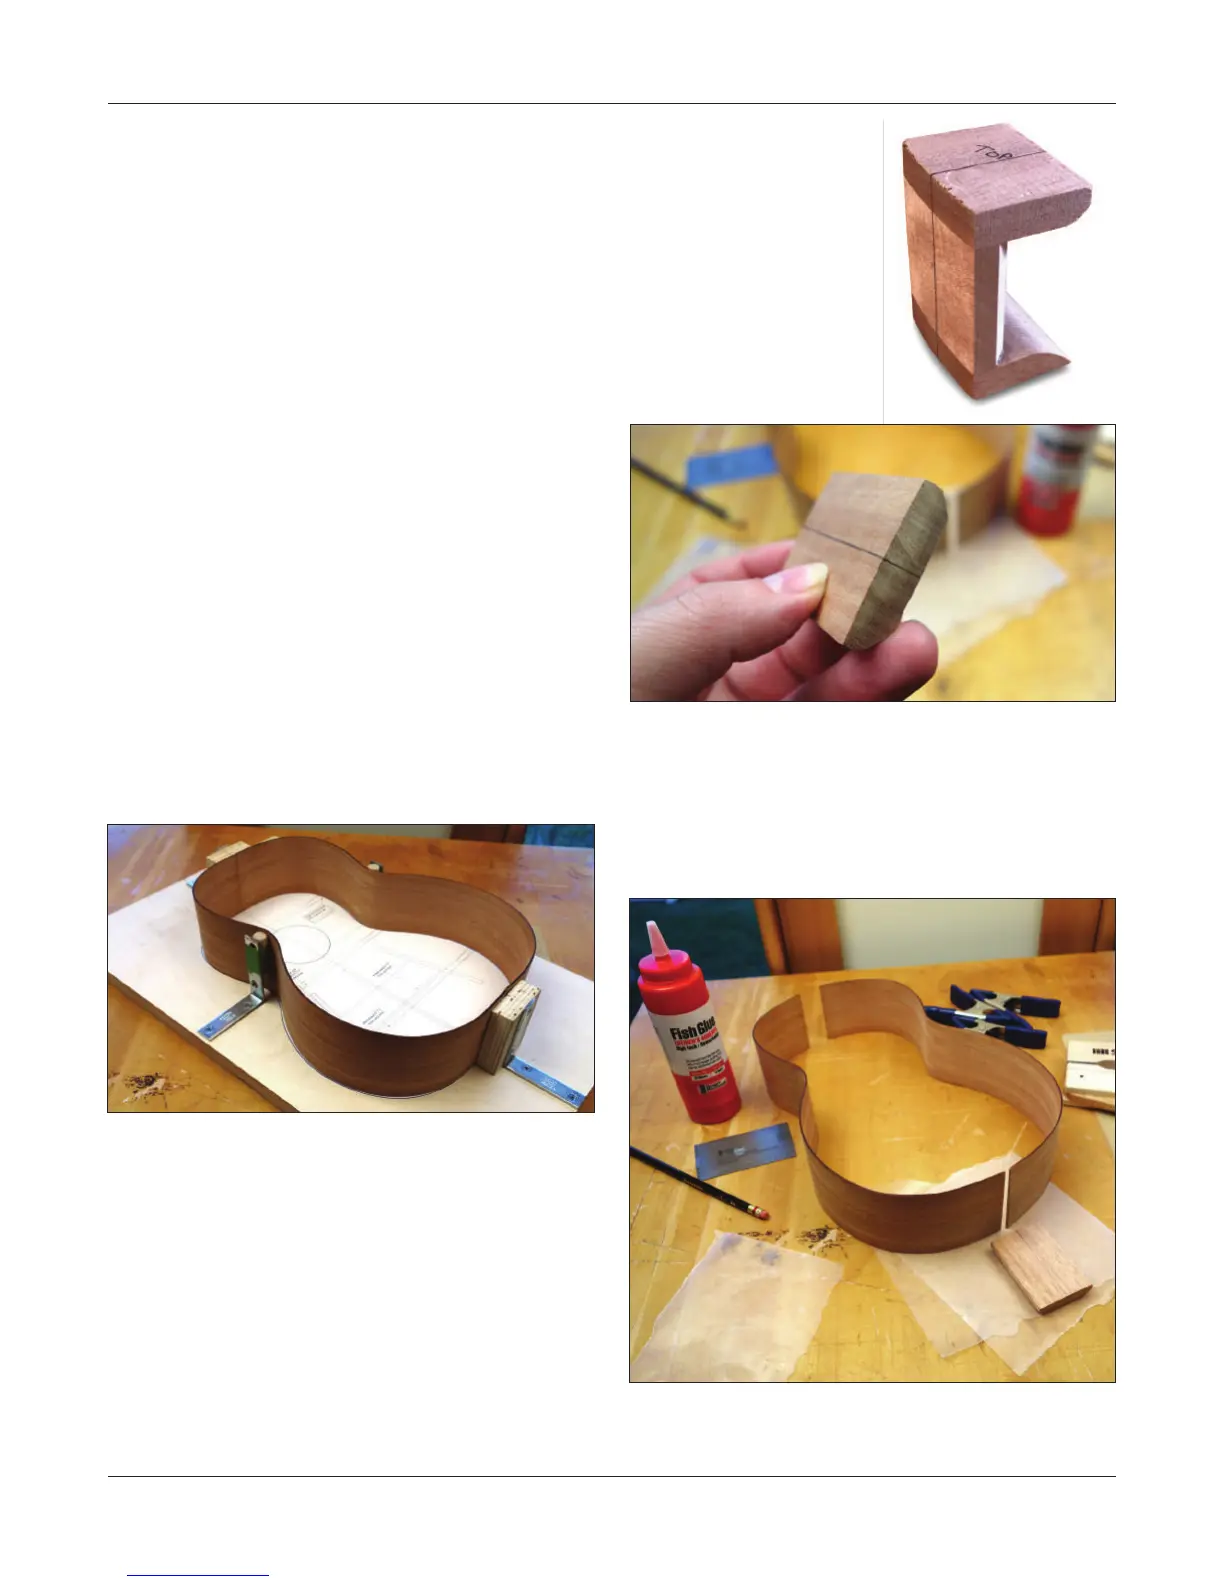
extension toward the back of
the instrument.
Carefully measure and mark
a centerline on both blocks.
The neck and tail blocks need
to be the same height as the
sides. If yours are taller than
the sides, trim them with a
saw or chisel. This is easier to
do now than later.
Glue the sides and blocks
You can glue the blocks in using the mold as support, or
out of the mold. Each method has pros and cons. Using the
mold provides rigidity, however, clamping up outside the
mold allows the visibility to ensure everything is aligned
perfectly during glue up.
For these instructions, we are going to glue up the tail block
outside the mold, and the neck block inside the mold.
Assemble the body
Place the bent sides into the body mold, with their ends
butted together at the center. Now you can see the body
of your ukulele taking shape!
If the sides are oversized and extend more than 1/8" past
the centerline when you insert them in the mold they will
need to be trimmed.
To do this, while holding the sides down rmly in the mold,
and ensuring they line up nicely with picture of the sides
axed to your work board, carefully mark the centerline
on your side near the headblock. Remove the side, mark a
square line and carefully cut this with a saw. (A little double
stick tape and a wood block provide a good fence to ensure
your cut is square and straight.)
Reinstall the side in the mold. Align the newly trimmed side
to the centerline at the neck block, hold the sides down to
the work board to ensure they line up with the prole on
your plan and mark the centerline at the tail block. Mark
and cut the side the same way you made the previous cut.
Repeat the process for the other side.
Now we are going to glue in the neck and end blocks.
Snap the sides into the mold so the neck and tail ends t
end-to-end perfectly. Align the seams to the centerlines
marked on your plan.
If the sides don’t precisely match the body shape on the
plan drawing, don’t worry. A little variation between ukes
is ne. As long as the side curves match each other nicely,
you’ll have a great looking instrument.
The corner braces will hold your sides nicely square to the
baseboard, so the body doesn’t “lean” in one direction. If
you like, use a square to double-check this.
The tail block is the smaller of the two blocks, and the neck
block has horizontal extensions on both ends.
When gluing in the neck block, place the “square” horizontal
extension toward the top of the ukulele and the “rounded”