stewmac.com
25
Compensate for this by wetting these areas with a damp
cloth before you begin staining. The damp endgrain will
suck up less stain than if it were dry, giving better balance
to your stain overall.
Wait until your color is mixed and you’re ready to begin
staining before you wet the endgrain, so it doesn’t have
time to dry out.
Wipe on the stain
Wear gloves! Work quickly with the cloth/cotton pad, build-
ing the color evenly all over the body and neck. You can go
back and apply more stain, and can even darken the edges
around the body using a semi-dry staining pad.
Apply the stain (optional)
If you’re going to stain the wood, do it before attaching the
neck. When the neck is on, stain accumulates along the seam
where the neck meets the body. To avoid having to remove
stain from this crevice, stain the neck and body separately.
If you’re choosing an unstained natural nish, you can skip
this section on staining and attach the neck.
It’s not impossible to have diculty with stain. Dark spots,
light spots or otherwise uneven coverage are possibilities.
If you want to follow the easiest, most foolproof path to a
nished uke, go with the clear natural nish.
Use ColorTone Liquid Stains to create rich dark browns or
vibrant colors. The color in the bottle may be exactly what
you want, but don’t hesitate to mix colors.
Mix the stain with water
ColorTone Stains are concentrated, so mix them with water.
The amount of water and stain depends on the color you’re
after and the wood you’re staining.
Wipe on with cloth-wrapped cotton
Wrap a ball of cotton in a scrap of t-shirt material to make a
pad for staining.
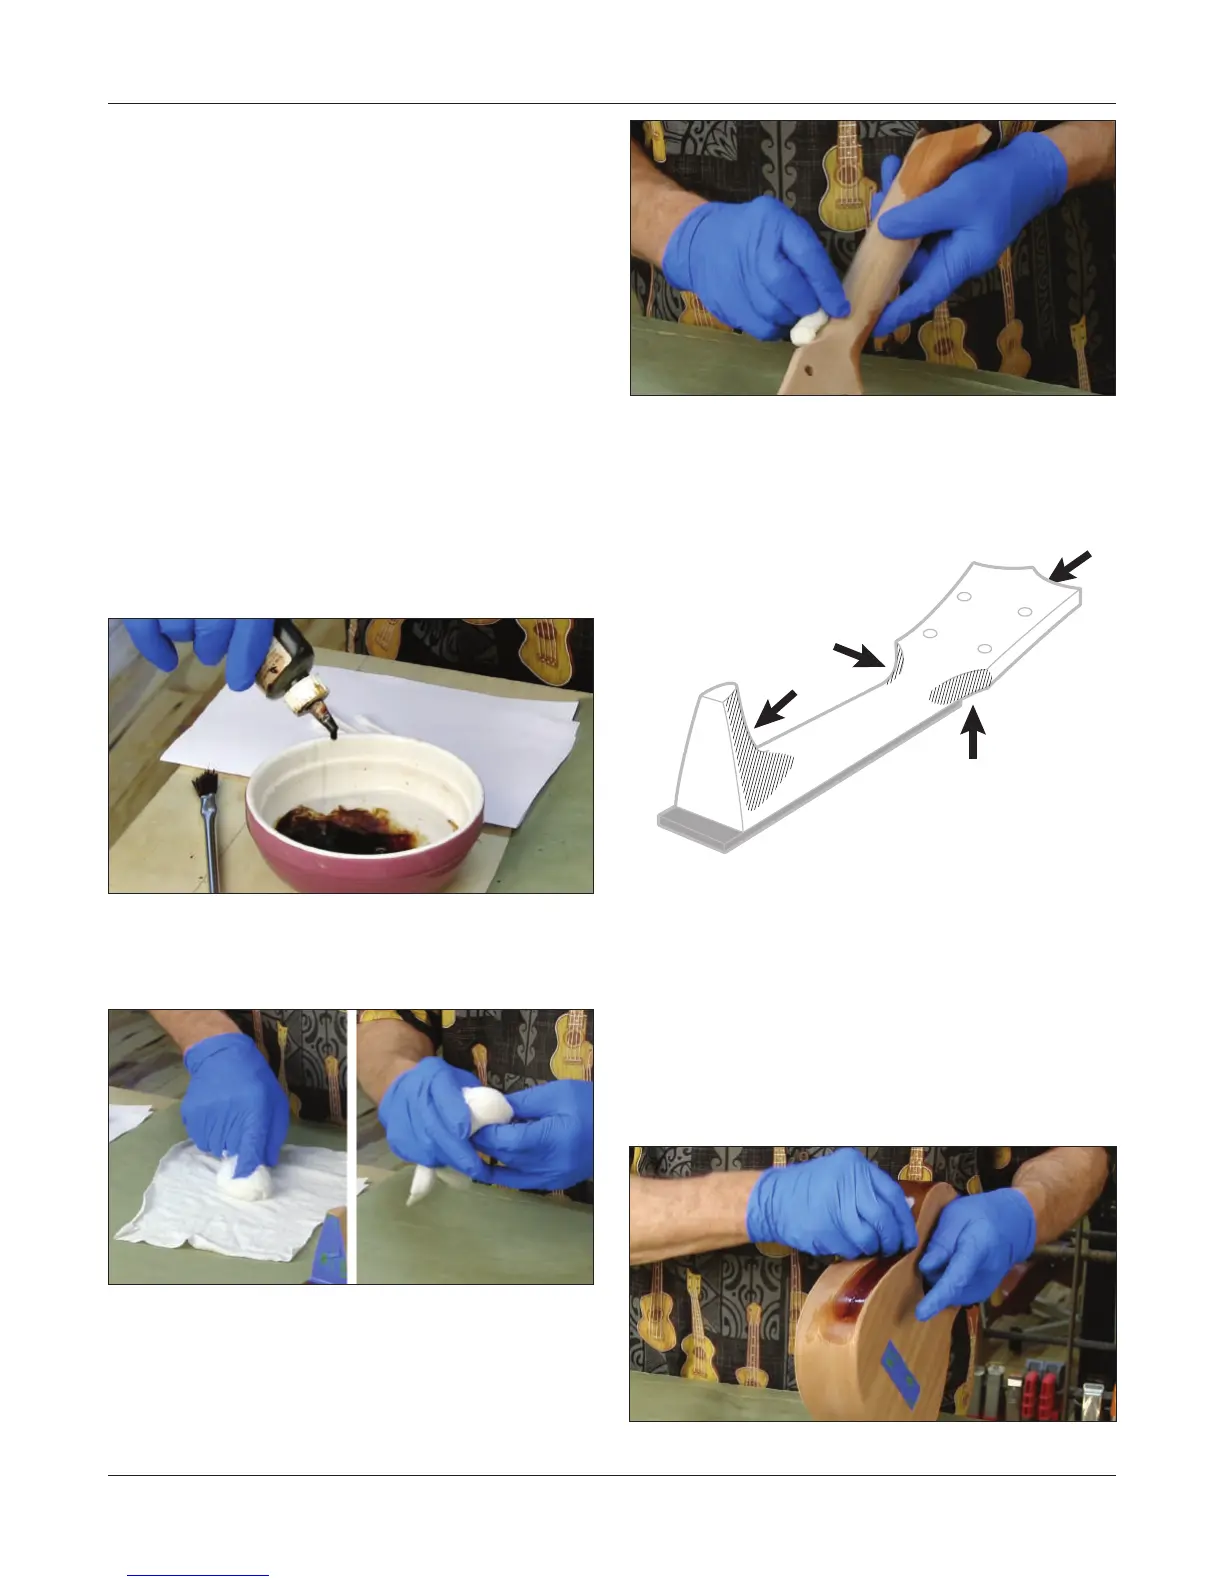
Wet the endgrain with water
Down the length of the neck, the wood grain runs straight.
The carved heel and peghead have exposed endgrain, in-
dicated by dark areas in the illustration below. The end of
the peghead is endgrain also. These areas will absorb more
stain than the straight grain, making them darker.
Wet the endgrain
before staining