stewmac.com
6
We recommend starting with the bridge plate rst, followed
by the fan braces.
If you are using a Go-bar Deck you can probably glue all 3 of
the fan braces in place in one session, if you are using clamps
it may be better to take them one at a time.
Take your time. There is no rush.
Apply the glue
Let’s start with the bridge plate. Put a small dab of glue in
the center and use your pinky to spread an even, thin lm all
the way to the edge. Wipe up any excess glue on your hands
and glue that may have run over the edges of your plate.
Precisely locate the bridge plate and apply a clamp or Go-bar
to the center. After the clamp is applied carefully recheck
the position of the plate and apply additional clamps (or
Go-bars).
Ensure the bridge plate is seated tightly to the top all the
way around. After 5 minutes clean up the squeeze out. Wait
2 hours and remove the clamps.
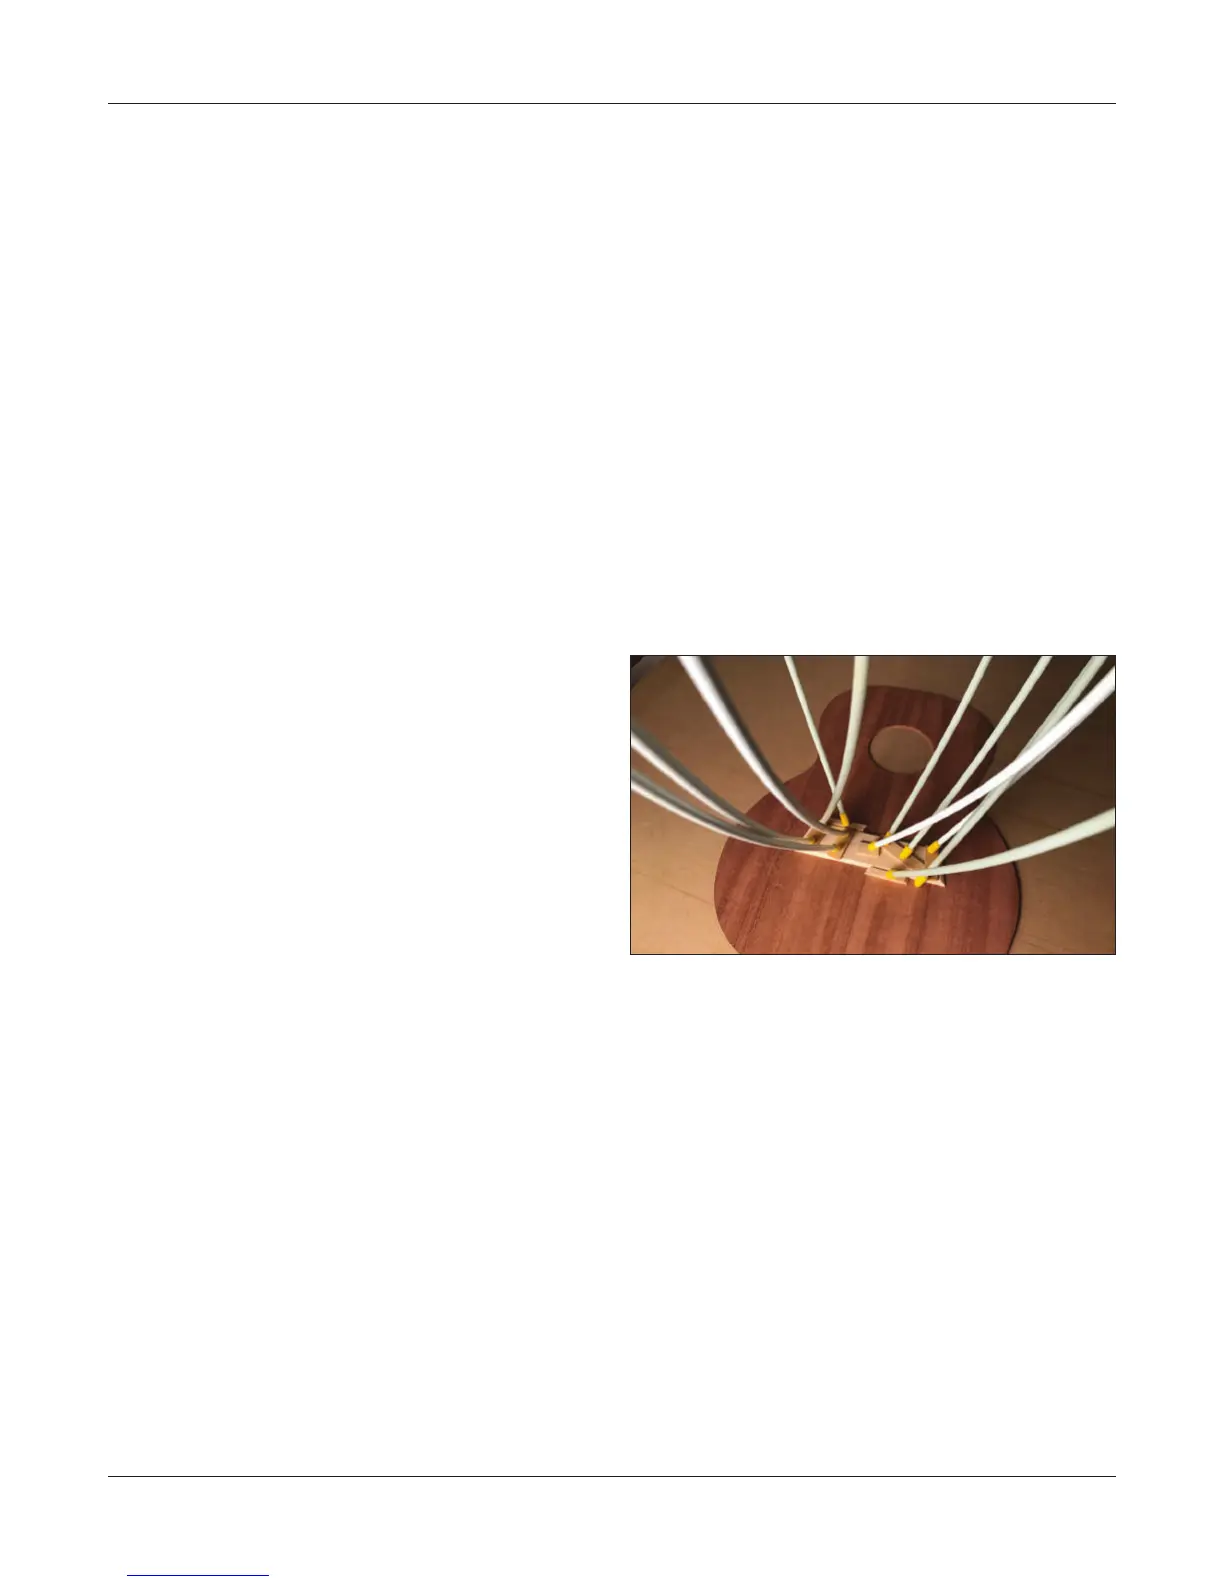
Now it’s time glue in the fan braces. The center fan brace
has a notch for the bridge plate. Locate this brace directly
on the centerline. Apply glue and lightly clamp it in place.
The two outer fan braces should bump up to the right and
left side of the bridge plate. To get the best tone from your
instrument is important that the fan braces are all making
contact with the bridge plate.
Glue them all in place using the same method we have been
using and clean up any squeeze out.
Let them dry for 2 hours and then remove the clamps.
If you are using a Go-bar Deck feel free to go ahead and glue
up the other brace in the same manner now. If you’re using
clamps it’s best to wait and install the braces one at a time.
Bracing the top
We are going to begin by locating the position of the top
braces similar to the approach we used on the back.
Mark a centerline precisely on the center seam inside your
top. (While you had a choice of which side was the exterior
on the back of your ukulele, the top has been predetermined
since the rosette will be on the face of the instrument.)
Tape your plan carefully to the interior of your top plate
taking care to ensure the centerlines match perfectly at both
ends, and the soundhole aligns with the drawing.
Locate the upper and mid transverse braces with a pushpin,
awl or scribe. These are the long horizontal braces just above
and below the sound hole.
Note: The mid transverse brace resides in the same
location as one of your back braces, so don't let this
confuse you.
Connect these holes with a pencil and straightedge, and you
have the brace locations marked for gluing.
Now carefully mark the locations of the bridge plate and 3
vertical fan braces. Once this is done lightly draw the loca-
tions of all the braces for your top.
Remove the plan. We will be using it again shortly.
Gluing the top braces
As with the back braces you can glue each brace separately
with clamps, or use a Go-bar Deck and a radius dish to clamp
more than one brace at a time.
However, unlike your back braces which had a slight radius,
you’ll notice the top braces are at. This means that if you’re
using a Go-bar Deck you’ll want to make sure to remove the
radius dish and replace it with a at surface (or ip the radius
over and use its at back.)
Do a dry run before gluing
Getting the brace locations exactly right on the top is criti-
cally important to the structural integrity and tone of your
instrument. So like you did when gluing the back braces,
take a few minutes and do a dry run of your clamping setup
before you apply glue.
 Loading...
