52 034, 036, 036 QS
– Before fitting the new heating
element, clean the surface inside
the handle so that it is free from
grease, dirt and moisture.
Note:
The previous rear handle heating
elements (rectangular) can still be
used together with the previous
front handles in the modified tank
housing if they are bonded in
position at an angle.
Bond the rectangular heating
element in the rear handle at an
angle.
138RA140
VA
Cut the previous version of the
expanded rubber pressure pad
as shown so that the lug (arrow)
in the handle does not get in its
way.
VA
138RA141
– Remove the backing paper from
the new heating element.
Press the heating element firmly
and uniformly into position, taking
special care at the corners and
along the edges.
VA
138RA142
Important:
Avoid creases. If the heating
element is not fitted perfectly flat,
heat transfer will be interrupted,
causing the element to overheat
and fail. The ambient temperature
during installation should not be
less than +15°C.
Fit a new expanded rubber
pressure pad on top of the
heating element. The heating
element must be completely
covered.
VA
138RA143
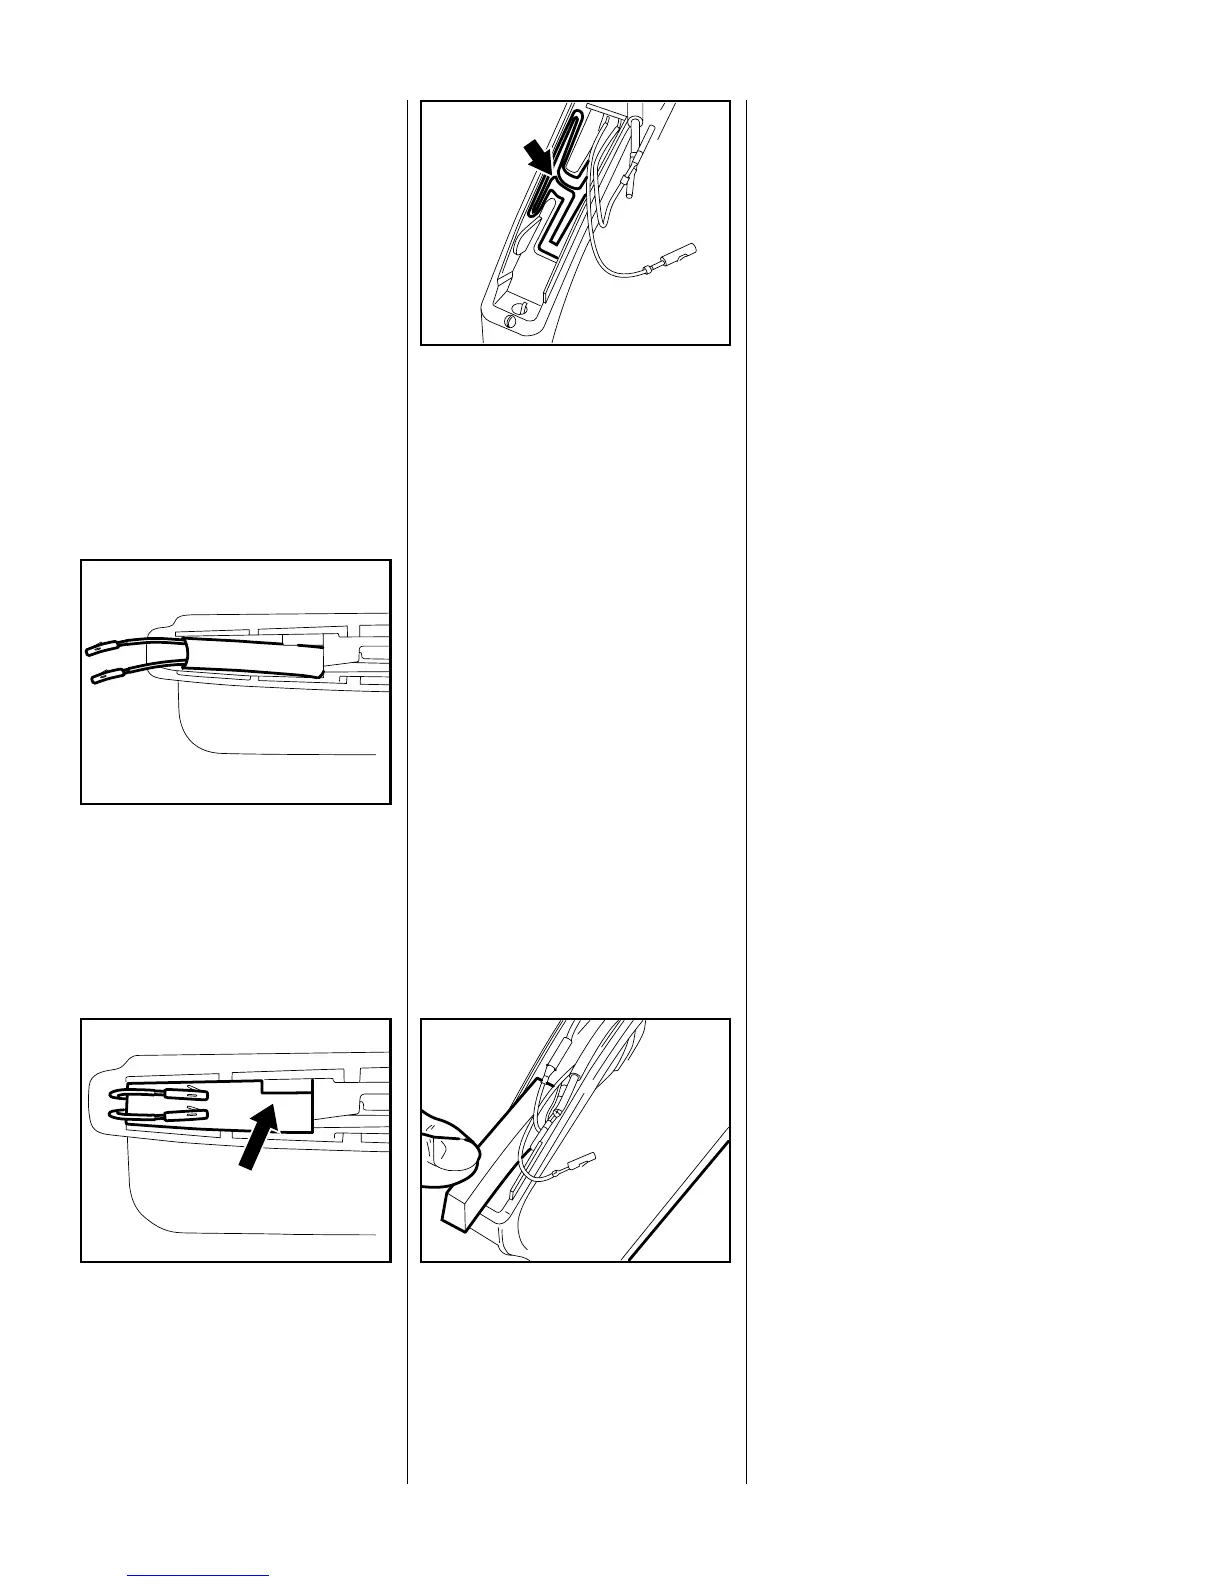
– Reconnect the wires and slide
the insulating tubes back over the
pin and socket connectors.
Reassemble all other parts in the
reverse sequence.
– Check operation of heating
element. Run the saw at
maximum revs for no more than
30 seconds with the heating
switched on.
Note:
The heat generated during this
process also helps the element's
adhesive set faster.
 Loading...