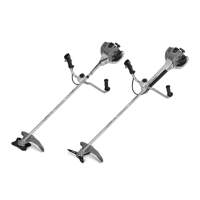
NOTICE
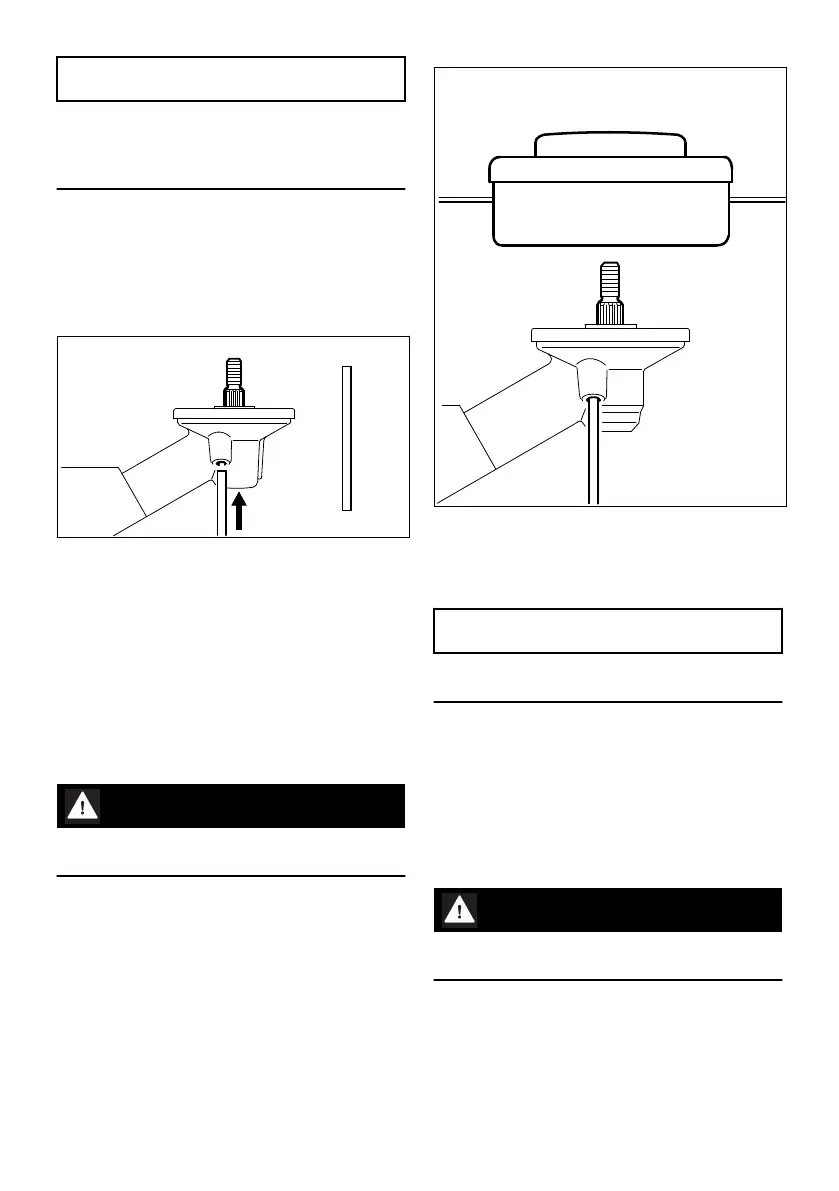
Check inside of guard ring (4) and area around it
for dirt at regular intervals, or when you change
the cutting attachment, and clean if necessary as
follows:
► Pull the guard washer (1) and thrust plate (2)
off the shaft.
► Thoroughly clean the guard ring, shaft, thrust
plate and guard washer – do not remove the
guard ring.
8.6 Blocking the Shaft
The output shaft (1) must be blocked with the
stop pin (2) to mount or remove cutting attach‐
ments. The stop pin is included with the machine
and is available as a special accessory.
► Insert the stop pin (2) in the bore (3) in the
gearbox as far as stop, apply slight pressure.
► Rotate shaft or cutting attachment until the
stop pin slips into position and blocks the
shaft.
8.7 Mounting the Cutting Attach‐
ment
WARNING
Use a deflector that matches the cutting attach‐
ment – see "Mounting the Deflector".
8.8 Fitting the mowing head with
screw mounting
Keep the supplement sheet for the mowing head
in a safe place.
► Fit the thrust plate
► Turn the mowing head anticlockwise on the
shaft (1) as far as it will go
► Retain the shaft
► Tighten the mowing head
NOTICE
Remove the tool that was used to block the
shaft.
8.9 Removing the Mowing Head
► Retain the shaft
► Turn the mowing head clockwise
8.10 Removing and Installing Metal
Cutting Attachments
Keep the leaflet and packaging of the metal cut‐
ting attachment in a safe place.
WARNING
Wear protective gloves to reduce the risk of
direct contact with the sharp cutting edges.
Mount only one metal cutting attachment.
8.11 Mounting Grass Cutting
Blades, Brush Knife
Notice on new machines that come standard with
a mowing head only: A "metal mowing attach‐
English 8 Mounting the Cutting Attachment
20 0458-743-0121-E
 Loading...