86
Issued: 24.02.2005
STRIDER MX
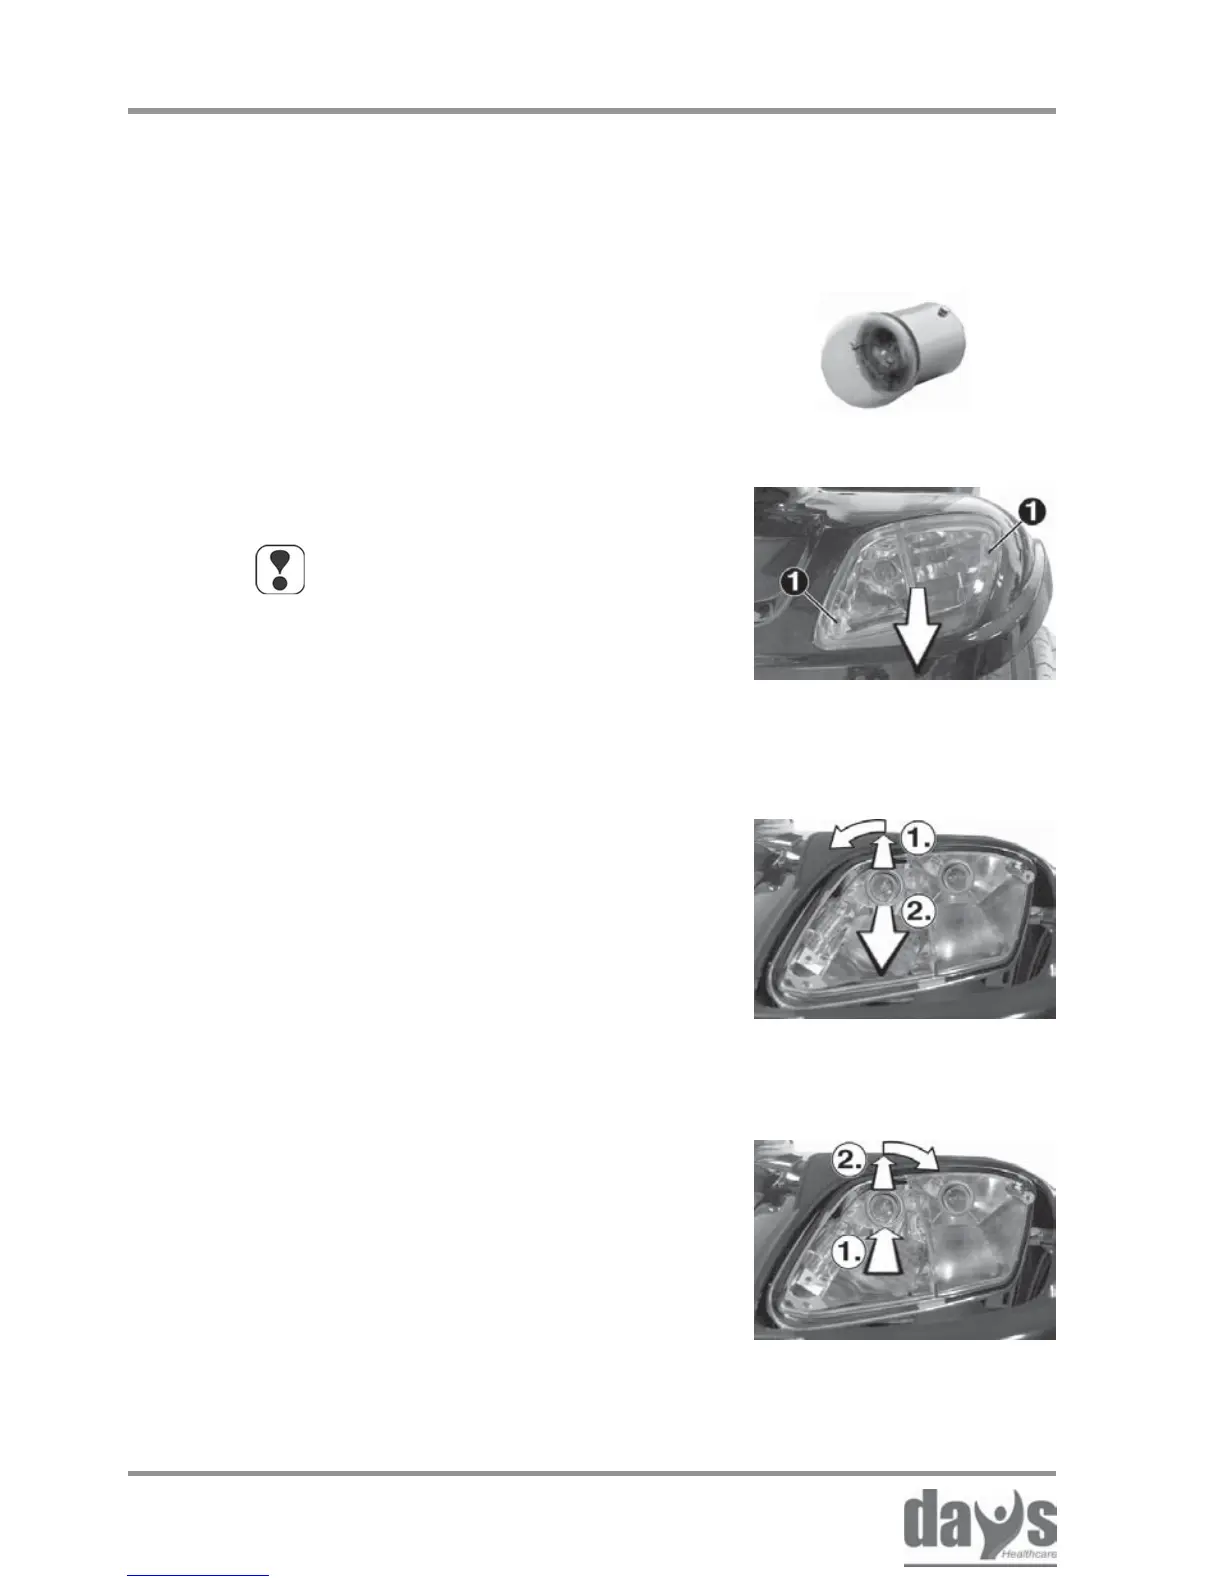
Removing the lamp lens
Loosen the fixing screws (1) and remove
the front or rear light lens.
➨
Fitting a new bulb
Insert the rear or front light lens and
secure with the fixing screws.
➨
Remove the bulb:
(1.) Press the bulb in lightly and remove
by turning 1/8 turn to the left.
(2.) Pull the bulb out of the lamp holder.
➨
Fitting a new bulb:
(1.) Align the bulb base pins with the
grooves in the lampholder and
push the bulb into the lampholder.
(2.) Press the bulb in lightly and lock
by turning 1/8 turn to the right.
➨
Removing the bulb
headlight indicator
18.5.1 Replacing bulbs in headlight and
front indicators
NOTE
The replacement process is the
same for headlight and direction
indicator bulbs.
Bulb versions for headlight and direction
indicators: 24 V / 10 Watt
18.5 Lighting - 4 wheel version
Tools required:
1 x screwdriver; Phillips head No. 2
Repairs - lighting