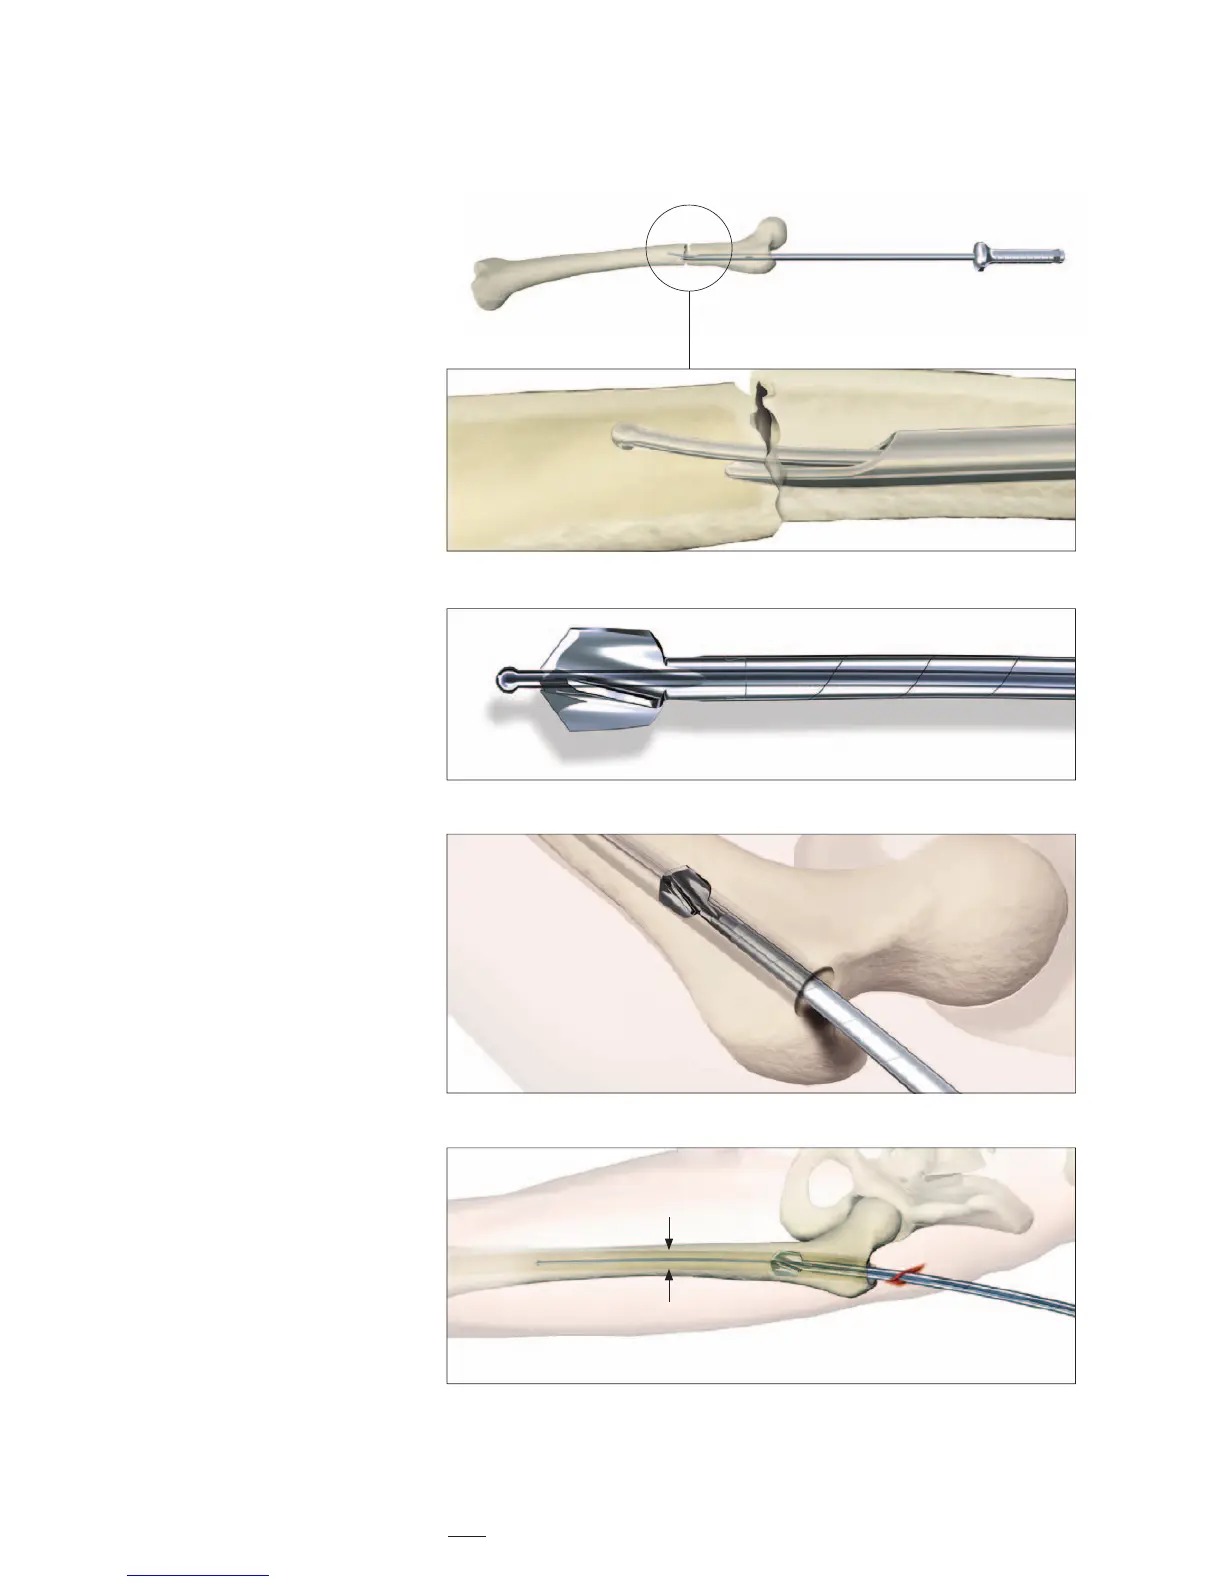
The Ø 3 × 1000mm Ball Tip Guide
Wire is inserted with the Guide
Wi re Hand le t hroug h t he f rac tu re site
to the level of the epiphyseal scar.
The Ø 9mm Universal Rod with
Reduction Spoon may be used as a
fracture reduction tool to facilitate
Guide Wire insertion through the
fracture site (Fig. 10).
Note:
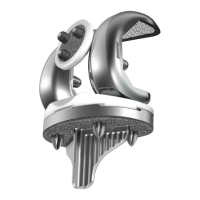
The Ball Tip at the end of the
GuideWirewillstoptheBixcut
reamer* head (Fig. 11).
Caution:
Prior to reaming, it is important
to check the centered
intramedullary position of the
GuideWirewiththeimagein-
ten sifi er. Lateral displacement
oftheGuideWirecouldleadto
resection of more bone on the
lateral side of the wire, which in
turn will lead to an offset position
of the nail and increase the risk of
a shaft fracture.
Note:
Make sure that the reduction
is maintained throughout the
reaming process.
Reaming is commenced in 0.5mm
in crements until cortical contact
occurs (Fig. 12).
For easier nail insertion, the
medullary canal should be reamed at
least 2mm more than the diameter of
selected nail (Fig. 13).
Fig. 10
Fig. 12
Fig. 13
Fig. 11
Operative Technique
Reaming
* see pages 36-37 for additional Bixcut Reamer
system details
+ 2mm more than the
selected nail diameter
14