20
• ‘Acquiring Data...’ message indicates computer is able to communicate
with Model 1027 via selected Com port.
• If “Index out of bounds” message is displayed after pressing Print
button, Model 1027 does not have sufficient test data.
Edit and Print Reports
The central part of the Radon Monitor application screen is an editing window.
Text can be added, deleted, or changed in any part of the report using standard
Windows keystrokes to enter or delete characters. Use scroll bars to view other
parts of report.
•On the Edit menu, use Cut, Copy, and Paste to make changes.
• To interpret report results, see Figure 4-1 on page 17. Data between the
header and footer in the editing screen is the same as is printed on thermal
printer paper.
• To print the report, select File > Print and in the dialog box, click OK.
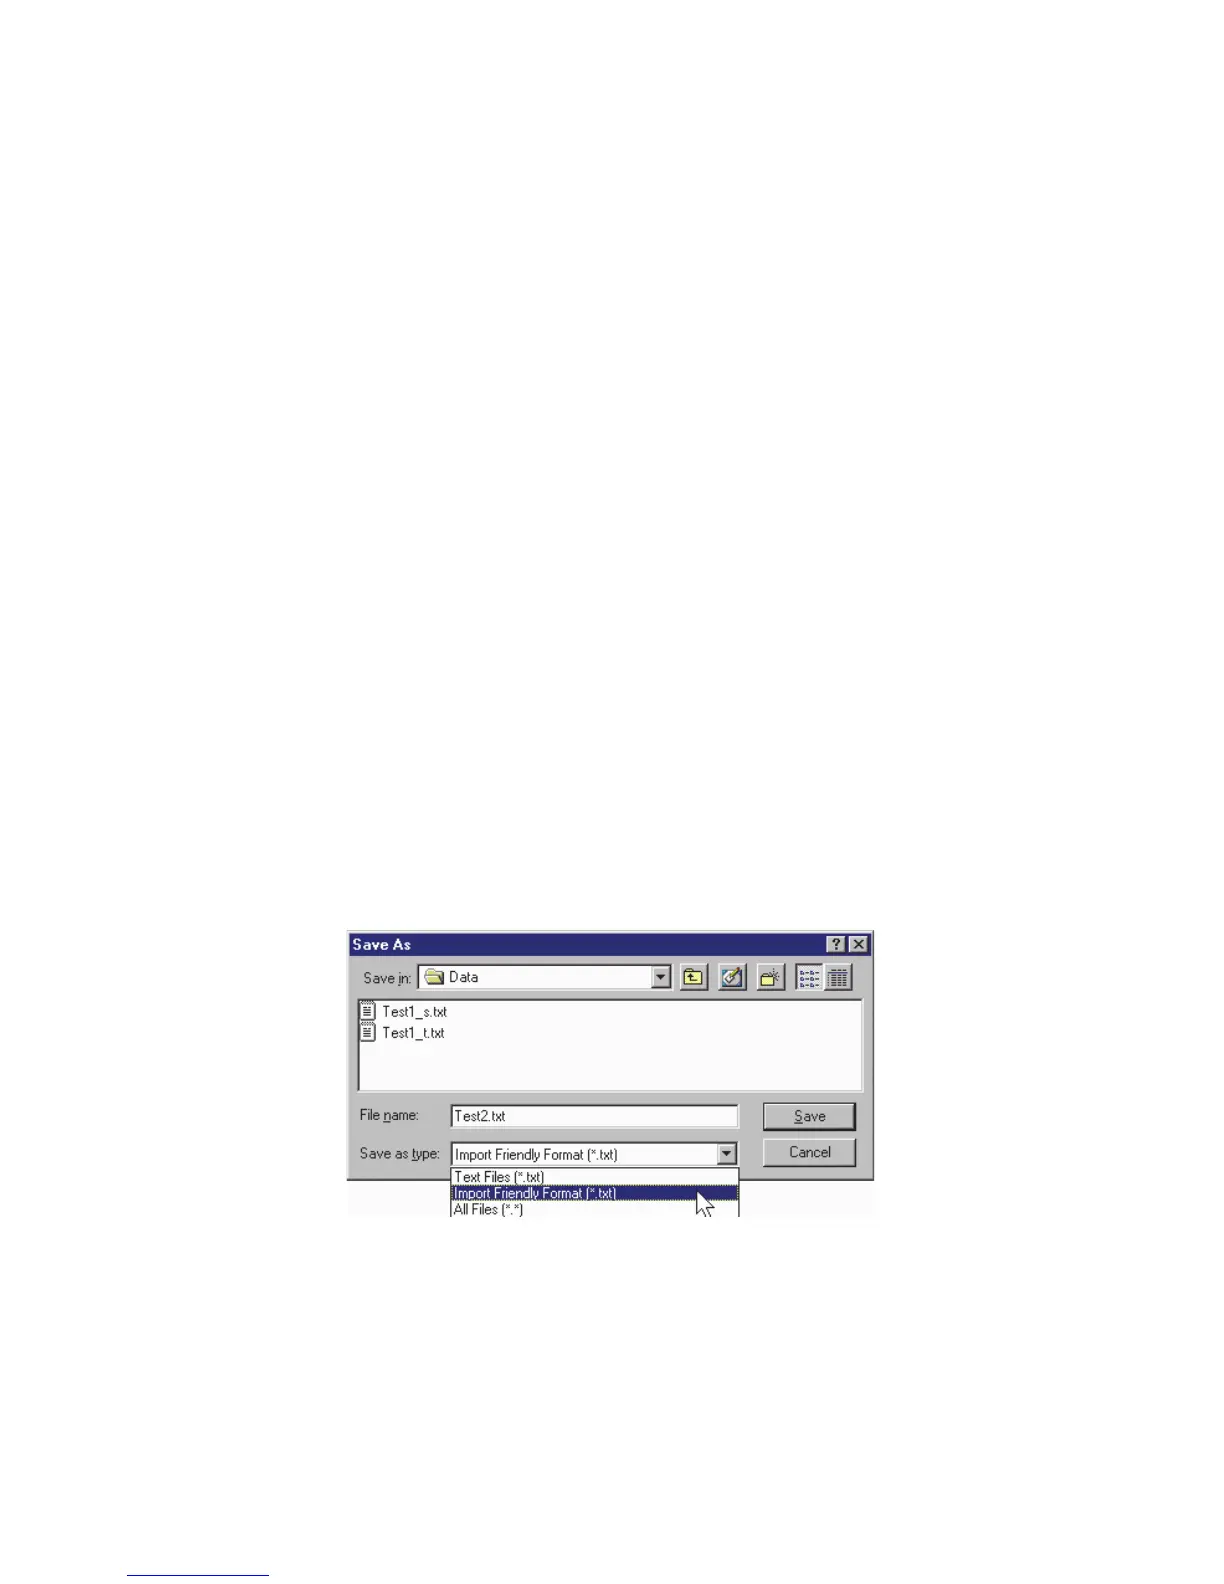
Save Reports
Reports can be saved in two formats:
• ASCII text format (“Text Files”). The suffix “_t” is appended to the file name.
• Tab-delimited format suitable for importing into a spreadsheet, such as
Microsoft Excel. The suffix “_s” is appended to the file name. In this format,
numerical values are placed in individual cells, which allows the use of
graphing functions and other spreadsheet tools.
1 On File menu, click Save As. ‘Save As’ dialog box opens (Figure 4-4). By
default, files are saved in C:\Radon\Data subdirectory. You can save files
here, or select a different folder.
Figure 4-4. Save As Dialog Box
2 Use Save as Type drop-down list and select format type.
3 Enter a File Name. Use a naming scheme suitable to your purpose, such as
client name, address, date, serial number, or some combination. The
appropriate suffix is added automatically depending on the selected file type.
4 Click Save.