4
2 Setup
Unpack
Unpack the shipping box and identify the parts. See Parts on page 2.
Set Up Hardware
Before collecting data with Model 1027, decide how you want to print reports.
• Using the optional thermal printer, P/N 102750. See Set Up Thermal Printer
below.
• Using a printer connected to a laptop or personal computer. This option
requires the Radon Monitor software application. See Set Up Software on
page 6.
Set Up Thermal Printer
1 Connect gender changer (P/N 780374) to printer serial port.
2 Connect RS-232 (serial) printer cable (P/N 801032(Z)) to Model 1027 DATA
PORT and to printer gender changer.
3 To operate printer on AC power, plug power supply (P/N 022005(Z)) into
printer power connector. Then, plug detachable power cord (P/N 801008(Z))
into printer power supply and into a mains power source that matches
ratings on power supply.
Alternately, operate printer from its rechargeable battery.
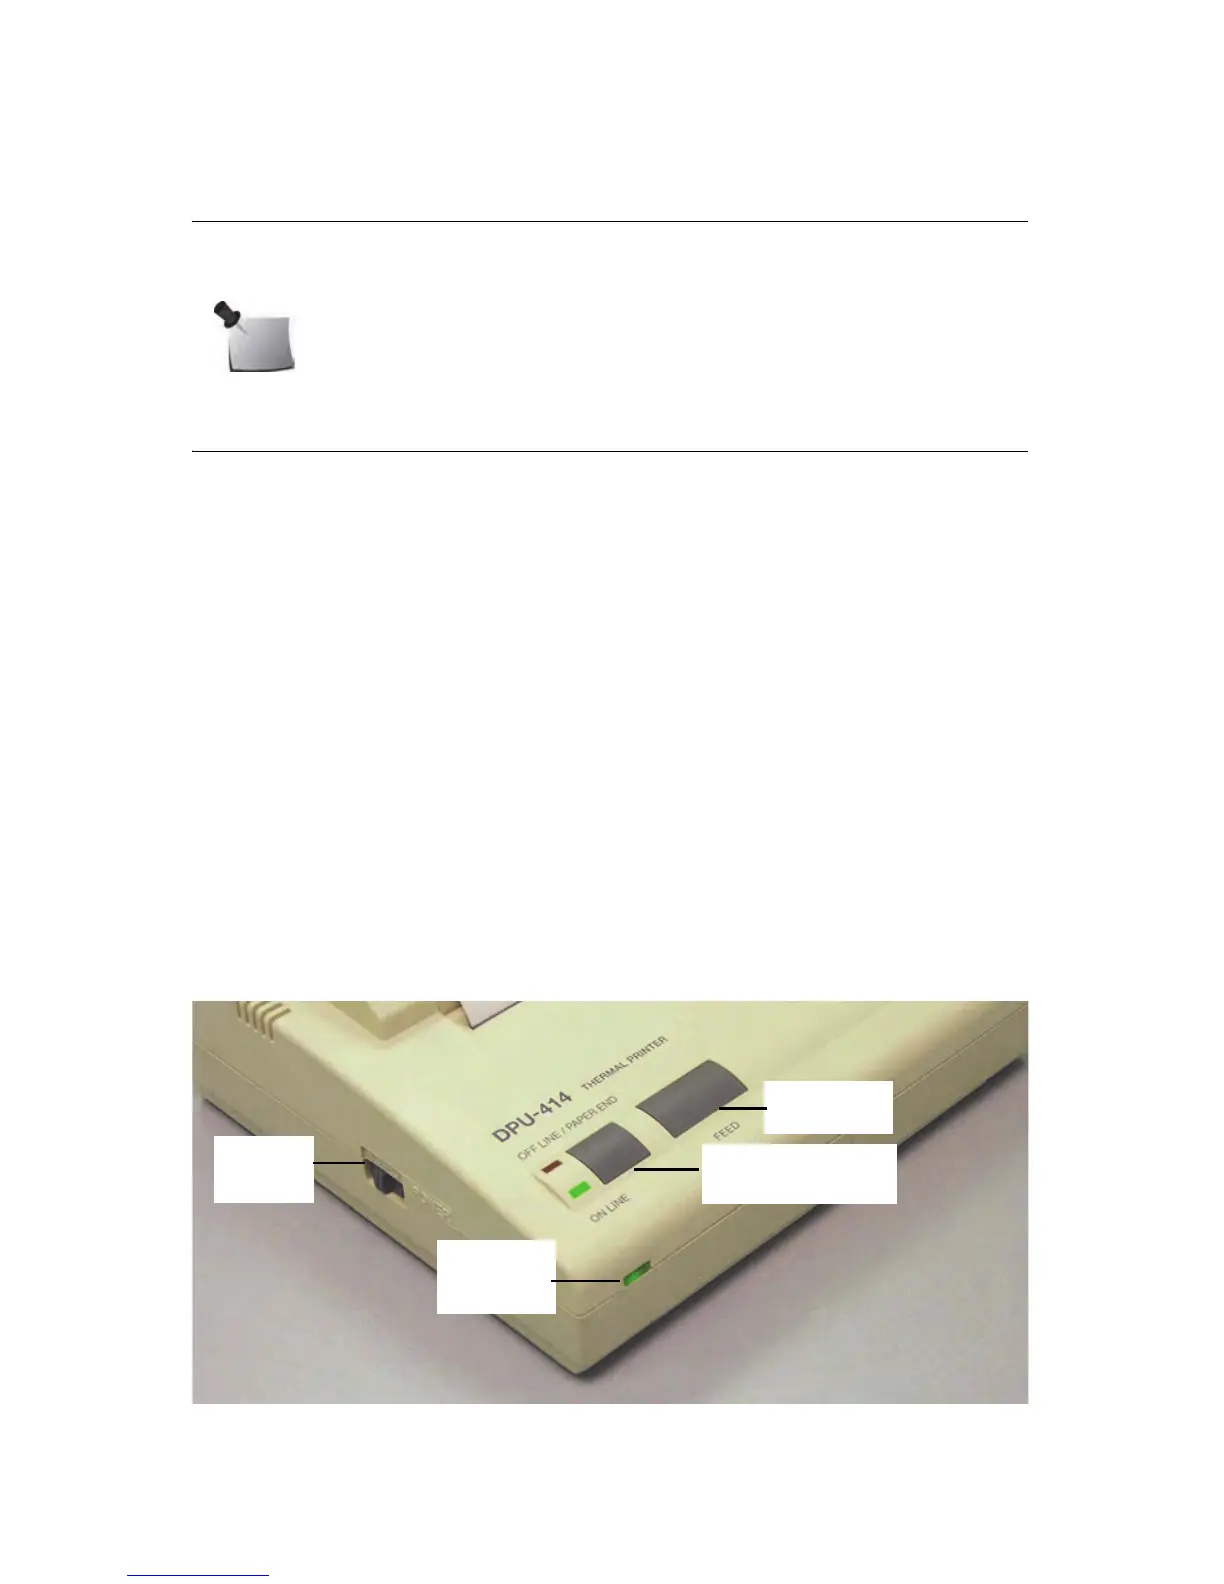
Figure 2-1. Printer Controls and Indicators
Note: Save the packing material if you plan to return the Model 1027
for periodic re-calibrations. See Thermal Printer Maintenance on
page 22.