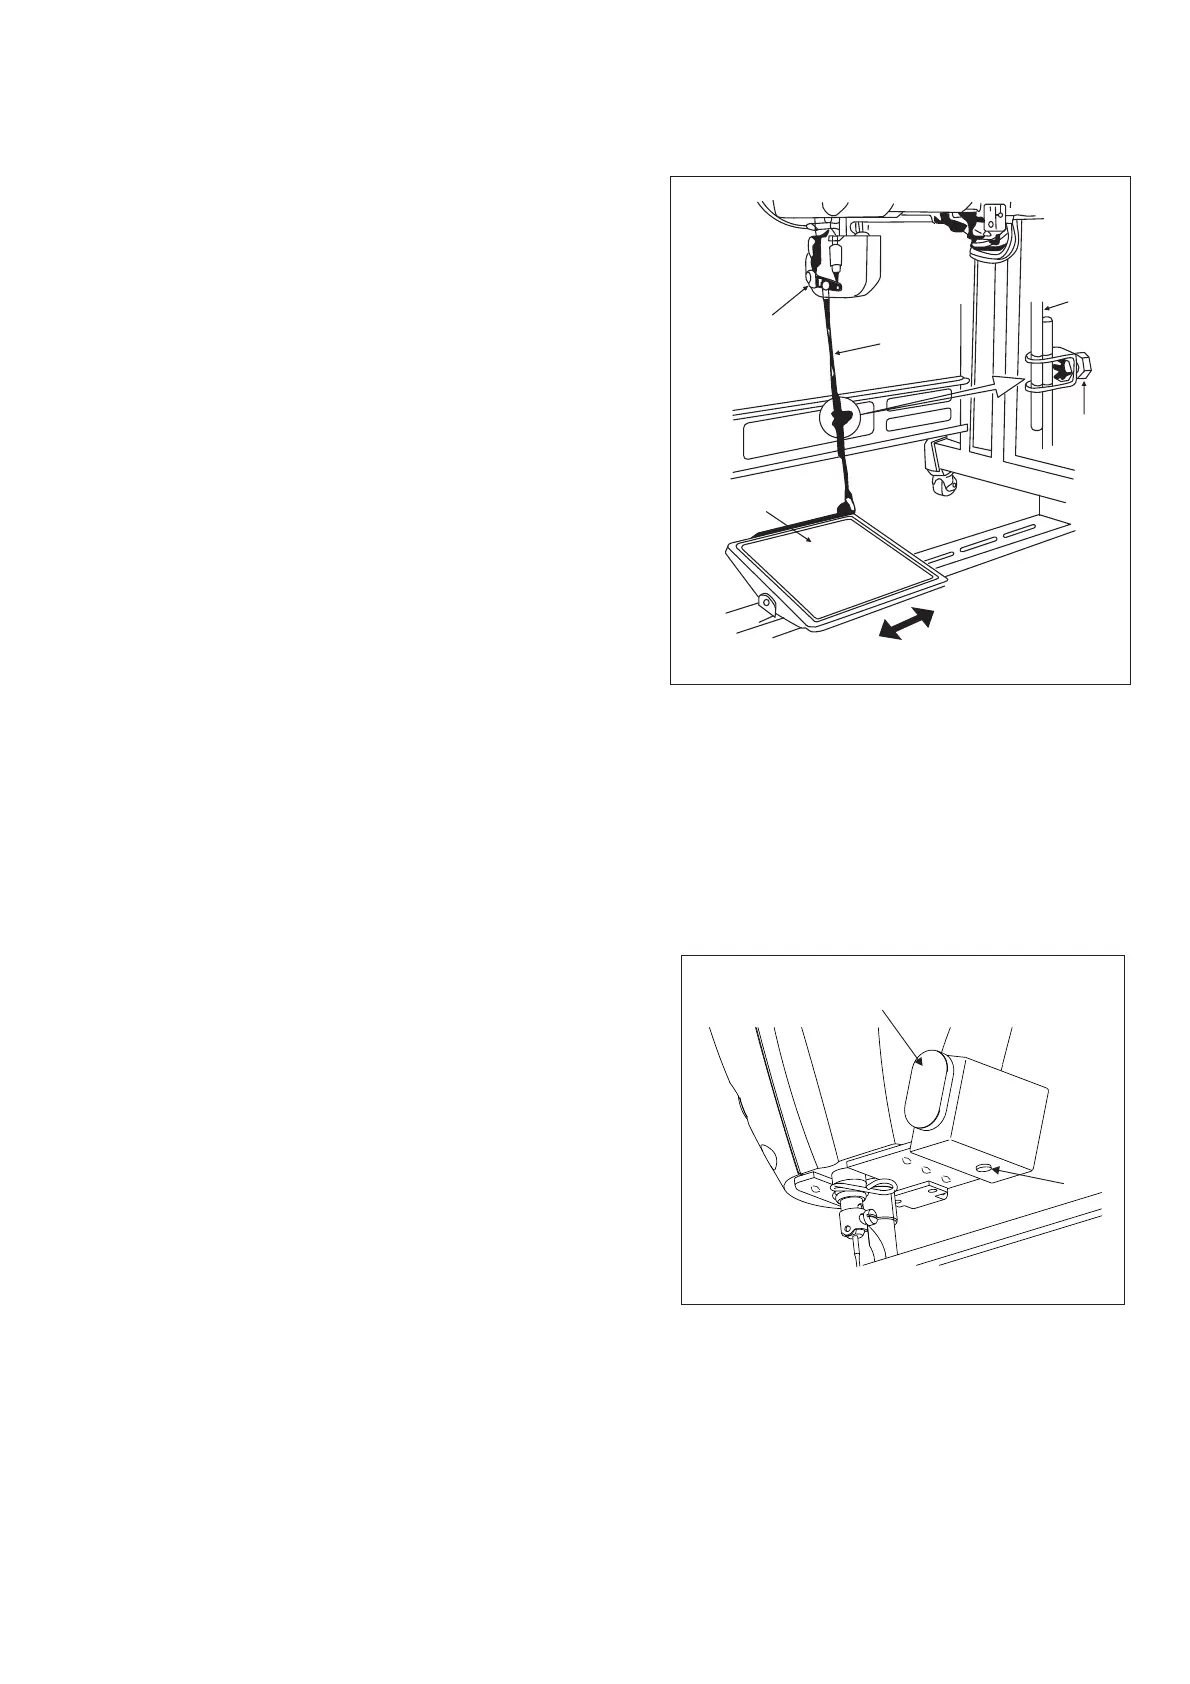
페달 조정 그림27. ( 32)
ADJUSTMENT OF THE PEDAL (Fig.32)
연결 롯드 설치1.
모터 콘트롤 레버와 연결 롯드가 일직선이 되도록1)
그림의 화살표 방향으로 왼쪽 또는 오른쪽으로
움직입니다.
페달 각도 조정2.
연결 롯드의 길이를 조정하면 페달의 경사는1)
마음대로 바꿀 수 있습니다.
조정나사를 풀고 연결 롯드 길이를 조정하여2)
주십시오.
1. Installing the connecting rod
1) Move pedal to the right or left as illustrated by
the arrows so that motor control lever and
connecting rod are straightened.
2. Adjusting the pedal angle
1) The pedal tilt can be freely adjusted by
changing the length of the connecting rod.
2) Loosen adjust screw, and adjust the length of
connecting rod.
원터치방식역진재봉 그림28. ( 33)
ONE-TOUCH TYPE REVERSE FEED STITCHING MECHANISM (Fig.33)
작동 방법1.
스위치를 번 누르면 재봉이 즉시 시작됩니다1) 1 .
한번누를때마다 땀식진행합니다2) 1 .
재봉 중 누르면 역진 재봉이 이루어집니다3) .
전원을 켜면 램프가 켜지고 버튼 를 누를 때 마다4) , 2
램프 밝기가 변하다가 꺼집니다 밝기는 단계로.3
되어 있습니다.
1. How to operate
1) Pressing the switch presses button 1, the
sewing machine pours to sew immediately;
2) Proceed to pour to sew at time that press;
3) Loosen to draw to change into namely face
the sewing;
4) Turning on the machine hour floodlight is
an all opening, Pressing to move to press
button 2 illuminate the will die down gradually,
totally 3 class.
-30-
Fig.32
①
②
③
④
⑤
Fig.33
①
②
 Loading...


