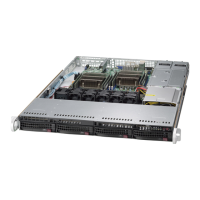
SC815 Chassis Manual
5-6
5-7
Chapter 5: Chassis Setup and Maintenance
3. Install a new drive into the carrier with the printed circuit board side facing
down so that the mounting holes align with those in the carrier.
4. Secure the hard drive by tightening all six (6) screws.
5. Replace the drive tray into the chassis. Make sure the close the drive carrier
handle.
Drive Tray
SAS/SATA Hard Drive
Figure 5-6. Removing the Hard Drive From the Carrier
Figure 5-7. Replacing the Hard Drive Carrier
4
4
5
Figure 5-8. Installing the DVD Drive
5-4 Installing the DVD Drive
SC815 chassis models include space for one optional DVD drive.
Installing the DVD Drive
1. Power down the system and unplug the power cord from the rear of the
power supply. Open the chassis cover as described in Section 5-3.
2. Secure the left rail (A) to the left side of the DVD drive using two screws (B).
3. Attach the right rail (C) to the right side of the DVD drive using two screws
(D).
4. Carefully slide the DVD drive and into the chassis.
5. Plug the power cord into the power supply and power up the system.
1
A
1
3
1
D
1
C
1
B

 Loading...