SC815 Chassis Manual
5-14
5-15
Chapter 5: Chassis Setup and Maintenance
Four heavy duty fans provide cooling for the chassis. These fans circulate air through
the chassis as a means of lowering the chassis internal temperature.
In models with counter-rotating fans, each fan unit is actually made up of two fans
joined back-to-back, which rotate in opposite directions. This counter-rotating action
generates exceptional airow and works to dampen vibration levels.
In chassis that provide an additional open fan housing, an additional system fan
may be added for optimal cooling.
Adding a System Fan
1. Power down the system and remove the power cord from the rear of the
power supply. Remove both power cords if your system includes a redundant
power supply. Remove the chassis cover as described in Section 5-3.
2. Remove the dummy fan from the fan tray.
3. Place the new fan into the vacant space in the housing while making sure the
arrows on the top of the fan (indicating air direction) point in the same direc-
tion as the arrows on the other fans.
4. Connect the fan wires to the fan headers on the serverboard.
5. Reconnect the power cord(s), power up the system and check that the fan is
working properly before replacing the chassis cover.
5-7 System Fans
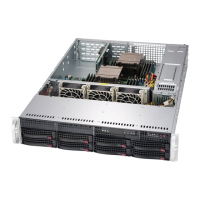
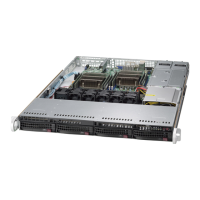
Figure 5-14. System Fan
Figure 5-15. Chassis Fans (Note additional fan options)
The SC815 chassis includes four pre-installed fans. One or two extra slots are
available so that. additional fans may be added.
Replacing a System Fan
1. If necessary, open the chassis while the power is running to determine which
fan has failed. Never run the server for an extended period of time with the
chassis open.
2. Power down the system and remove the power cord from the rear of the
power supply. Remove both power cords if your system includes a redundant
power supply. Remove the chassis cover as described in Section 5-3.
3. Remove the failed fan's wiring from the serverboard.
4. Lift the failed fan from the chassis and pull it completely out from the
serverboard.
5. Place the new fan into the vacant space in the housing while making sure the
arrows on the top of the fan (indicating air direction) point in the same direc-
tion as the arrows on the other fans.
6. Reconnect the fan wires to the exact same chassis fan headers as the previ-
ous fan.
7. Reconnect the power cord(s), power up the system and check that the fan is
working properly before replacing the chassis cover.
 Loading...