4-5
Chapter 4: Chassis Setup and Maintenance
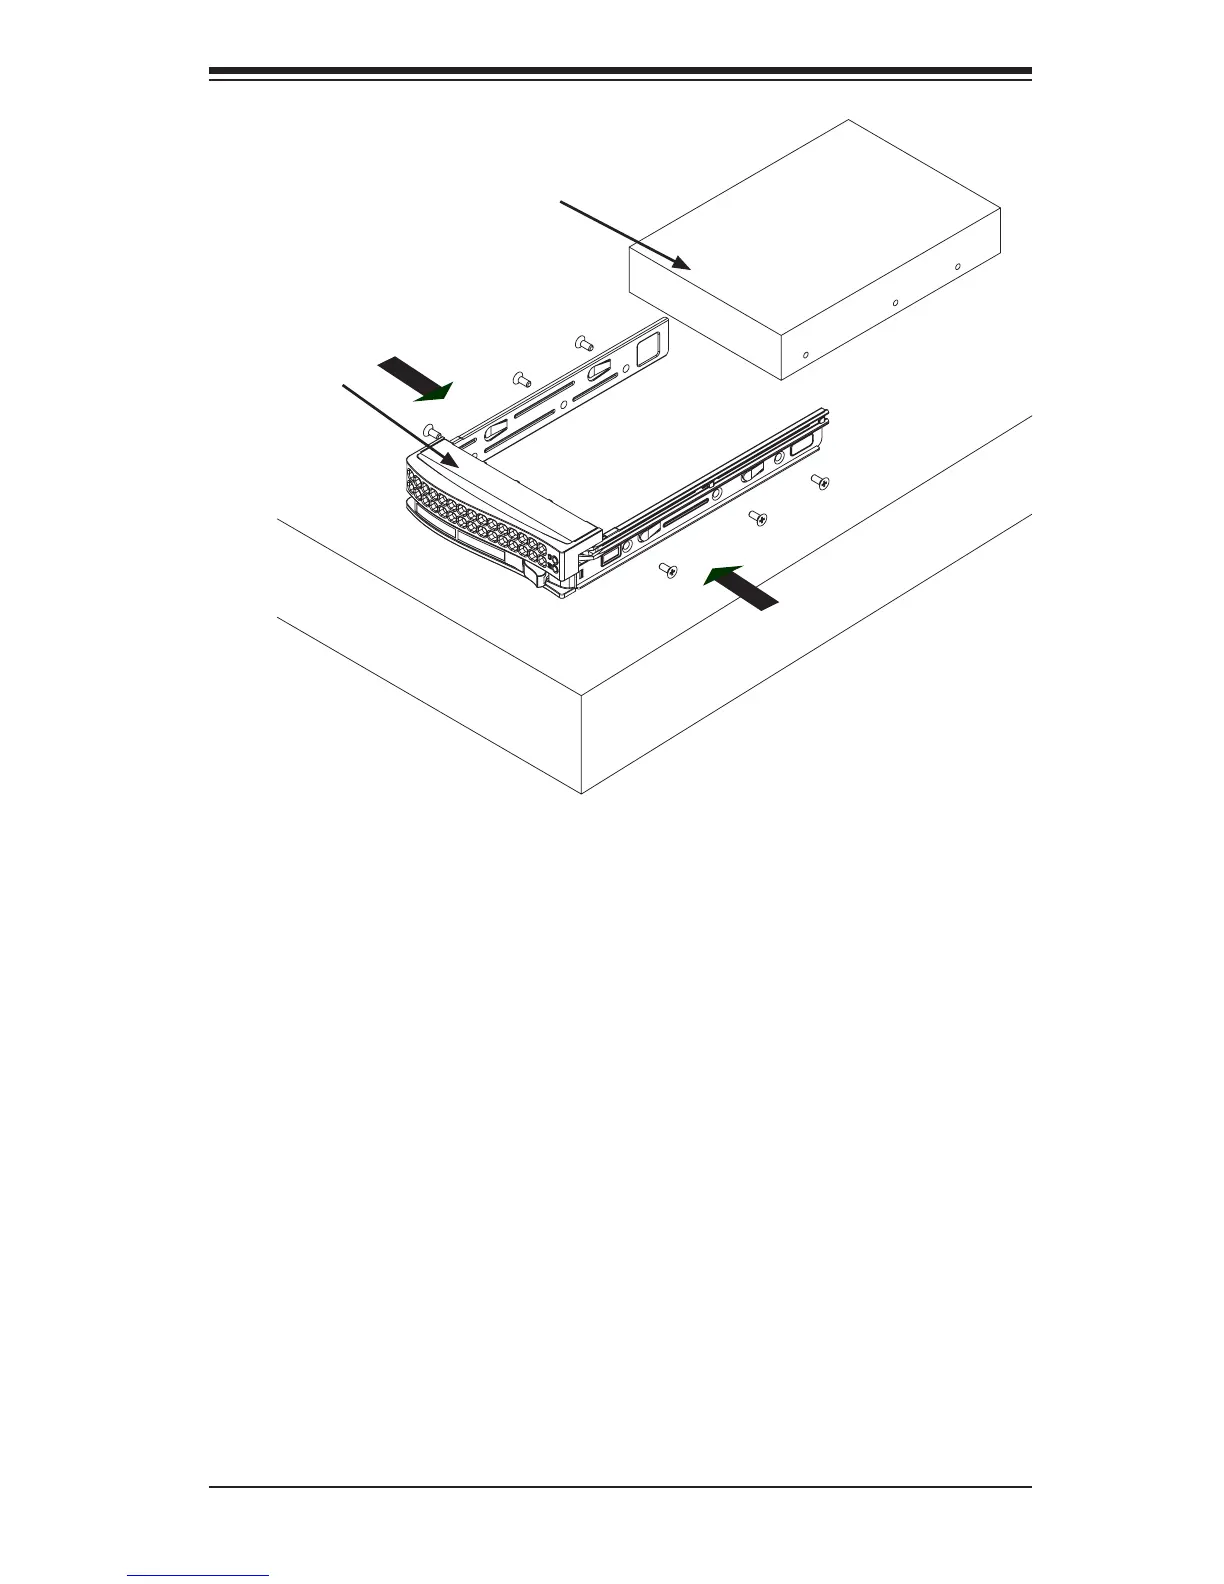
Installing a Hard Disk Drive
1. Remove the two screws connecting the dummy drive to the carrier.
2. Remove the dummy dirve from the carrier.
3. Place the hard drive carrier on a at, stable surface such as a desk, table, or
work bench.
4. Slide the hard drive into the carrier with the printed circuit board side facing down.
5. Carefully align the mounting holes in the hard drive and the carrier. Make sure
the bottom of the hard drive and bottom of the hard drive carrier are ush.
6. Secure the hard drive using all six screws.
7. Replace the drive carrier into the chassis. Make sure to close the drive tray
using the drive carrier handle.
Hard Drive
Carrier
SAS/SATA
Hard Drive
Figure 4-5. Installing a Drive into the Carrier
Use a hard, stable
surface when installing
the hard drive
 Loading...