SC826 Chassis Manual
4-14
4. Insert the riser card(s) into the motherboard expansion slot(s) while aligning the
riser card bracket with the rear of the chassis. Secure the bracket with screws
(Figure 5-12).
5. For a full-height extension card, release the clamp that secures all four PCI
shields. Looking at the rear of the chassis, this clamp is in the right corner.
Unscrew the single screw that secures the clamp and rotate the clamp away
from the shields.
For a low prole extension card, release the box-shaped clamp that secures
all three PCI shields. Looking at the rear of the chassis, this clamp is near
the middle, just left of the low prole PCI slots. Unscrew the single screw that
secures the clamp and slide the clamp to the left away from the shields.
6. Insert the expansion card into a slot on the riser card while aligning the
expansion card backplate with the open slot in the rear of the chassis. Repeat
for other expansion cards if you are installing more than one.
7. Secure the card backplates to the chassis by returning the clamp to the closed
position and installing the locking screw.
8. Replace the chassis cover and power up.
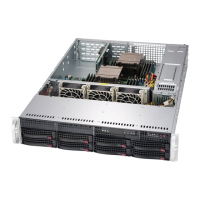
This U model chassis is
pictured without the riser card
bracket.
Shield Clamp for
Full-Height Card
Shield Clamp for
Low Prole Card
Figure 5-13. Remove an Expansion Card Slot Shield
 Loading...