11
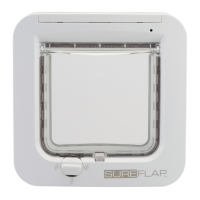
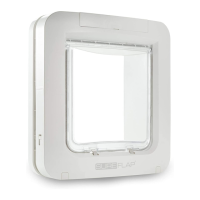
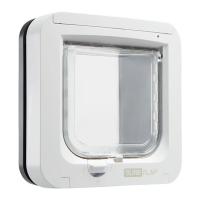
Fitting your cat flap in wood or plastic
Tools and supplies required
Ruler
Spirit level
Blu Tack
Electric drill with a 6mm ('') drill bit
Cross head screwdriver
The screws and caps provided
Sharp pencil
Electric jigsaw
Protective eye-wear
Step-by-step guide
1
2
Stick the external frame to the door using the mark you made
for the height of your cat’s tummy to align the bottom edge of
the hole. Use a spirit level to ensure the frame is level, then run
a sharp pencil around the inside edge of the frame.
3
To ensure your cat has unhindered access through the cat flap,
measure the height from their tummy to the floor. Mark this
height on your door, as this is where the bottom of the hole
should be cut through the door.
Attach a ball of Blu Tack (or similar adhesive putty) to each rear
corner of the external frame so that you can stick it to the door
and use it as a template.
x
When using power tools, please follow all safety instructions provided with the product.
x
Installation video tutorials (English speaking) can be found at surepetcare.com/support
Before you begin, we advise that you program your cat(s) ID prior to fitting, see page 7.
4
Now it’s time to prepare for cutting. We strongly advise
that you drill large holes in all the corners of the outline to
make it easier to cut the hole with a jigsaw. Make sure these
holes are touching the line and that they are big enough for
the blade of the jigsaw to fit through.
x