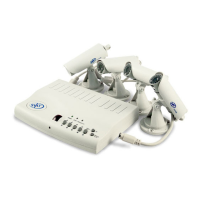
SVAT ELECTRONICS
now you can see
CLEARVU2 19
5. Use the ▲/1▼/3 buttons to select the hour, minute and second from which you want to start backing up
footage. Use the ►/4 button to change the values. To conrm this selection, press .
6. Select End Time, and press ►/4.
7. Use the ▲/1▼/3 buttons to select the hour, minute and second from which you want to stop backing up
footage. Use the ►/4 button to change the values. To conrm this selection, press .
8. Select COPY, then press ►/4. Press ►/4 again to start the le transfer.
Erase Video Data
After you have copied video footage over to your computer, select this option if you want to use the drive as a regular
ash drive again. Press ►/4 to conrm. This will erase all video data and DVR formatting from the drive. When you
try to use it as a ash drive on your computer, Windows will require you to format the drive. After formatting, the drive
will function as a regular ash drive again.
Note: If you want to use the drive with the DVR once again, you must use the Format option on the DVR.
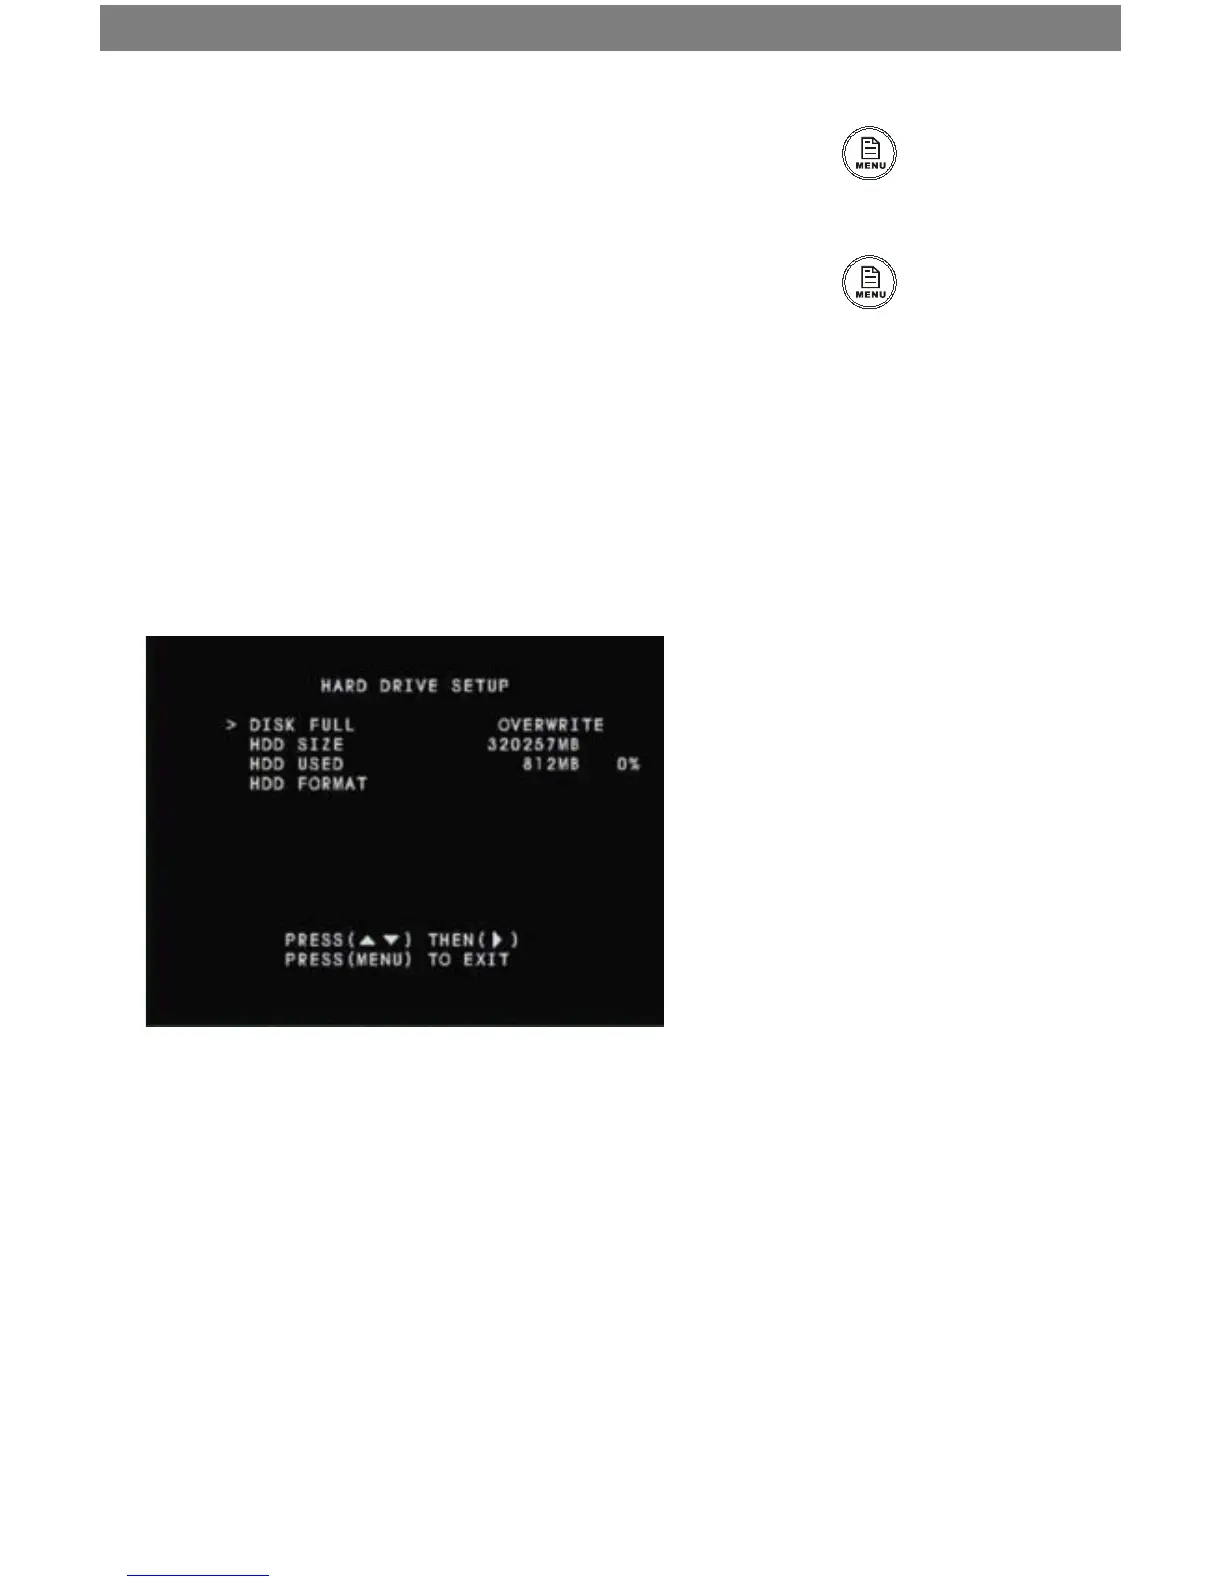
Hard Drive Setup
Disk Full
This option allows you to switch between Disk Full Stop, or Disk Full Overwrite. Disk Full Stop will stop the DVR from
recording once the hard drive has run out of space. Disk Full Overwrite will begin to overwrite your footage once the
hard drive has run out of space. This allows for continuous, uninterrupted recording.
1. Press ►/4 to toggle between the two modes.
Note: If the DVR is on Overwrite, the hard drive will be cleared once it has reached maximum capacity. This will
allow for continuous uninterrupted recording.