20
iii. Disconnect the LED connection cables from the power supply socket
and remove the LED board.
iv. Install the new LED.
●
Take out a qualied LED board and reverse action steps as above.
When installing the LED board, do not touch the glass surface of the bulb
with bare ngers. If the surface is contaminated, wipe it clean using lens
tissue.
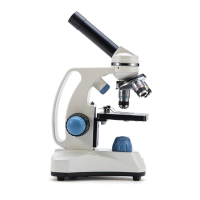
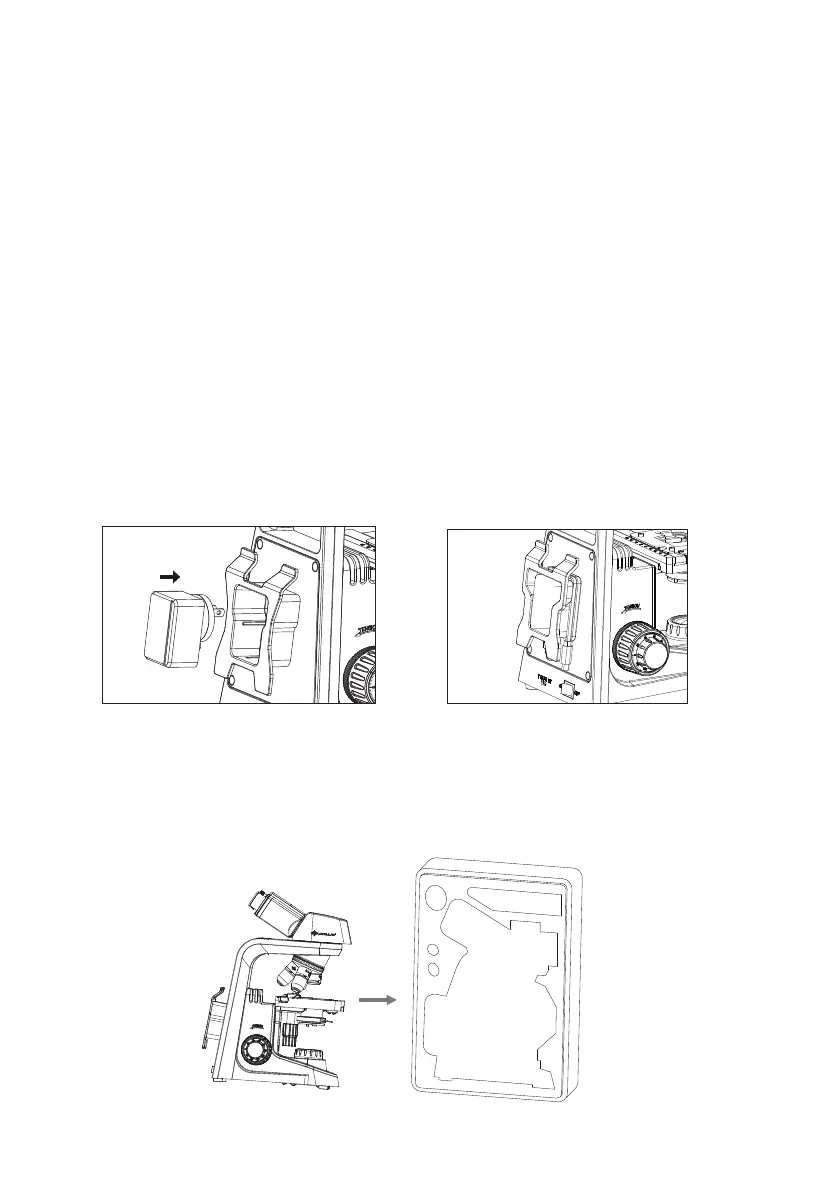
F. Microscope Storage
●
Power adapter storage
Insert the power adapter into power adapter compartment on the rear of
microscope when it is not in use.
●
Power cord storage
When it’s not in use, insert the USB end of the power cord into power
adapter through the hole at the bottom of power cord hanger, then wrap
the cord in the power cord hanger on the rear of microscope.
●
Microscope storage
Adjust the interpupillary distance to maximum and set the binocular tubes
in horizontal position. Turn the eyepiece tube backward to save the
storage room. Store the microscope in the right environment as
described in section III.

 Loading...