12 Adjusting the Frequency Setup © Tait Electronics Limited February 2007
Setup
To tune a VHF (B-band) receiver front end, follow these steps.
1. Make sure that the equipment is correctly set up and that the Calibration
Software is connected to the reciter.
2. Select the Frequency Setup tab, and double-click Tune Receiver Front
End. The Tune Receiver Front End Wizard appears.
Note: If you haven’t adjusted the receiver lock band in the current
session, an alert appears, recommending that you run the Set
Receiver VCO wizard first. If the lock band needs adjusting, click
Yes and carry out that procedure first. If you are confident that the lock band
is correct, click No.
3. Connect the CTU’s noise source to the receiver input, turn the noise source
on, and then click Next.
4. Click Coarse (fast) and use the Murata tuning tool to roughly adjust the
four front-end trimmers on the receiver (see below). You can do this in any
order. As you do so, observe the graphical RSSI readings across the lock
band. Adjust to optimize the response across the entire switching band.
Note: For final fine tuning, you may find it helpful to select a more
sensitive scale, so that you can see the graphical reading in more
detail.
5. Once you have roughly tuned the trimmers, click Fine (slow). Repeat the
above procedure until the response is flat in the middle of the lock band and
not more than -1 dB at the ends of the band.
Note: When using the Fine (slow) setting, you may notice a slight
delay as the reading from tuning the trimmers takes approximately
one second to appear on the graph.
6. Click Finish. An alert appears, asking that you calibrate the RSSI. The icon
on the Frequency Setup tab indicates that this task is complete.
7. Re-calibrate the RSSI (see “Calibrating the RSSI” on page 18).
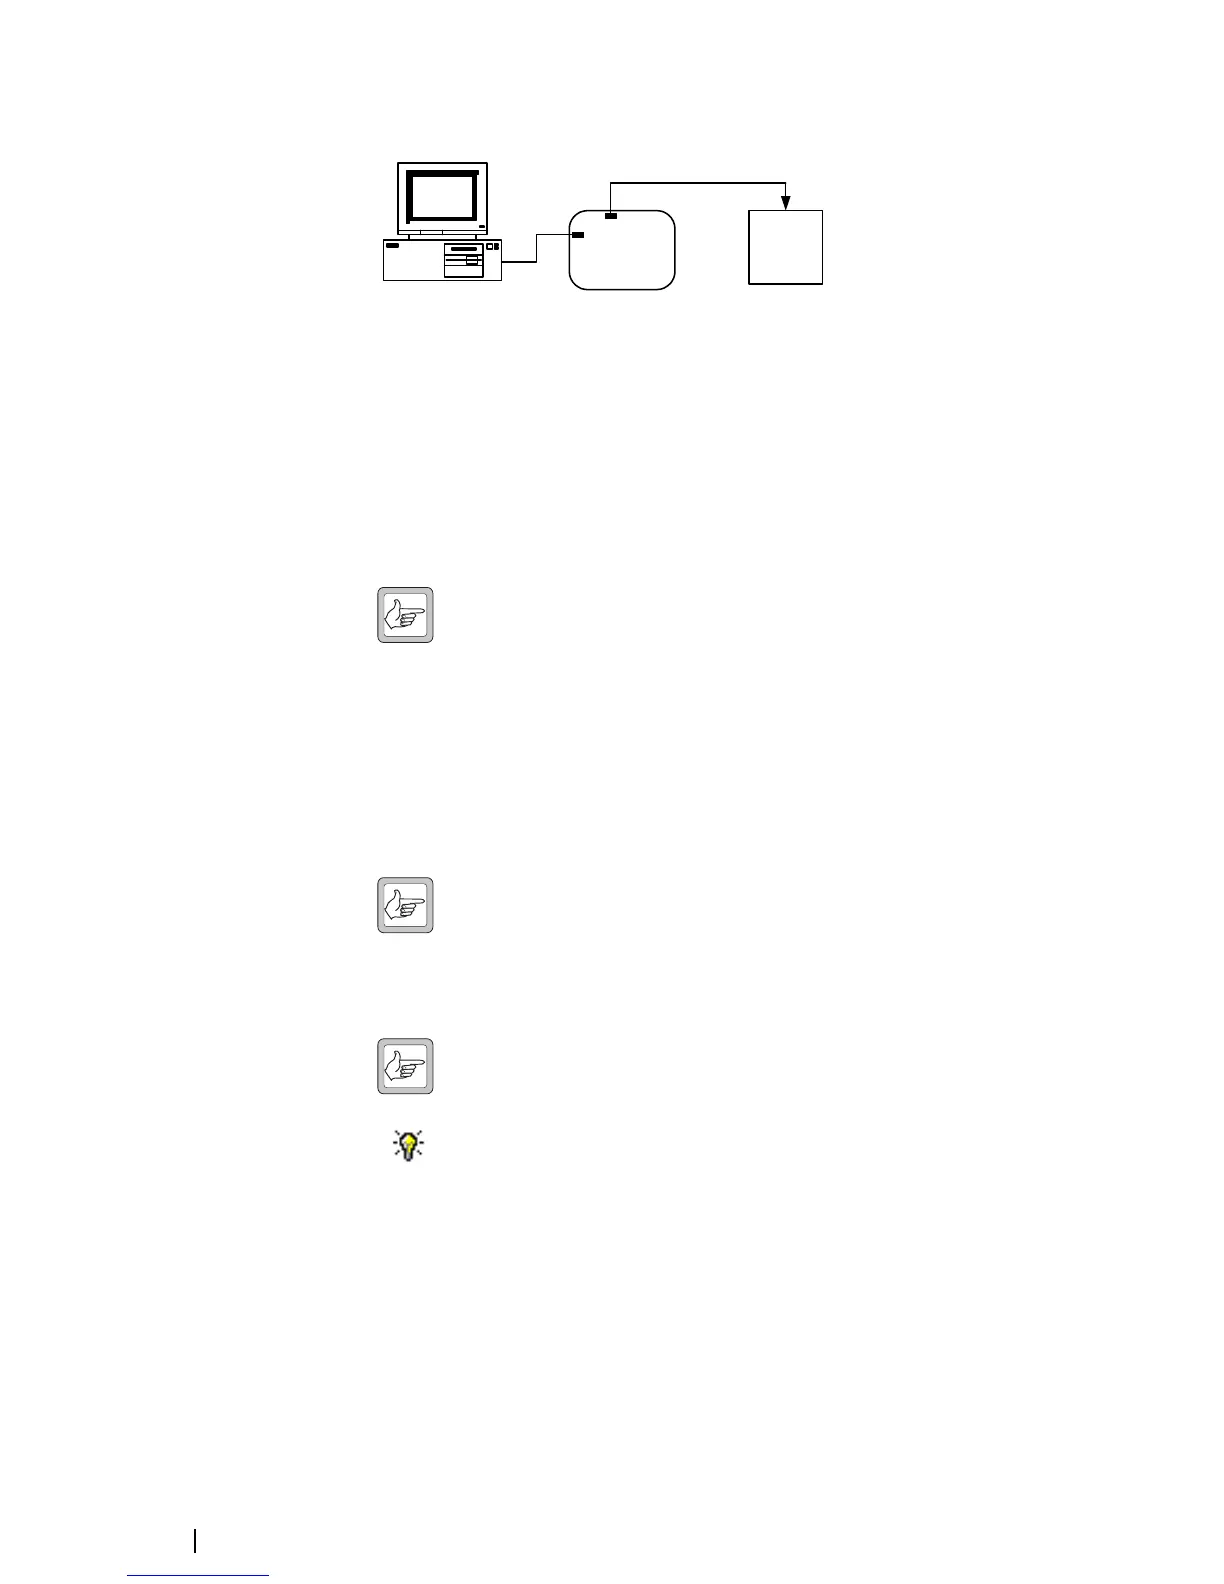
6
4
3
1
2
5
1 PC 2 RS-232 cable 3 Programming port
4 CTU 5 Noise source 6 Reciter
 Loading...


