Do you have a question about the Tally T2240 and is the answer not in the manual?
Covers FCC regulations, European CE directives, and general safety advice.
Presents critical warnings and attention notices for safe printer operation.
Explains symbols like CAUTION and NOTE for user guidance and printer protection.
Provides critical safety guidelines for printer operation to prevent harm and damage.
Instructions for accessing and using the printer's online documentation via CD-ROM.
Notes that detailed troubleshooting is available on the CD-ROM.
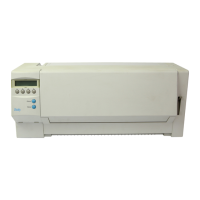
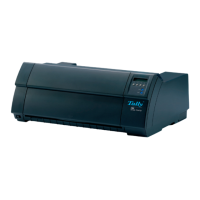
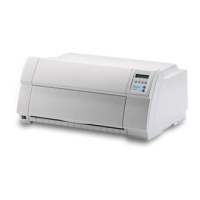
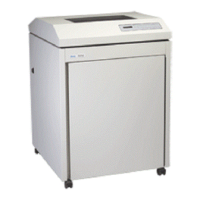
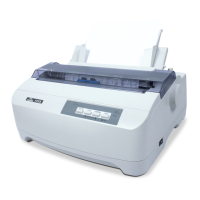
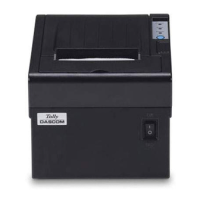
Identifies key parts of the printer through illustrations and labels.
Covers checking package contents and positioning the printer correctly.
Details the purpose and usage of various printer parts and controls.
Instructions for checking package items and preparing the printer for setup.
Advises on selecting a suitable, safe, and stable location for the printer.
Guides on setting the correct voltage and connecting the power cable.
Instructions for connecting the printer to the computer using the data cable.
Indicates the location of the printer's power switch.
Describes the Online mode for receiving data from the computer.
Details functions like step feeds, line feeds, and form feeds in Offline mode.
Explains how to enter Setup mode and available menu options.
Instructs to set the Paper Thickness Adjustment Lever to position "8".
Guides on how to detach the printer's Access Cover using latch levers.
Advises to move the Print Head to the center and warns about its heat.
Steps to align and attach the cartridge to the printer hooks.
Guides on placing the Ribbon Guide between the Print Head and Platen.
How to use the Ribbon Feed Knob to remove slack in the ribbon.
Instructs to re-attach the Access Cover after cartridge setup.
How to insert cut sheet paper from the front of the printer.
Instructions for setting up and extending the paper tray.
Setting the Paper Type Selection Lever and ensuring Single Sheet mode.
Adjusting the left margin using the paper guide.
Detailed steps for placing and feeding the cut sheet paper.
Information on the capacity for feeding out post-print paper.
Adjusting the thickness lever and selecting Continuous Form Feed Paper mode.
How to open and secure the Front Cover during loading.
Guides on setting up tractors for continuous form feed paper.
Fitting feeding holes onto tractor pins for continuous paper.
Adjusting the left margin and locking the tractors in place.
Turning on the printer and loading paper for printing.
Using the quick selection feature for paper paths.
Procedures for tearing and ejecting continuous form paper.
Instructions for pulling out paper extension trays.
Making the printer ready by pressing the Online key.
Describes different ways to transport paper or single sheets.
Using the Tear key to move fanfold paper to the tear position.
Using the Exit key after tearing paper to return to the printing position.
How to adjust the paper's tear edge alignment.
Using the Setup key to enter Setup mode for adjustments.
Using the TOF function to set the topmost printing line.
Using the Adjust key to access the adjustment menu.
Activating the TOF key to position the first printing line.
Adjusting the first printing line position using arrow keys.
Explains the lever for adjusting the gap between the print head and platen.
Provides a table showing lever positions based on paper weight and g/m².
Advises on setting the lever appropriately to avoid print quality issues and wear.
Steps to switch from fanfold to single sheet mode.
How to tear continuous form paper at the perforated line.
Accessing the paper path menu using the Paperway key.
How to change the printer to single sheet operating mode.
Setting the Paper Type Selection Lever to Cut Sheet Paper mode.
Instructions for setting up the paper tray and extension trays.
Steps to switch from single sheet to fanfold paper mode.
How to select fonts using the Setup and Char keys.
Using the Font key and arrow keys to select a font.
Exiting Setup mode or switching to Online mode.
Notes on permanent font selection from online documentation.
How to set the character pitch in Setup mode using the CPI key.
Using arrow keys to select the desired pitch and confirming with Set.
Details about the print head, including pins and characters per inch.
Information on character per second (cps) for different print modes.
DPI resolution, noise level, and physical dimensions of the printer.
Instructions for printing a demo page containing printer information.
Details the information included in the demo page output.