*lglzTli^äE,r*li-f
EBEtFT€
3<
j
<
F.(.
e{6@
til'rä?ä\/U?<liäL\"
*rSEll\*dr@H. *L*Cü<0)Eu" l.Hd,q^ä ädöFe
dt<
/aä!\. ,5-Z\R8ßff. T.e$o'o/dEöD*
Utr;e
liu. Jöllr
\
*
dr@
n& Ä
fa L.-
+E
jt
< t: ä
t'.
tEAiI<E
iSerBxlt aB. +lfi@Efi . ä&l-lt[6ur5'ta.t"
*4\ä/rEia. *.j/FFrr4 < _ *<lrt fiao)8ßFEn D
*t.
Bät<R<riz<
DfCtlif€,,.T<
t:äL\"
GF
Eßreel*,u4et
:^)<r\*4"
tffi
:
u<F?<</:är\"
E+.
äo)
j-
EieL\äT:4a*1t
Eßt|BE
ä6?3." E!
@Eäq
0)t*
E frl tEE zi är
td
!
\
t€
ä
lJ7
- 7+
t t ffit*äauäiliF,€</Eär\.
z
tLL\
@+E*Qtr.r\gßtlIJr*äL//<i!\<</jäL\"
rrE
z&iJ*??
o
*
"
t*
^
*rl. *l*€ Fl
-{ll,///El
: ot-"
-,
dtgJ'\,t|; t a-.., E, a atä l+
d
za?-tß.4')24
2ä3{'}ri Ei L
*{./..
Z't.
Al^7 r1U< .
tFa}a
h
?< /i
ä
!\.
t\
fr5E{'fJ:i"1l-'
E Fo)u4+t6e
* t : t'
tstudy
and lndeßtand ihe nsiructions thorcughly before beg nning
*The€
e many smallscrews,
nuts
and similarparts.
Assem-
ble äem carefully
refeding
to
the
drawin$.
To
prevem
trclble
and
finish the model with
good perfomance,
it is n*6sary lo
assemble
each steD exactlv as shown.
Ponioß indicated
i.
blue requie cems , ll m ceMt is
specined, äpply
plaslic
cemenl.
.-gl
Apply
s}dthetic rubber cemenr
lo the
plac6
shown
by
this natL
{l
Apply Liquid thread locklo lhe
p
aces shown by lhis
na|k.
-ti@ Apply
g€ase
to the
place
shown by
thls manc
a
This mair denoles numbeE ol Tamiya Pa nt Coloß.
tLsn
Sie die Anleitung sorglätig dul1rh und besinnen Sie eß1,
wenn sie al es veßtandon haben.
*Es sind
viele
kleine Sch.auben, Mutten und ähnliche Teile enthal-
ie.. Sälen
9e diese soß ätg unler
Beachtung
de. Abbildunqs
ein.
Um
Arger
?u
vemddst
und ein Modell
mit
einwandlGier Funk-
lion zu
ehalten,
ist
es erlodeiich, b€ijed€m Bauabschnilt
Emau
nach A.leilung voz0gehm.
8e€iche, die blau maftien sind, erlodem Xlebstofi. Falls
{chl
aldes anqegebel. veaerden S'e Plaslrulemr
-E
An Stellen nitdiserMafteruns synthelischen Glmm
kleber
auftragen.
<
An Stellen mit dieser Markierung flüssge
Sch€ubens
cnerung aurmgen.
.ai!{xil!
An Stelen mil d eser Markierung Fet aunragen,
a0
ese Mark erung
g
bt
d e Faionunmer der Tam
ya
Lackisöe an.
*Bien
etudier et comorendrc les inslructions avanl
d€ commencer
*ll
y
ä de nombEuses
pettes piöces,
vis et dcrcls. Assemble2 les
avec atenlon 4 vous rofatrt aux illustrations- Poor
Öviler
loüt
Orcblöme
et
finü
le modCle av@ de bsnes
p€don@c6,
il 6t ne-
ceisate
de suiv€
les
€tapes du montage,
L6
panies
indiqude s
bieu,
devonl
Clre collö6. Si le type
de colle n esl
p6
speili6, utilisez de la
coll€
poü plaslique.
-IE
Utili*zde
la
colre
pourcaoulcholc
synlh6tiqle aux en
doils
indioL€s
par
ce svmbole.
{< lliilisez du lrein f et aux endrc rs indiquÖs
par
ce syfibo e,
"{t$n8
U sez de la
graisse
au endrcils ndiquös
par
ce symbole.
a
C€symbo e indlque la dldrence des
peintures
Tamiya ä uiilis
{fäEU"t-i.iJ5E
,iffiar</iäL\"
Read before assembly
Erst
lesen - dann bauen.
Lisez avant I'assemblage,
i(fi;/ü.:41€l-?L\<)
*E
rt<l.^äEu* EeFiffi
&@4*,*L4*o,{
: 7
ilx-\,\<#Wl'äi"
a4ItdC[,?nf
*
äfi €nff
l*iöHO7t^+ v2HE*l?ßEF?ä*
E h"'tE <Ja7+ v t8+läft.liBrt-7r-1t-
+J t 1
v
-tn
E@T
ftfr1ä&:<,
A*f ätiltcTtü!e
4tri.irL\*t"
(t
=t,h'61J7-
/ \-t
-7
L1,
-ä{*äätL(!\*q"
eiuE< liäl\"
) Tjür0Et*;
:
tr
i tdz
0)l
ä'61*4;ä7:r
EJäE
t-
ie
D * 9.
t/äU.
L\
< äTiüruEä
t t
-Lt-ä&L/rä'5Ll\?<$ä,E8,*
7t 7r.rt
o)&ffit
E)@?. ij!\lixtFi6;-7.
^7',
h
-taE&
jh'aqÄ:lcDdäL.
TldfrleL4j&
br*jÄr?i"< l'&.4hrö4@<;+€l-*U*?.
*tnjä
gß,(rE
;otat
\€13ä
t- ttää!ä ä:
/dbtd
L
\?
< t ä
I
\"
TtüFi@&ffi ,*l*ä#E=tä#ö<
l: ä u" *LeE
trES+tj&btJL\<<
tiä\,\" 7.
^7,r
t t+Fbr;EU 1
<r\äEß6't'8
Eä
Jr6D*t
"
ZtL|Jfr
16.07. I<
-i6ütAo7a
-
^,
Y, ZEätt\'\+,aht'Z'e<q
"
aä+atl
a>t
&$o)**€,ÄldfiEdrü<E+li'Fä?1<r\*3
"
#
B'
Ed) d ää_ä
< icf
'öä<.
i€a,ü<
t-
^äEr*l-E
eo
"!ßff
{Jx:ö<E*L.r:rä<
LtL\<U}f
. E€1,/.ä
tr11 tr
tr
E ärft l.
/d
ä
ttä
u.
gßffinrU?r\D{*ät
<t\
,,.
är)lJEU rftt,^ r
tda?d4,u<r'B€.,{r-Er.
-0)[+.
^.ia.t5äiröäg€{J,/ttrdSc#igl,.
8D
t<rÄr\*ßät-td: L,-,ä\D
tv^+>r7-J<< 7t t,
*1,e.a" *t
t
=?o)7-t\-a+-7
r-r+-l*J-7,
'v
t
,.
fJE. z äJf?ä
tt
"
ztLäu^.Z
lt
lJ
ä
z*6hr/Ä
dt
än\E/e D.
*Ht;:+:->tsb<D*t
"
3*lJ*',\en'54i&L, 4DE*eLDq är*e Lxdi
@*$tärFe{.*r\<r\54*dä*;Lt
*3-"
EIED
lltträlzT
@t*n'L/.D, eZ*EimältHli;E
<tö@?;lEi(z'*?3-"
!E&tiß^a
D
-
i,htffi+?,
!L.!ä!ätur\Eflttl(
D*f
.
^ätdEit,'
< äluo*ßff ä-EE!!äLäl*,
^AlFt!??"
tli
t,äBe
t Uh D,,*9+F l! h, U
ti
E Z
htz<,
&.o t 7
)u.lllrf
4
r.t*t:7
-J
t
t
äjF2<
El€?60)r{,"t.zFTt. t
=P
h'ö8EA6t
17or
7
-).
r.
a>2
L vt-rda€-ffi Hl,<r\*f. äiE
(
oFE#IF*lc
l**
&n
zrY
-r--
E'7.{.ta
fE
l\€tl
€<aät\"
VRZ2
B L$,
-
y
h
-**.t
Il7, U )t*|E|Jl,b\ß1,
<r\ät.
rtJ./t
E16ll**=?tr{.tJrää*ütu/Jr,
ffi
gIOE*]tiär.äläritriEL,<r\*f
"
uto)Aä+trt .
-v
<. u 7 )
t
ta+
t l-
|'-l]Ittt<<t:äl\"
a-
t )t
+tfl
Bombe de
peial!rc
famiya
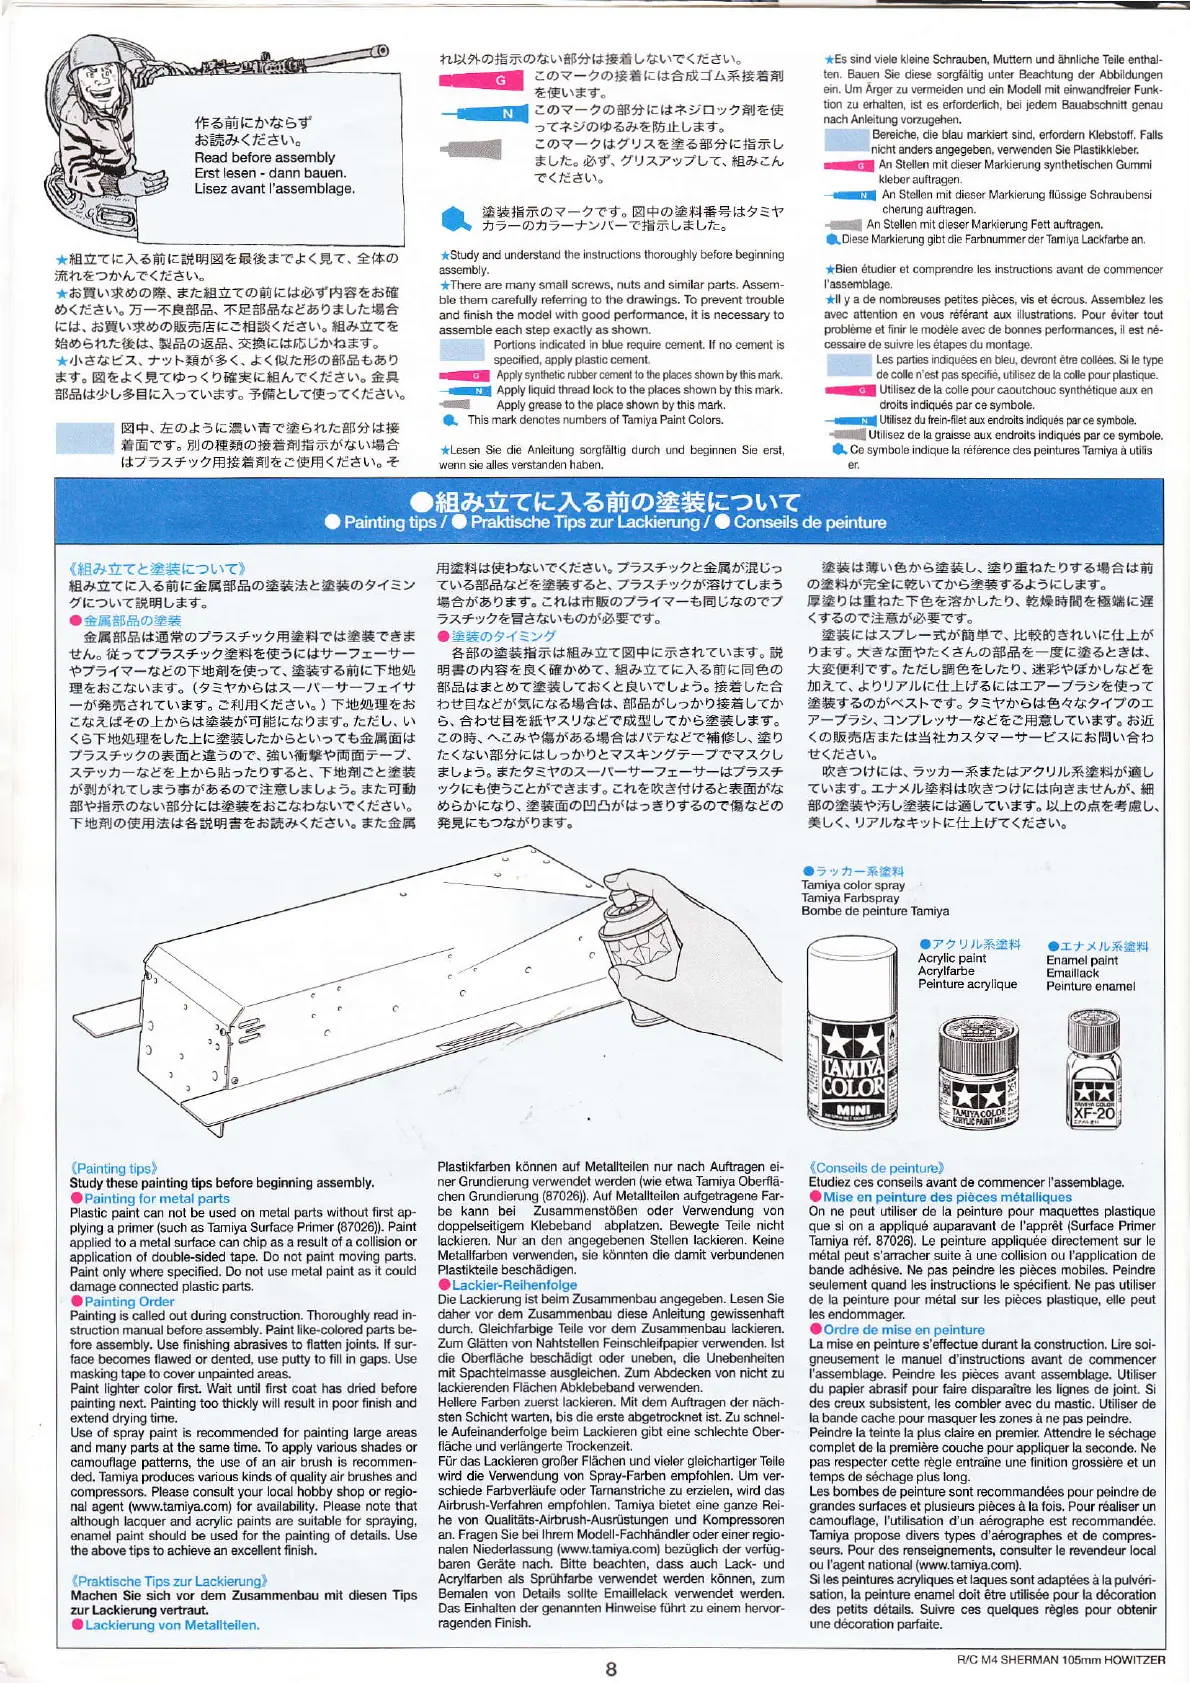
(Paintifq
lips)
Study th6se
painting
lips b€lore beginning assembly.
aPainting lor metal
paris
Plastic
paint
can not be used
on meial
pads
withoul irst ap-
plying
a
pimer (such
as
Tamiya Surface Pnmer
(87026)).
Painl
appli€d to a metal surface can
chip as a resuli of a collision or
application of
doubl+sided tape.
Do not
paint
moving
parts.
Paint only where specfied.
Do not use metal
paint
as
it
could
damage connecled
plastic parts.
aPainting order
Painting
is called oLd düing
construction. Ihoroughly rcad
in-
struction manual before assembly.
Paint like-colored
parts
be-
lolE ass€mbly. Use fnishing alrdsives
to
ialien
joinls.
lf sur-
lecs b€comes flawed or denled, use
putty
lo ill in
gaps.
Use
masking tape to cover ünpainted arcas.
Paint light€r color fitsL
Wal
unlil
flst
coal
has
dded betorc
painting
next. Painting too thickly will result in
poor
linish and
ext€nd drying tine.
Use of spray
paint
is rccommended for
peinting
la€e a€as
and many
parts
at the same
time. To
apply
vaious
shades
or
camouflage
patterns,
the use of an air brush is r€commen-
ded. Tamiya
produces
vanous kinds of
quality
air brushes and
compt€ssors. Please consult
your
local hobby shop or €gio-
nal agent
(www.tamiya.com)
lor availability. Please note that
although lacquer and acrylic
parnts
arc
suitable
lof sprayrng.
enamel
paint
should be us€d for the
painling
of detals. Use
the above lios lo achieve an
excellent fnish.
lPraktische Tips
zur Lackietung)
Machen
Sie
sictr vor d€m Zusammenbes mit di€sen
Tios
rur Lrclierung vertraut
aLackierung von Metallteilen.
Plastikfaöen können aul Metalheilen nur
nach
Aultsagen ei-
ner
Grundieruns
verwendel weden
{wie
etwa Tarnia Ob€rflä-
chen Grundierung
(87026)).
Auf Metallteilen aufgetragene Far-
be
kann bei Zusamm€nstößen oder
veMendung von
doppelseitigem
Kebeband
abplatzen.
Bewegte Teile nicht
lackieren.
Nur an den engegebenen Stellen
lackieren.
Keine
lletallfaöen
veMenden. sie könnlen die damit veöundenen
Plastikteile beschädigen.
aLackier-Reihentolge
Die Lackierung
ist
bejm Zusammenbau angegeben.
Lesen Sie
daher
vor dem Zusamdenbau diese Anleitung
gewissenhaft
durch. Gleichlarbige
Teile vof
dem
Zusammenbau |ackiercn.
Zum Glätten von Nähtstellen FeinschleifDaDier veru,enden. lst
die Obernäche
hschädig(
oder
uneben, die
Unebenheilen
mil Spachtelmasse ausgleichen. Zum Abdecken von nicht zu
lackiercnden Flächen Abklebeband veMenden.
Hellerc Faöen zuerst lackieren. Mit dem Auflragen der näch-
sten Schicht warten, bis die elsle abgetrccknet ist. Zu schnel-
le Aufeinanderlolge beim Lackiercn
gibt
eine
schlechte
Ober-
näche und veriängerte Trockenzeit.
Für
das
Lackiercn
gmßer
Flächen und vieler
gleichartiger
Teile
wid die VeMendung von Spray"Faöen empfohlen. Um ver-
schiede
Faöveriäufe oder Tamanslriche zu etzielen. wild das
Aiörush-Verfah.en empfohlen,
Tamiya
bielet eine
ganze
Rei-
he von
Qualitäts-Aiörush-Ausnjstungen
und Komprcssorcn
an. Fragen S|e bs lh€m Modell-Fachhrindler oder einer reg|o-
nalen Niededassung
{www.tamiyacom)
bezüglich der
veftlg-
baren
Gedte nach. Bitte beachten, dass aüch L"ack- und
Acryfaö€n als Spdhlaöe verwendet werden können, zum
Bemalen von Details sollte Emaillelack veM€ndet w€den.
Das Einhalten der
genannlen
Hinweise
ftlhrt
zu
einefi
heruor-
rag€nden Finish.
a7 2
'
)r+8+)
ar /,r,rr*ä
Enamslpalnt
(Conseils
de
peinture)
Etudiez ces conseils avanl de commenc€r l'ass€mblage.
aMise en
peanture
des
piöces
m6tatlaques
On
ne
peut
uliliser de
la
peinture pour
maqlettes
plastique
qus
si on a appliqu6 auparavant de l'apprät
(Sudac€
Pdmer
Tamiya ßt 87026). Le
peanirre
appliquee dircctemenl sur le
m6tal
psut
s'arracher suite ä une collision ou I'epplication de
bande adhesive. Ne
pas peindre
les
piecss
mobibs. Peindre
s€ulement
quand
les instruclions
le
specilient, Ne
pas
utiliser
de la
peinturc poür
m6tal sur les
piöces
plastique,
elle
p€ut
les €ndommagel
aOrdre de mise
en
peinture
ta mis€ €n
Deintue
s'eflecbe durEnt la conslruclion.
Ure soi
gneus€ment
le manuel d'instruclions avant
de commencer
I'assemblag€. Peindrc
les
piec€s
awnl ass€mble€e.
Uliliser
du
papisr
abasif
pour
fairc dispar-aftrc les lign€s
ds
ioinl.
Si
des crclx subsistent, les
combl€r avec du mastic. lJlilis€r de
la
bande cache
pour
masquer les zones ä ne
pas peind€.
P€lndre la teinte la
plus
claire en
prcmier
Attendre
le s6chage
complet
de
la
p€miöre
couche
pour
appliqus la ssconde. Ne
pas
rcspeclor cette ßgle enlraine une inilion
grcssiöre
et un
lsmps d€ sechage
plus
long.
Les
bombes de
peinture
sont recommandöes
pour peindre
de
grundes
sudaces et
plusieurs piöces
ä la fois.
Pour realiser Lrn
camouflage, I'utilisation d'un a6rographe
est EcommandÖe.
Tamiya
popos€
diveß types d'a6rcgraphes et de comprcs-
seuß. Pour des rens€ignements, consulter le revendeur
local
ou I'agert natjonal
(www-taniya.com).
Si l€s
peintures
acry'iques et laqu€s sont adapldes
ä la
pülv6d-
sation,
la
peintüe
enarnel ddt elre utilisee
pour
la dd€or"ation
des
pdns
d6.tails. Suivre ce6
quelques
d{les
pour
obtenir
une decoralion oarfaite.
R/c M4
SHEFMAN 105mm HOWITZER

 Loading...