OPERATING PROCEDURES
6-3
Model 104
Operating Procedures
6
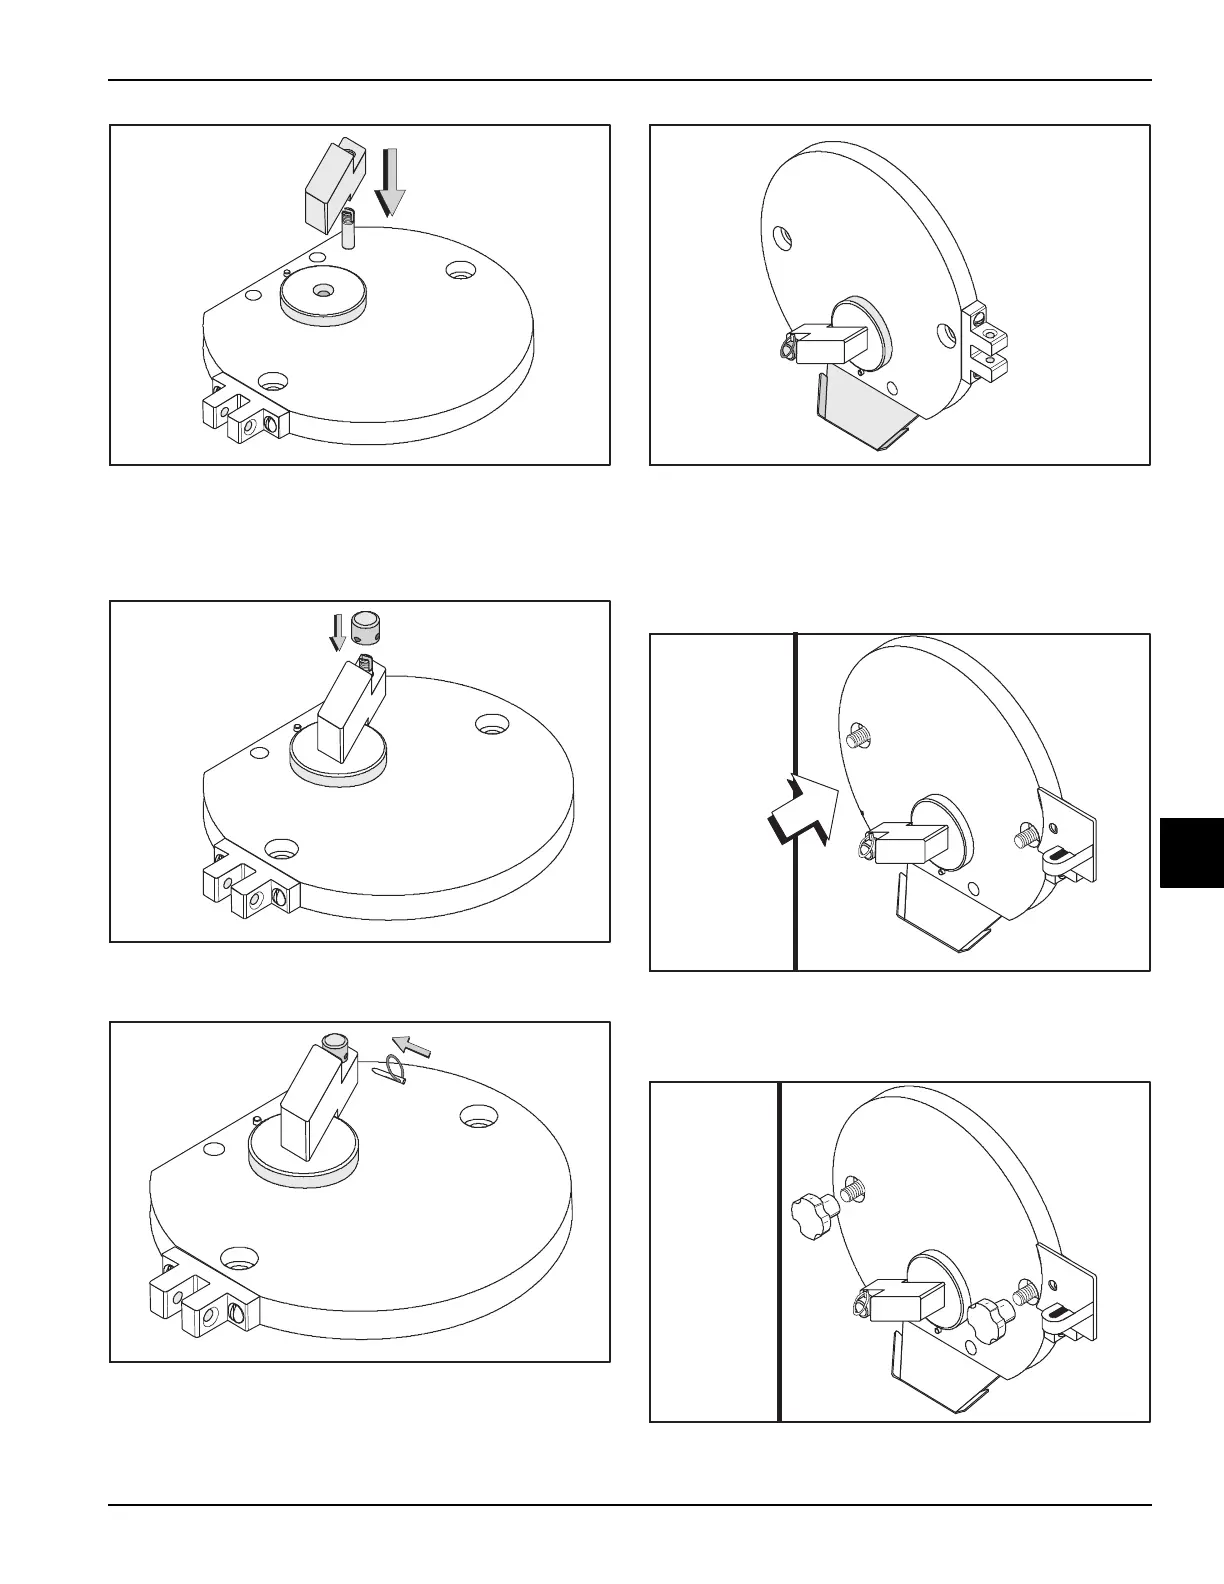
Figure 6-9
10. Screw the stem cap over the stem that protrudes
from the draw arm. Once snug, tighten it to align the
holes in the cap with the slot in the stem.
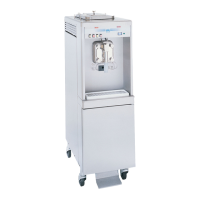
Figure 6-10
11. Secure the cap with the clevis pin.
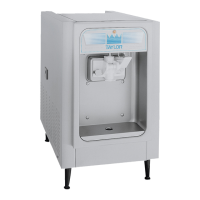
Figure 6-11
12. Engage the drip-spout pins with the holes on the
back side of the freezer door.
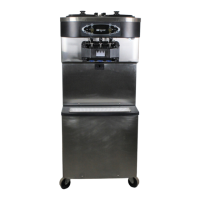
Figure 6-12
13. Position the door onto the two studs on the front of
the freezing cylinder. Make sure the hole in the back
of the door is aligned with the bearing on the end of
the beater.
Figure 6-13
14. Install the two handscrews onto the studs and tighten
them equally.
Figure 6-14