16
Controls
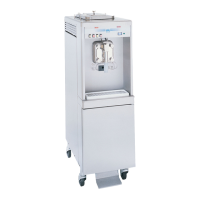
Models 104 & 220
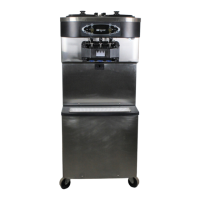
Model 220
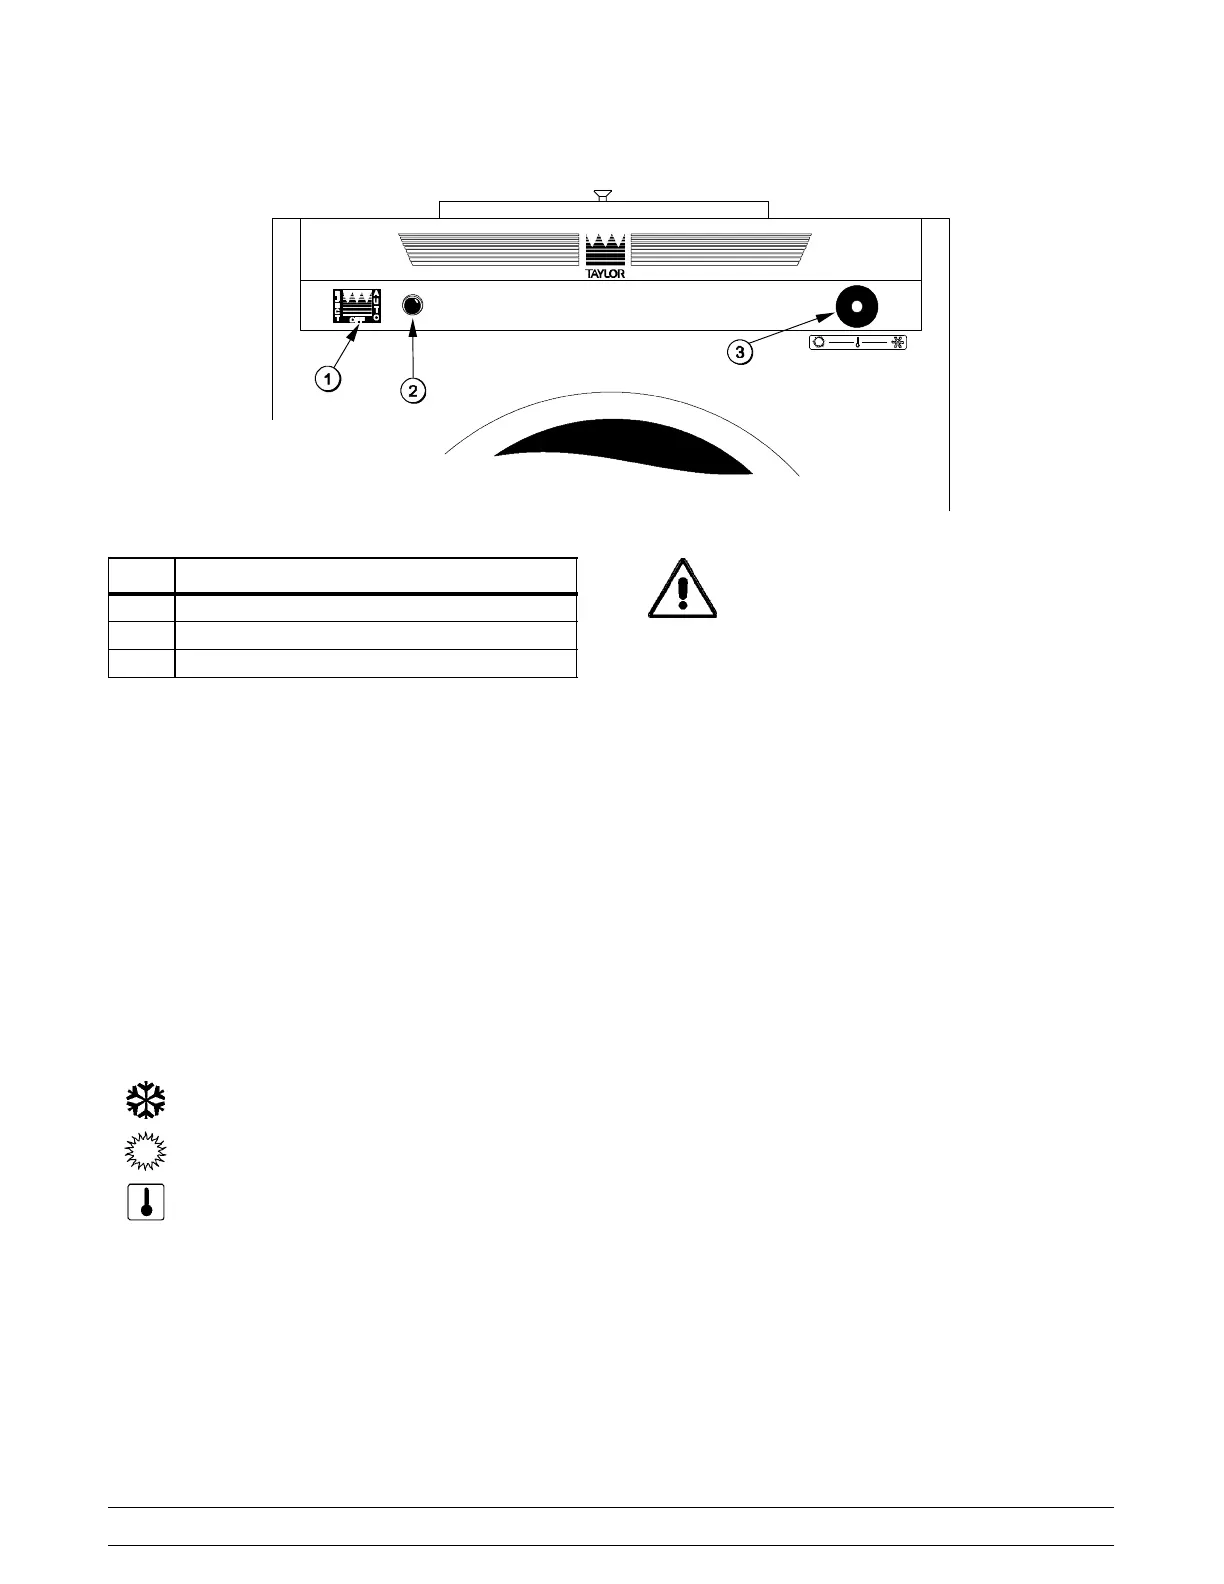
Figure 2
ITEM DESCRIPTION
1 Control Switch (Switch--Rocker)
2 Dial Light (Light--Orange--Round)
3 Temperature Control (Control--Temp.)
Symbol Definitions
To better communicate in the International arena, the
words on many of our operator switches and buttons
have symbols to indicate their functions. Your Taylor
equipment is designed with these International
symbols.
The following chart identifies the symbol definitions
used on the operator switches.
=COLDER
=WARMER
= TEMP (Temperature)
Control Switch
When the control switch is placed in the AUTO
position, the refrigeration system will operate. When
the switch is placed in the EJECT position, only the
beater motor will operate.
Never empty the contents of the freezing
cylinder while the control switch is in the AUTO
position. Always put the control switch into theEJECT
position when drawing product from the freezing
cylinder. As an additional safety feature, this unit will
not operate if the door is open.
Dial Light
Located to the right of the controlswitch is a rounddial
light. When the control switch is in the AUTO position,
this light will come on, indicating the refrigeration
system is operating.
Temperature Control
Located on the right front side is the temperature
control knob. Turning the adjusting knob clockwise
will decrease product temperature. Turning the
adjusting knob counterclockwise will increase
product temperature.Eachquarterturnwill varythe
temperature approximately two degrees.
Reset Mechanism
Located on the left side panel is the reset button. The
reset protects the beater motor from an overload
condition. Should an overload occur, the reset
mechanism will trip. To properly reset the freezer ,
place thecontrol switch in theOFF position. Press the
reset button firmly. Place the control switch in the
EJECT position and observe the freezer’s
performance. Return the control switch to the AUTO
position.
 Loading...