22
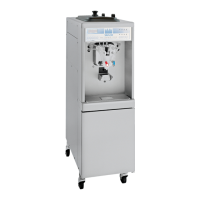
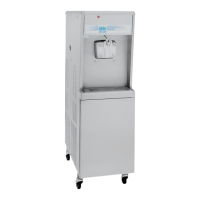
Model H60Operating Procedures
150626
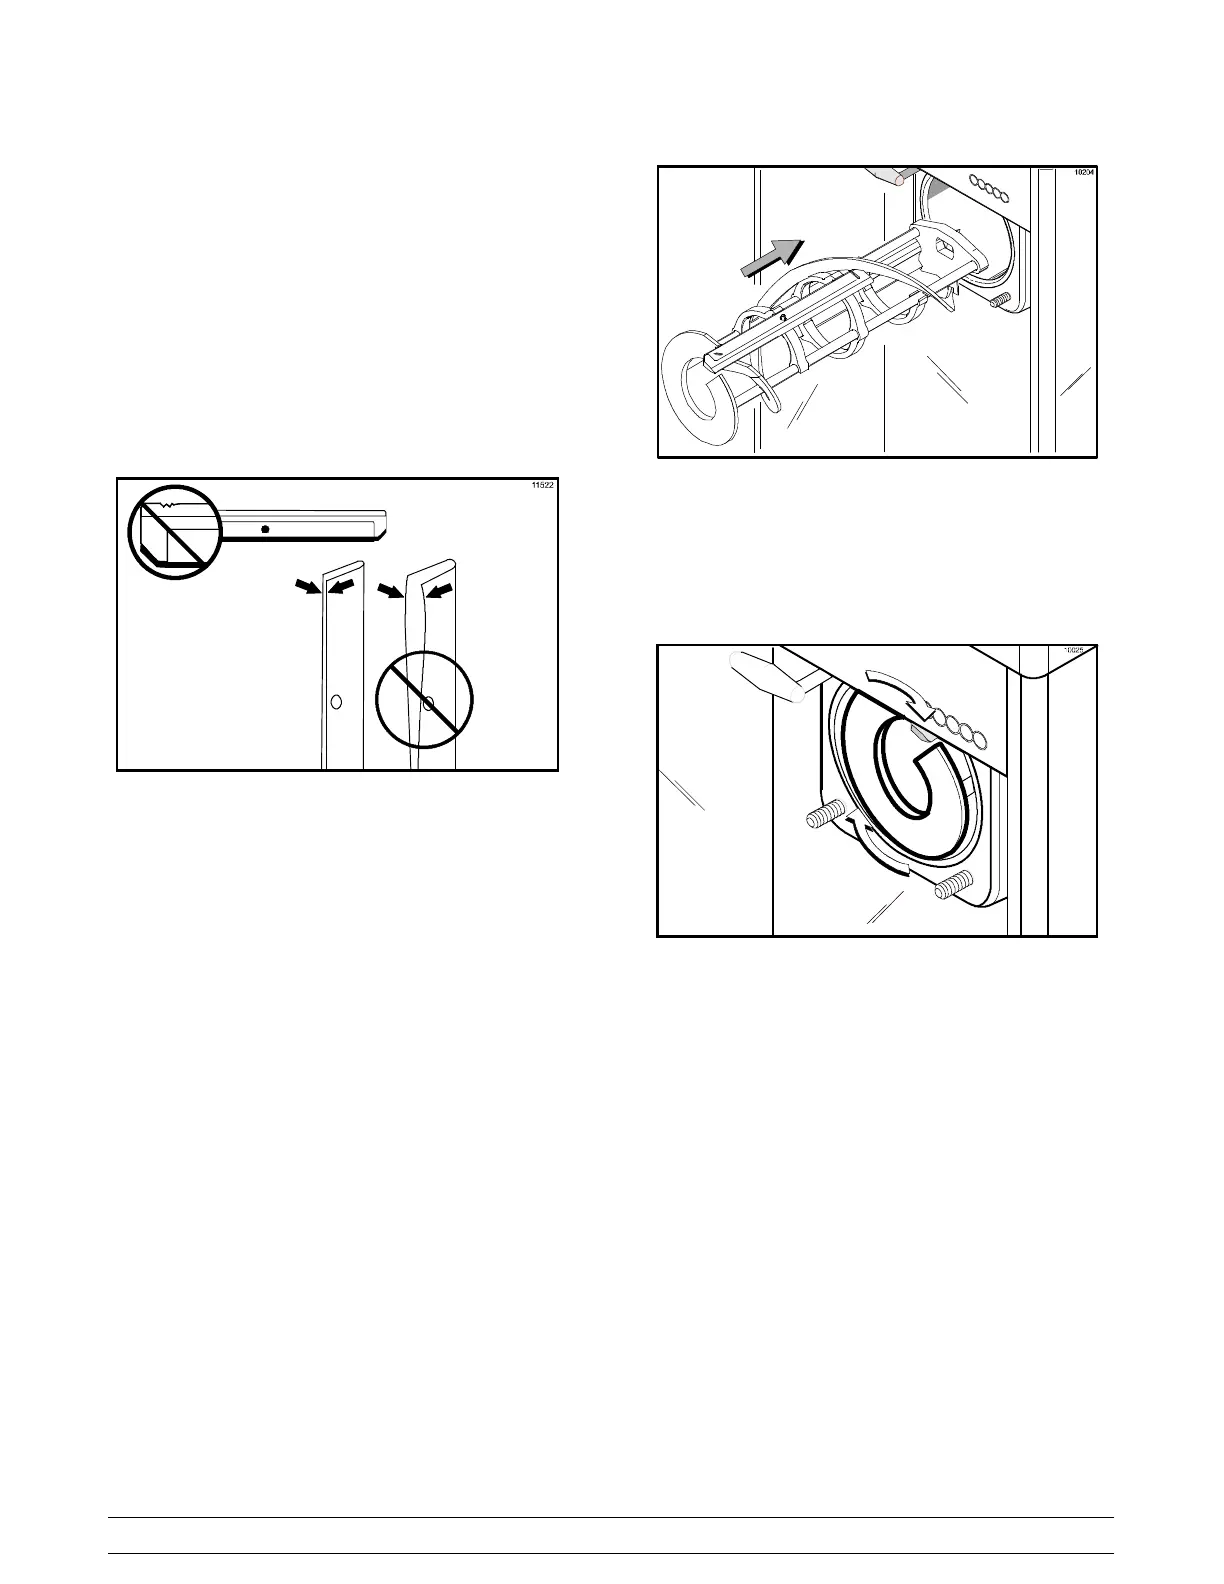
Step 2
Before installing the beater assembly, inspect the
scraper blades and clips.
Check the scraper blades for any signs of wear or
damage. If a scraper blade is nicked or worn, replace
both blades.
Check the scraper blade clips to make sure they are
not bent and the slot is even for the entire length of the
clip. Replace any damaged clips.
Figure 3
If the blades and clips are in good condition, assemble
the blades and the clips. Place the rear scraper blade
over the rear holding pin on the beater.
Note: The hole on the scraper blade must fit securely
over the pin to prevent costly damage.
Hold the rear blade on the beater and slide it halfway
into the freezing cylinder . Install the front scraper blade
over the front holding pin. Slide the beater assembly
completely into the freezing cylinder.
Figure 4
Make sure the beater assembly is in position over the
drive shaft. Turn the beater slightly to be certain that
the beater is properly seated. When in position, the
beater will not protrude beyond the front of the freezing
cylinder.
Figure 5
Step 3
Assemble the torque rotor by sliding the two o- rings on
the front of the shaft and lubricate them thoroughly to
prevent leaking. Place the white plastic guide bearing
on the rear of the rotor shaft. DO NOT lubricate plastic
guide bearing.