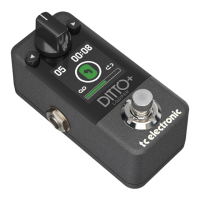
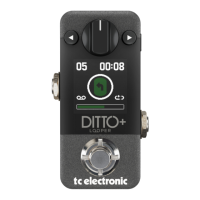
1. Power input
The power input of this pedal is a standard
5.5 / 2.1mm DC plug (centre = negative). To pow-
er up your pedal, connect a power supply to its
power input socket. Ditto Stereo Looper requires
a 9V power supply providing 100 mA or more
(not supplied). To minimize hum, use a power
supply with isolated outputs. TC Electronic rec-
ommends using the PowerPlug 9. You can also
run Ditto Stereo Looper using a battery.
2. Audio inputs
This pedal has two standard ¼” jack (mono/TS)
inputs for stereo operation. If your signal source
is mono (e.g. a regular guitar or a mono effect
pedal), connect it to the MONO input. For other
setups, see Setup examples.
3. Audio outputs
This pedal has two standard ¼” jack (mono/TS)
outputs for stereo operation. If the next device in
the signal chain is mono, connect it to the MONO
output. For other setups, see Setup examples.
4. Footswitch and LED
Use the footswitch to control all loop-related
functions of the pedal (record, playback, undo/
redo, clear). See Creating loops.
5. Loop / backing track
level control knob
Use the Loop level control knob to control the
level of your loops.
Use the Loop level control knob while hold-
ing down the Store / Delete Backing track level
switch to control the level of your backing track.
See Balancing backing track and current loop
levels.
6. Store / Delete / Backing
track level switch
– To store the current loop as a backing track,
nudge this switch up.
– To delete the stored loop/backing track, hold
this switch in the up position for three sec-
onds.
– To set the level of the backing track, turn
the Loop level control knob while holding this
switch in the down position.
The difference between current loop and the
stored backing track is explained in Current
(in-memory) loop vs. stored loop (backing
track).
7. USB port
Connect Ditto Stereo Looper to a computer to
transfer loops between your computer and Ditto
Stereo Looper. If there should be firmware up-
dates for this device, they can also be installed
using the USB port.