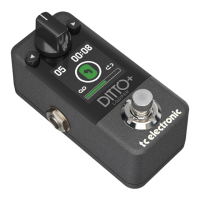
Setup
Ditto Stereo Looper English Manual 4
Setup
Ready…
The Ditto Stereo Looper box should contain the
following items:
– 1 Ditto Stereo Looper pedal
– 1 USB cable (for transferring loops from and
to a computer and for updating the pedal
firmware)
– 1 “Quick Start Guide” sheet
– 1 TC Electronic sticker
– 1 leaflet about TC’s guitar FX product range
Inspect all items for signs of transit damage. In
the unlikely event of transit damage, inform the
carrier and supplier.
If damage has occurred, keep all packaging as it
can be used as evidence of excessive handling
force.
Set…
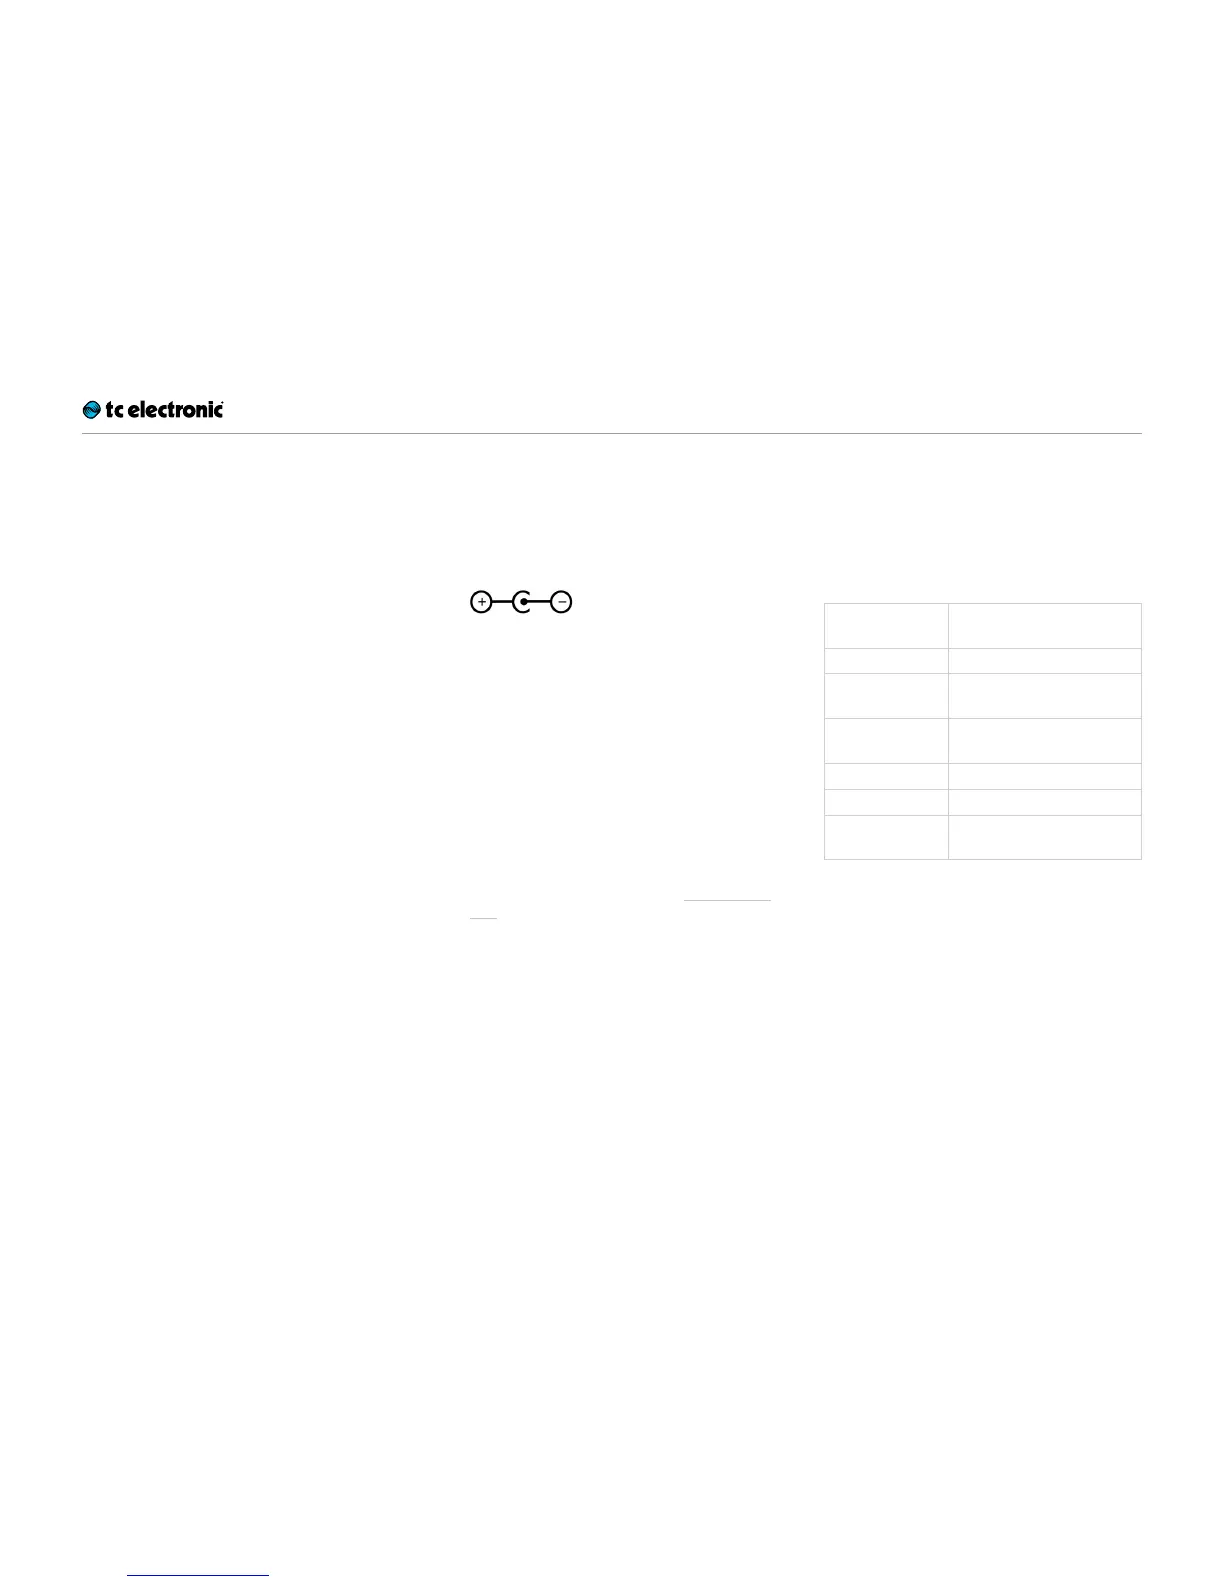
– Connect a 9V power supply delivering a mini-
mum of 100 mA with the following symbol to
the DC input socket of Ditto Stereo Looper.
! Please note that Ditto Stereo Looper does
not come with a power supply.
– Plug the power supply into a power outlet.
– Alternatively, you can operate Ditto Stereo
Looper using a 9V battery.
– Connect your instrument to the MONO input
jack of the pedal using a ¼“ jack cable. You
can also feed the pedal with a stereo signal
by using both INPUT jacks.
– Connect the MONO output jack of the pedal
to your amplifier using a ¼“ jack cable. You
can also send a stereo signal from the pedal
to the next device in the signal chain by using
both OUTPUT jacks.
For more complex setups, see Setup exam-
ples.
Let’s get loopin’!
If you are in a hurry, chances are you’ll find what
you’re looking for in this overview.
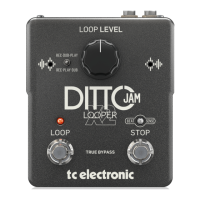
Operation
Power up Ditto
Stereo Looper
Connect a power supply or
insert a battery.
Record Tap the footswitch once.
Switch to
playback
Tap the footswitch again.
Undo / Redo last
recording
Press and hold the footswitch.
Stop Double-tap the footswitch.
Resume playback Tap the footswitch again.
Stop & clear the
loop
Double-tap and hold the
footswitch.