User’s Manual
23
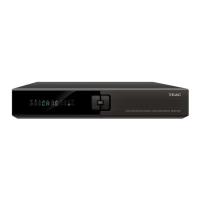
4. Press Green key, then a small triangle appears on the progress bar.
5. Move to the end of the scene.
6. Press Yellow key, the cut section is marked in bright green.
7. Press OK key,and then you get asked for confirmation. If you select “OK”, the marked part
is cut.
Note: If you want to restore all cut contents, press FAV key.
5.6 Edit Recorded File
You can delete, rename, lock and manage group of recorded files and also copy files between
internal and external hard disk drives.
Select Main Menu ? REC Files and press OK key to enter, or press LIST key to enter directly
in non-menu mode.
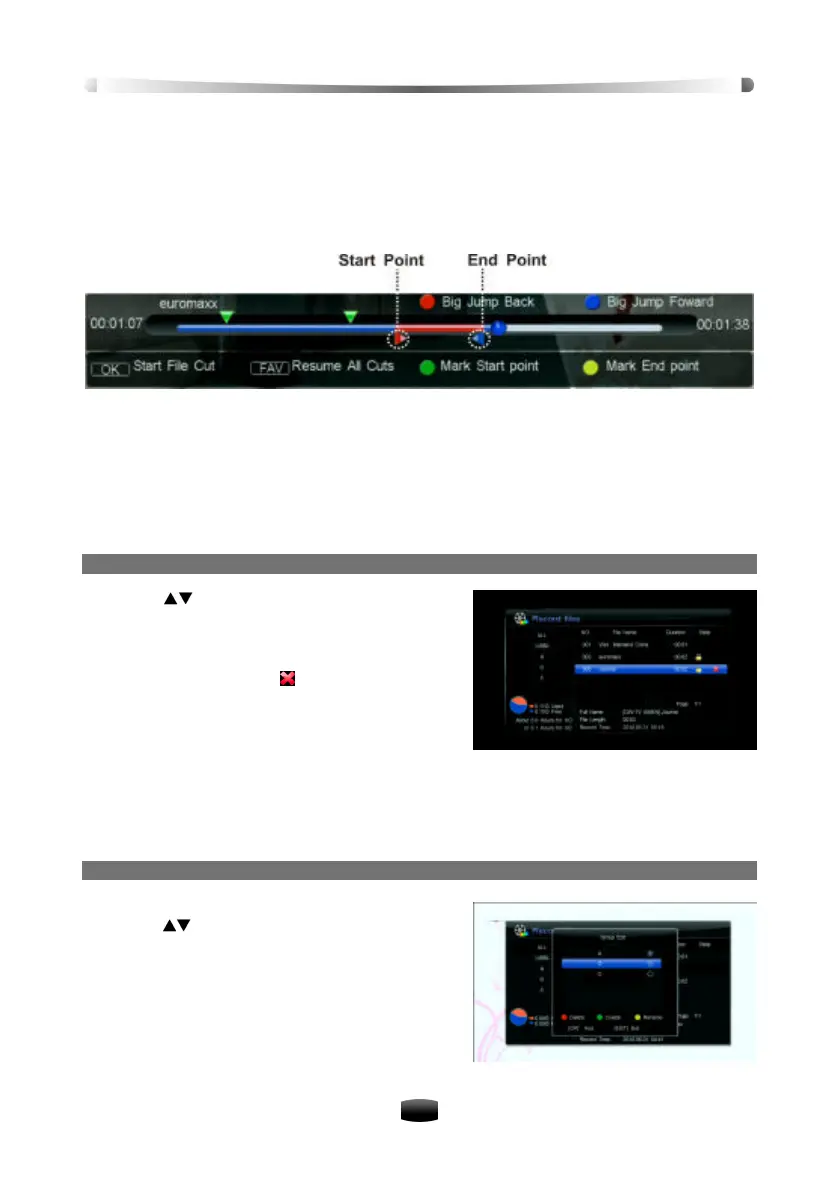
1. Delete Recorded File
1. Press keys to select a file you want to
delete.
2. Press OK key to pop up a drop-down list.
3. Select “Delete” and press OK key to confirm.
The file is marked with “ ”. If you want to cancel
the setting, press OK key again to pop up the
drop-down list. Select “Cancel Delete” and
press OK key to confirm.
4. After pressing EXIT key, a confirmation message is displayed on the screen for confirma-
tion. Select “OK” to delete the selected file.
You can also select “Delete All” and press OK key to delete all schedules, or select “Cancel del
all” and press OK key to cancel.
2. Add Recorded File to Group and Manage Group
v Add recorded file to group
1. Press keys to select a file in file list.
2. Press OK key to pop up a drop-down list.
3. Select “GroupMg” and press OK key to pop up
group edit window.
4. Select a group and press OK key to add the
selected file to this group.