Connecting NAC in IP Extended mode
Firstly, connect the NAC to the ChallengerPlus panel’s LAN 1 or LAN 2, as
required.
Secondly, connect CTPlus to the NAC using USB by following these steps:
1. Connect the NAC to the CTPlus computer using a USB cable.
2. In CTPlus, click the Panels button on the Panel programming ribbon
tab to open the Panels form.
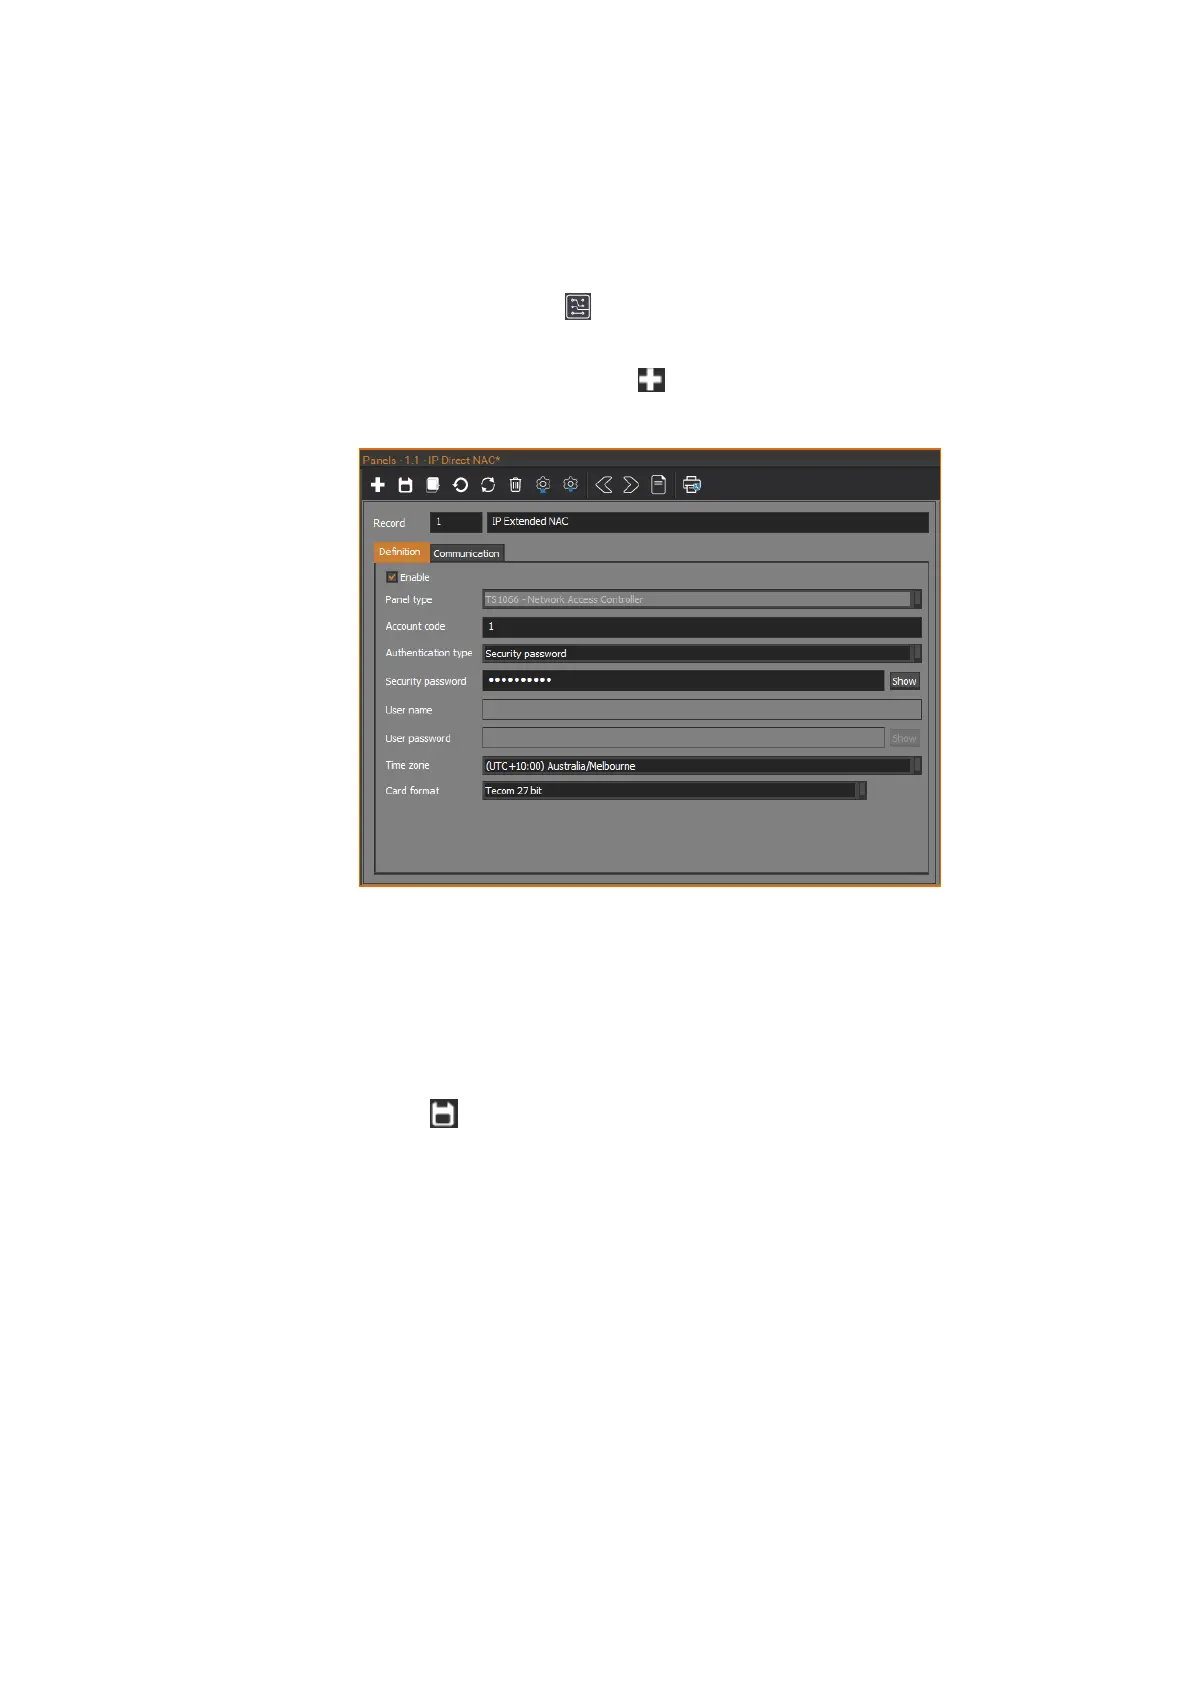
3. On the Panels form, click the New button in the toolbar to add a new
panel record.
4. Enter a description for the NAC in the Record description field.
5. On the Definition tab, enable the panel connection by ticking the Enable
check box.
6. Set the Panel type to be TS1066 - Network Access Controller.
7. Set the Time zone and Card format fields as required.
8. Click the Save button in the toolbar to save the NAC panel record.
9. CTPlus will connect to the NAC via USB.
CTPlus automatically creates a new DGP record associated with the NAC (DGP
number 16), allowing you to configure the options for the NAC.
CTPlus automatically creates four doors for the NAC. Four additional doors can
be added for the NAC on the Doors/Lifts form.
Finally, add a DGP representing the NAC to an existing ChallengerPlus panel so
that alarms can be communicated to the ChallengerPlus panel. Using CTPlus,
follow these steps:
1. Connect CTPlus to the ChallengerPlus panel. See the CTPlus Operators
Manual or CTPlus online help for more information.