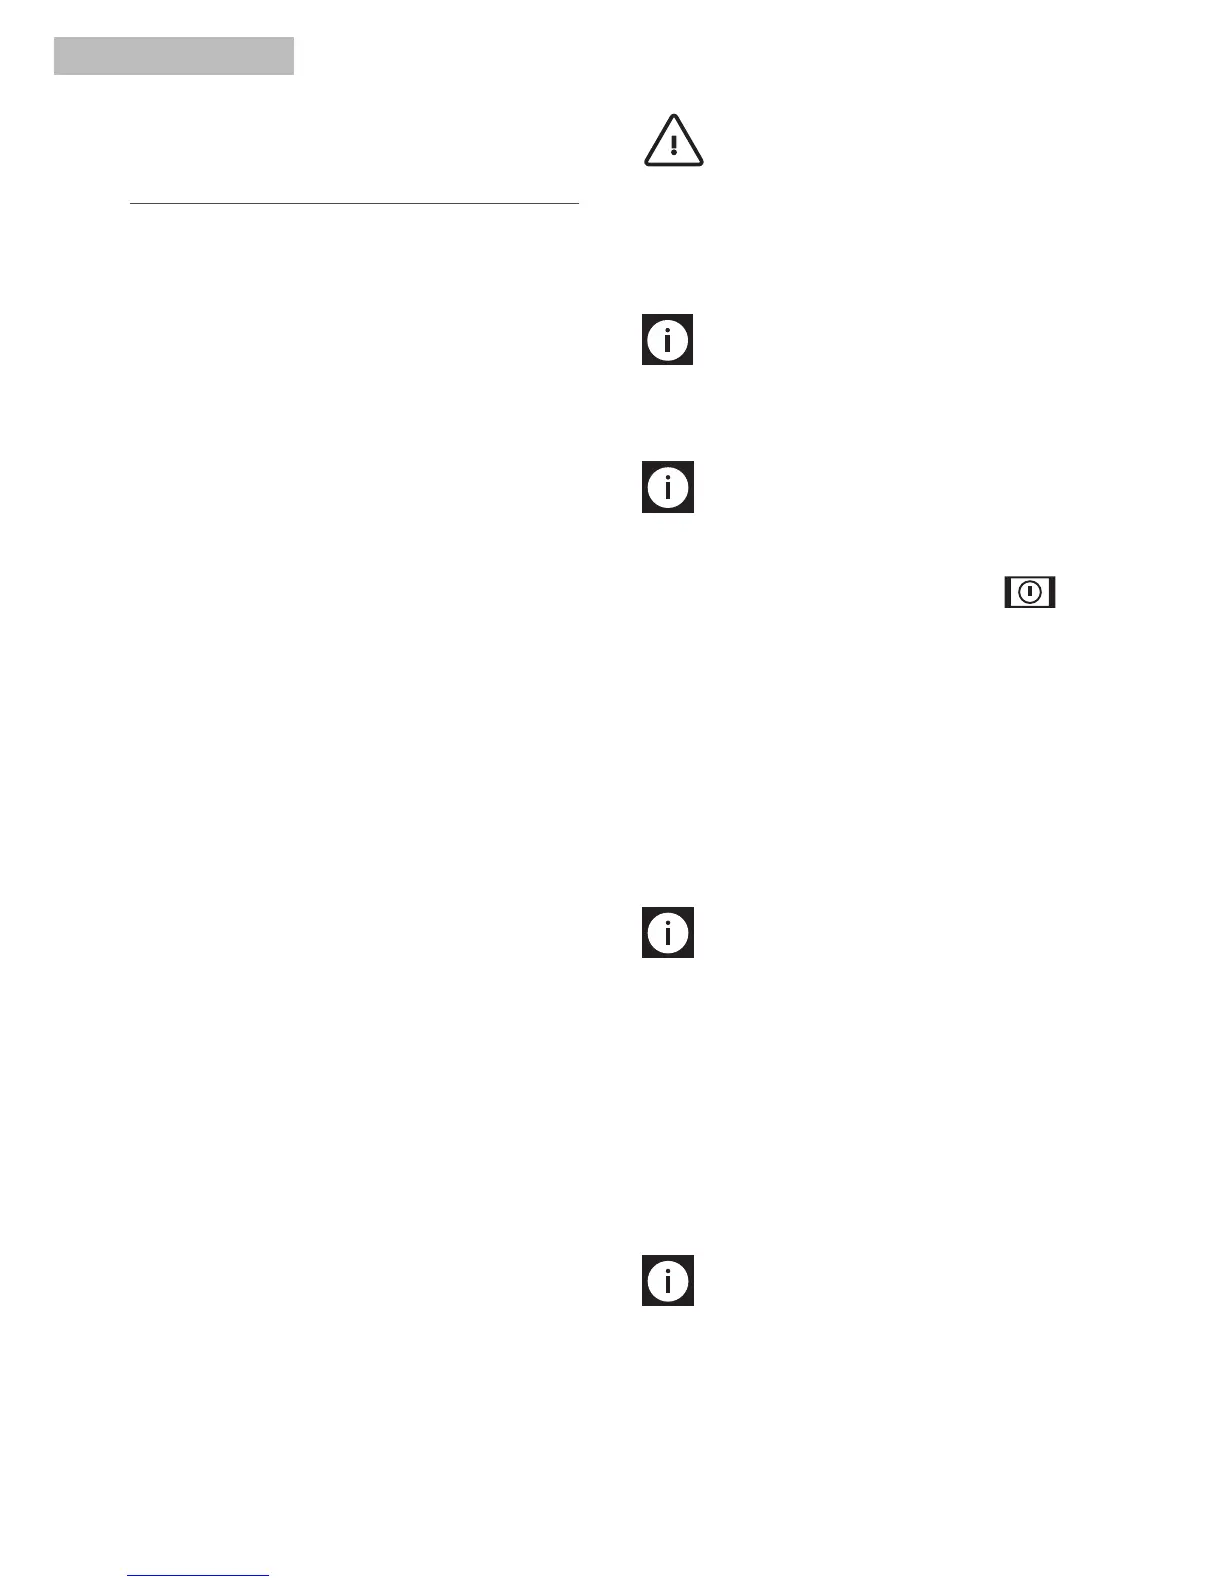
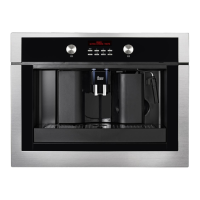
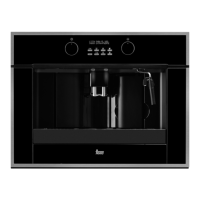
102
English
USING THE APPLIANCE FOR
THE FIRST TIME
• Coffeehasbeenusedtofactorytesttheappli-
ance and it is therefore completely normal for
there to be traces of coffee in the mill. The ma-
chine is, however, guaranteed to be new.
• Youshouldcustomisewaterhardnessassoon
as possible following the instructions in the
“Setting water hardness” chapter.
1. Connect the appliance to the mains electricity
supply and press the main switch (A23).
You must select the required language:
2. TosetEnglish,waitfortheappliancetodisplay
“PRESSOKTOINSTALLENGLISH”.
While the message is displayed, press the OK
button (B9) (fig. 1) for at least 3 seconds until
“ENGLISHINSTALLED”isdisplayed.
The appliance then displays the setting con-
rmedmessageinEnglish.
If you set the wrong language by mistake, follow
the instructions in the chapter “Changing the
language” to choose the right language.
Follow the instructions indicated by the appli-
ance:
3. After 5 seconds, the appliance displays “FILL
TANK”. To ll the water tank, remove (g. 2),
rinse and fill with fresh water without exceeding
theMAXline.
Replace the tank and push as far as it will go.
4. Place a cup under the cappuccino maker (fig. 3).
The appliance now displays: “HOT WATER
PRESSOK”.
Press the OK button (B9) (fig. 1) and after a few
seconds a little water comes out of the cappuc-
cino maker. (Delivery stops automatically).
5 The machine now displays “TURNING OFF...
PLEASEWAIT”andgoesoff.
6. Extract the appliance by pulling it out using
the handles (fig. 4). Open the lid and fill the
container with coffee beans, then close the lid
and push the appliance in.
Important!
To prevent malfunction, never
introduce pre-ground coffee, freeze dried coffee,
caramelised beans or anything else which could
damage the appliance.
The coffee maker is now ready for normal use.
N.B.!
When using the appliance for the first
time,youneedtomake4/5cupsofcoffeeand4/5
cappuccinos before the appliance starts to give
satisfactory results.
N.B.!
Eachtimethecoffeemakeristurned
on by using the main switch (A23), the appliance
performsa“SELF-DIAGNOSIS”cycleandthengoes
off. To turn it on again, turn the knob (A7)
(to the right or left) (fig. 5).
Installing the filter
Some models are fitted with a water softener filter
to improve the quality of the water used and extend
the working life of the appliance. To install, proceed
as follows:
1. Remove the filter from the packaging (A25).
2. Slide the pointer of the date indicator (see fig.
28) until the months of use are displayed.
N.B.
The filter lasts about 2 months if the ap-
pliance is used normally. If the coffee maker is
left unused with the filter installed, it will last a
maximum of 3 weeks.
3. Insert the filter in the water tank (A12) and press
it until it touches the bottom of the tank (see fig.
28).
4. Fill the tank and place in the coffee maker.
5. Turn the cappuccino maker (A10) outwards
and place a container underneath (min.
capacity 100 ml).
N.B.
When you install the filter, you must
notify the appliance of its presence.
6. PresstheMENUbutton(B6)toenterthemenu;
7. Press the NEXT button (B7) until “INSTALL
FILTER”isdisplayed.
8. Press the OK button (B9).