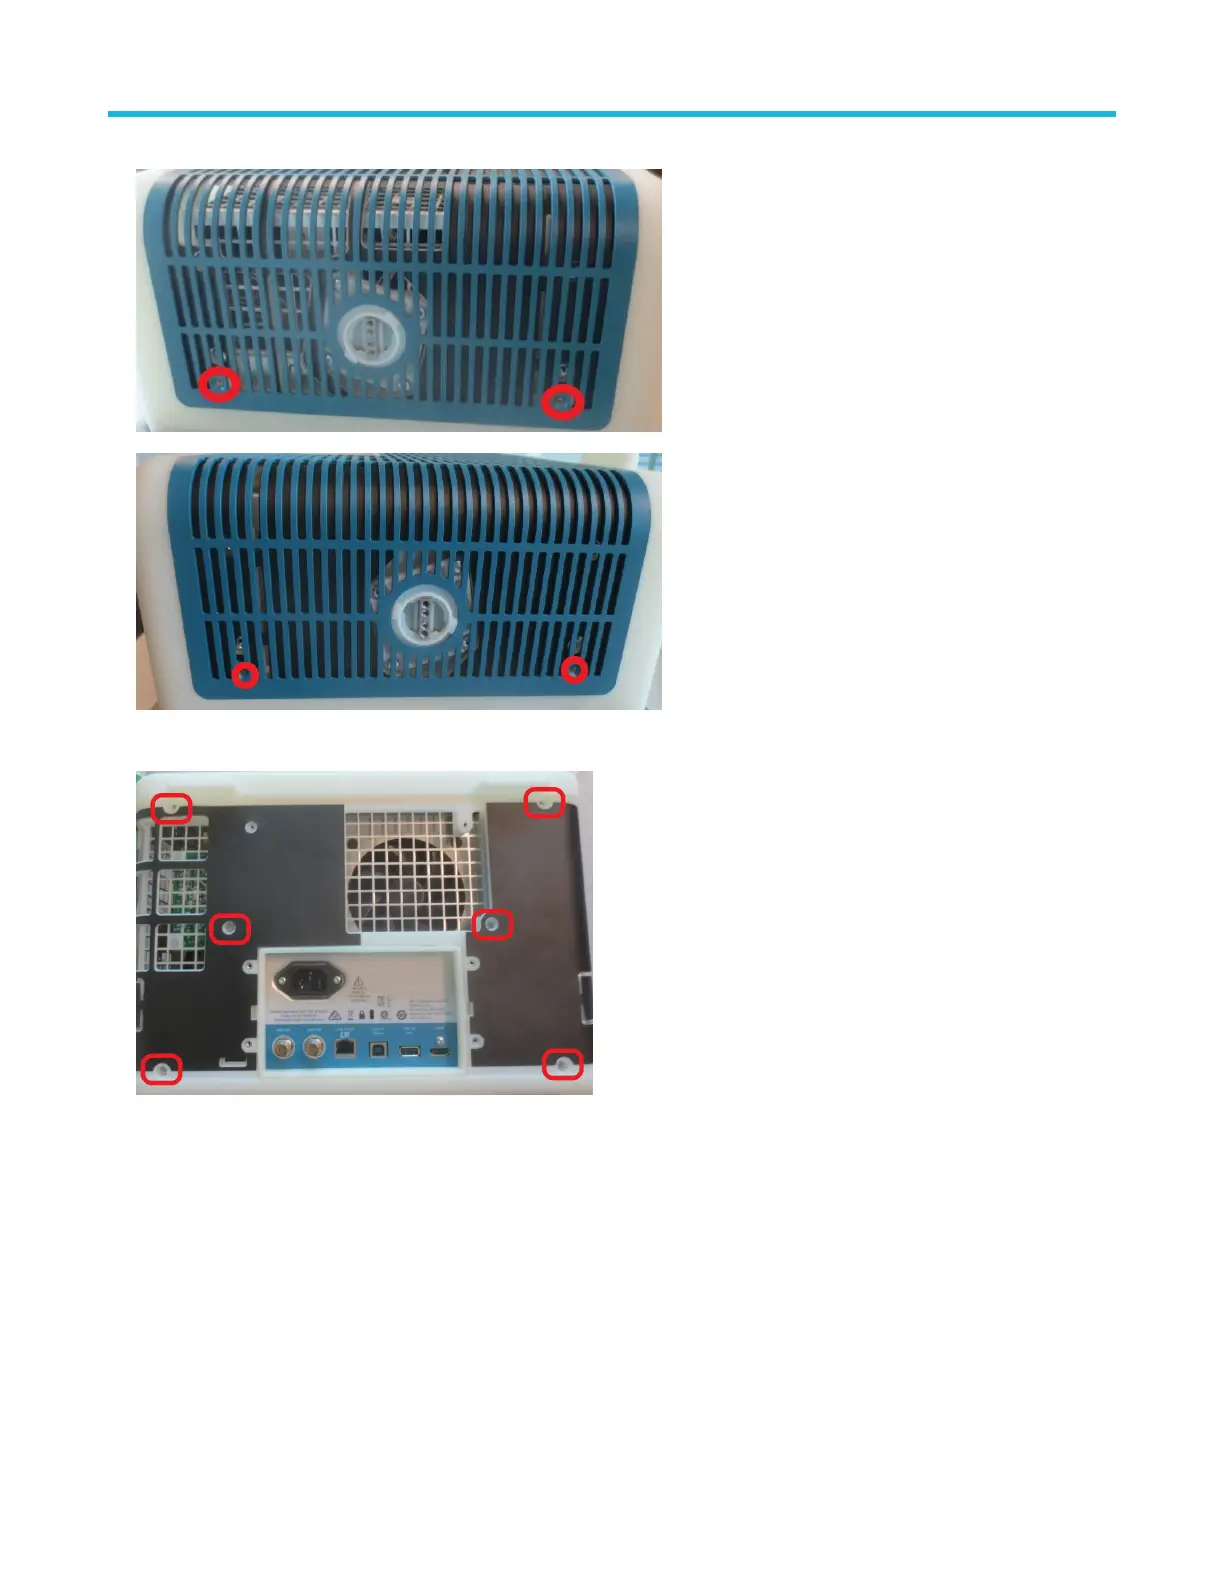
2. Use a screwdriver with T-10 Torx tip to remove the two screws from each side of the rear case.
3. Pull the front edges of the grill to remove it from rear case.
4. Use a screwdriver with T-10 Torx tip to remove the six screws securing the rear case to the rear chassis.
5. Remove handle hub assemblies. See Remove handle hub assembly to remove the right and left handle hub from the rear chassis.
6. Slide the rear case off of the rear chassis.
7. To reinstall, reverse the steps. Tighten the six T-10 Torx rear case screws to 0.65 N·m. Tighten the ten T-10 Torx rear grill screws to
0.65 N·m.
Remove handle hub assembly
Use this procedure to remove and replace the handle hubs from the rear chassis.
Prerequisites:
• To prevent electrostatic damage to components whenever you work on the instrument, wear properly-grounded electrostatic prevention
wrist and foot straps, and work in a tested antistatic environment on an antistatic mat.
• Remove the rear grill. See steps 1 - 3 in Remove rear grill and case.
Maintenance
3 Series MDO Mixed Domain Oscilloscope Service Manual 10
 Loading...


