Setting the limit from the front panel
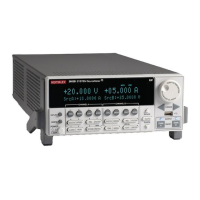
To set the limit for a single-channel instrument (2601B, 2611B, or 2635B) or the single-channel
display mode of a two-channel instrument (2602B, 2604B, 2612B, 2614B, 2634B, or 2636B):
1. Press the LIMIT key. Pressing the LIMIT key while in limit edit mode toggles the display between
the complementary function limit and the power limit display.
2. Press the navigation wheel and set the limit to the new value.
3. Press the ENTER key or the navigation wheel to complete editing.
4. Press the EXIT (LOCAL) key to return to the main display.
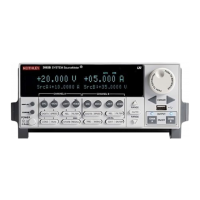
To set the limit for a two-channel instrument (2602B, 2604B, 2612B, 2614B, 2634B, or 2636B) in
dual-channel mode:
1. Press the LIMIT
key.
2. Select CURRENT, VOLTAGE, or POWER as needed. Press the ENTER key or the navigation
wheel.
3. Press the navigation wheel and set the limit to the new value.
4. Press the ENTER key or the navigation wheel to complete editing.
5. Press the EXIT (LOCAL) key to return to the main display.
Setting the limit from a remote interface
The table below summarizes basic commands to program a limit. For a more complete description of
these commands, refer to the “TSP command reference” section of the Series 2600B
Reference Manual.
To set the limit, send the command with the limit value as the parameter. The following programming
example illustrates how to set the current, voltage, and power limit to 50 mA, 4 V, and 1 W,
respectively:
smua.source.limiti = 50e-3
smua.source.limitv = 4
smua.source.limitp = 1

 Loading...


