Performance Ver
ification
Check DVM Voltage Accuracy (DC)
This test ch ecks the DVM voltage accuracy (DC).
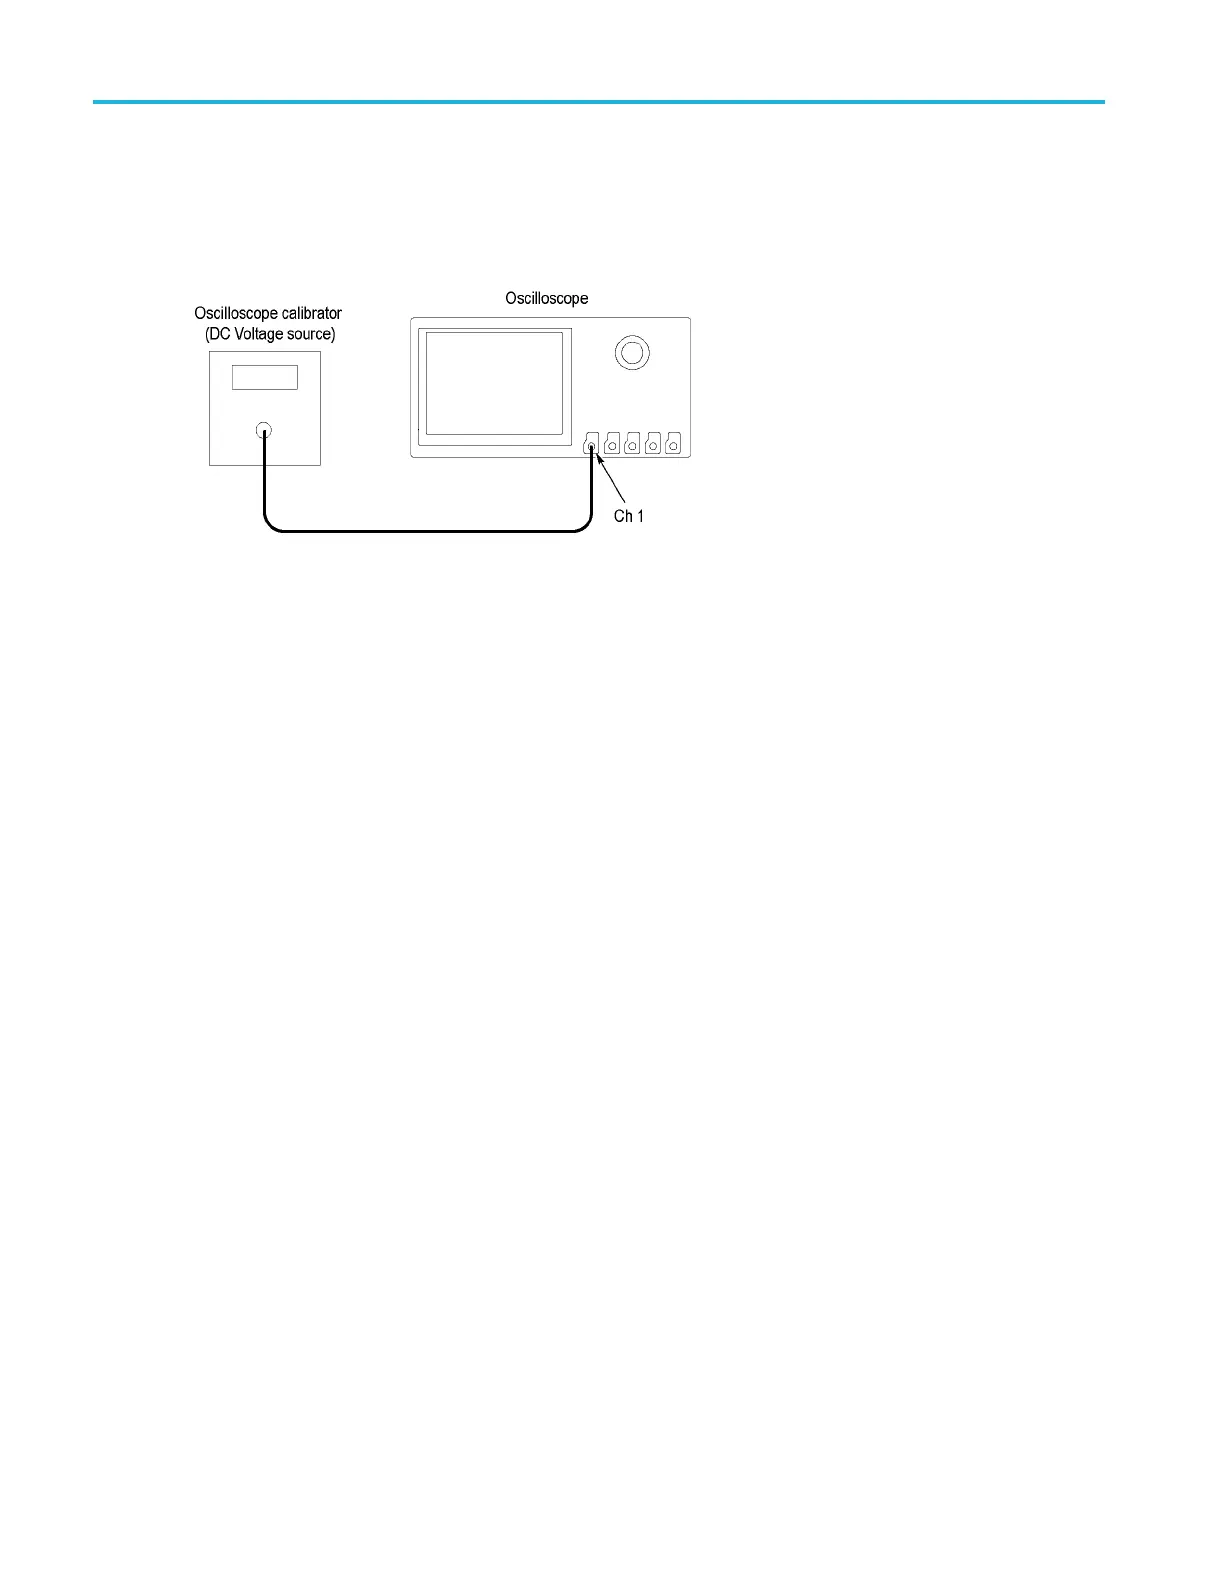
1. Connect the oscilloscope to a DC voltage source to run this test. If using the Fluke 9500 calibrator as the DC voltage
source, connect the calibrator head to the oscilloscope channel to test.
2. Push the Default Setup button on the front panel to set the instrument to the factory default settings.
3. Push channel button 1, 2, 3,or4 to select the c hannel you want to check.
4. Confirm that the oscilloscope termination and calibrator
impedance are both set to 1 M. Push Termination on the
lower menu to select 1MΩ.
5. Set the calibrator to the input voltage shown in the test record (for example, –5 V for a 1 V/div setting). Set the calibrator
impedance to match the termination setting for the oscilloscope.
6. On the oscilloscope, push More on the lower menu repeatedly, to select Offset.
7. Set the oscilloscope to the vertical offset value shown in the test record (for example, –5 V for –5 V input and 1 V/div
setting).
8. Turn the vertical Scale knob to match the value in the test record (for example, 1 V/division).
9. Turn the Horizontal Scale knob to 1 m s/div.
10. Push Band width on the lower menu.
11. Push 20 MHz on the side menu.
12. Check that the vertical position is set to 0 divs. If not, turn the appropriate Vertical Position knob to set the position to
0divs.
Or, push More on the lower menu repeatedly to select Position, and then push Set to 0 divs on the s ide menu.
13. Push Acquire on the front panel.
14. Push Mode on the lower menu, and then push Average on the side menu. Use the default number of averages (16).
15. Push the Trigger Menu button on the front panel.
16. Push Source on the lower menu.
17. Turn Multip urpose knob “a” to select AC Line as the trigger source.
18. On the front panel, push the Measure button.
19. Push the
DVM lower-bezel button to turn on the DVM function.
20. Turn the Multipurpose a knob to select DC mode
114 MDO3000 Series Specifications and Performance Verification
 Loading...