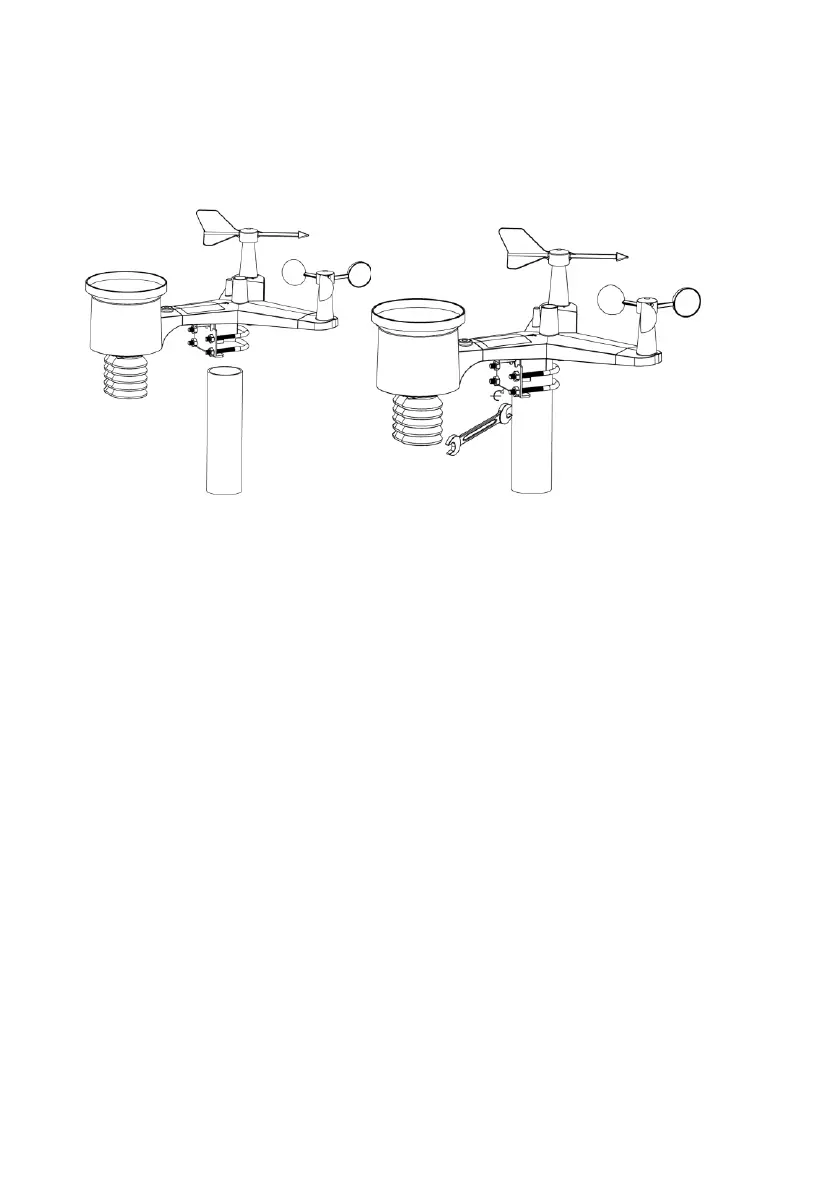
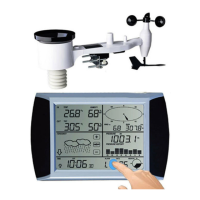
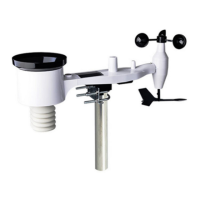
5.2.6.2 Mounting
You can attach a pipe to a permanent structure and then attach the
sensor package to it (see Figure 9). The U-Bolts will accommodate a
pipe diameter of 1-2 inches (pipe not included).
Finally, place the sensor package on top of the prepared mounting
pipe. The U-Bolts should be loose enough to allow this but loosen the
nuts as necessary. Once placed, hand tighten all four nuts, taking care
to do so evenly.
Now you will need to align the whole package in the proper direction by
rotating it on top of the mounting pipe as needed. Locate the arrow
labeled “NORTH” that you will find on top of the sensor package right
next to the light sensor. You must rotate the whole sensor package until
this arrow points due north. To achieve proper alignment, it is helpful to
use a compass (many cell phones have a compass application).
Once rotated in the correct orientation, lightly tighten the bolts a little
more (use a wrench) to prevent further rotation.
Note: Use the bubble level next to the rain sensor to make sure sensor
array is completely level. If the sensor is not level the rain gauge UV
and solar radiation sensors will not measure properly.